Installing DigitalPersona LDS Server
Install DigitalPersona LDS LDS Server
-
Launch the DigitalPersona LDS Server - InstallShield Wizard by running Setup.exe, located in the ..\Server\DigitalPersona LDS Server folder in the product package.
-
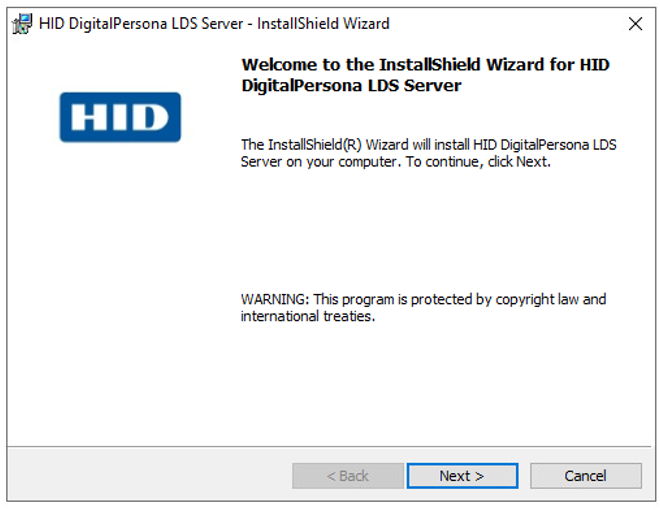
The wizard's Welcome page displays. Click Next.
-
Read the License Agreement page. If you agree with the stated terms, select I accept the license agreement. and click Next.
-
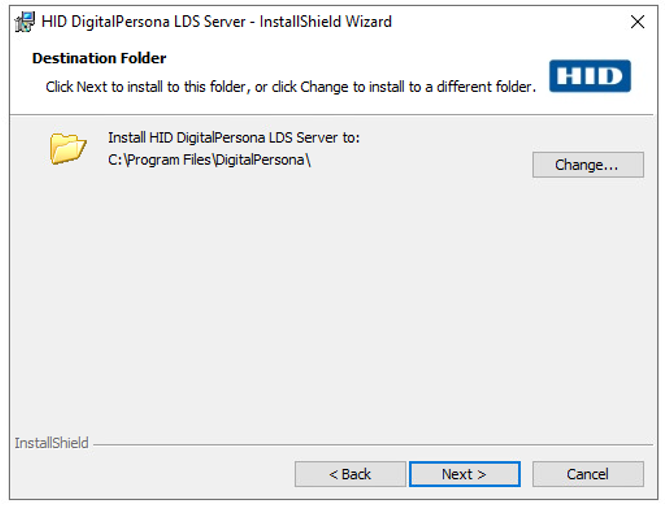
On the Destination Folder page, accept the default install destination folder, or click Change to install to a different folder. Click Next.
-
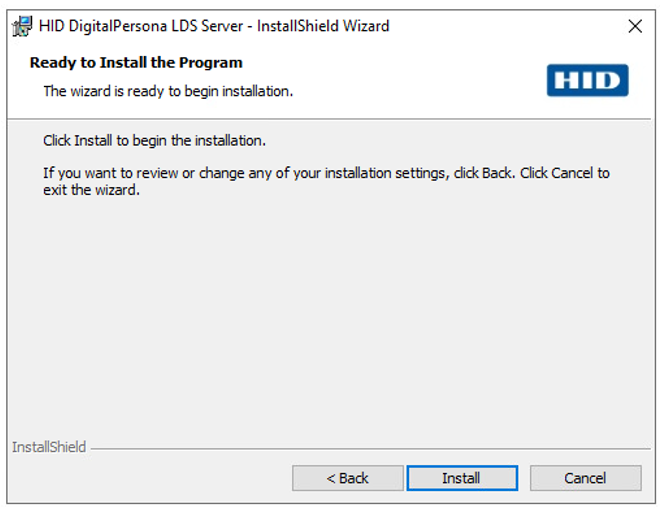
On the Ready to install page, click Install.
-
The Installing DigitalPersona LDS Server page displays the progress of the installation.
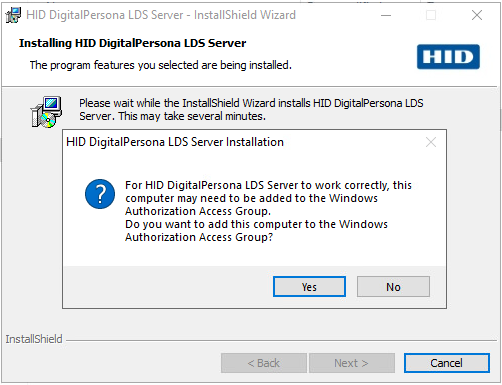
Windows Authorization Access Group for DigitalPersona Server to provide access control, it requires access to authorization information on user account objects.
By default, members of the "Pre-Windows 2000 Compatible Access" group have access to this data.
-
If the “Permissions compatible with pre-Windows 2000 servers" option was selected during the DCPromo process when the domain was created, “Everyone" would have been added to the "Pre-Windows 2000 Compatible Access" group and DigitalPersona Server would be able to access the necessary user authorization information in Active Directory.
-
However, if this option was not selected, DigitalPersona Server would not have access to the user authorization information and as result, user enrollment will fail with an "Access Denied" error.
Therefore, the machine account where DigitalPersona Server is running must be added to the Windows Authorization Access Group.
-
-
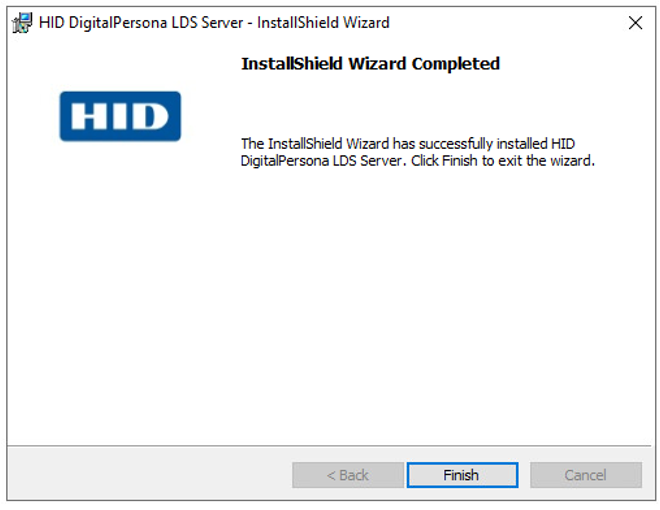
Upon completion of the wizard, the InstallShield Wizard Completed page displays.
Install DigitalPersona LDS using the Command Line
DigitalPersona LDS Server can also be installed or uninstalled using MSI at the command line.
The syntax of the msiexec command is shown below and is followed by a description of the command line options, parameters and values available:
msiexec /i setup.msi INSTALLDIR=[directory] ADDLOCAL=[software] REMOVE=[software] TRANSFORMS=[Name of transform file]/qnCommand Line Options
| Options | Description |
|---|---|
|
/i |
(Required) Indicates that MSI will be used to install the DigitalPersona software. It must be followed by the full pathname to the setup.msi file. |
|
/qn |
(Optional) Hides the user interface when installing the software on the computer, allowing a “silent install.” If used, it is placed at the end of the command line. |
Parameters
The following parameters indicate where the software should be installed on the computer, as well as what components should be included or removed:
| Parameters | Description |
|---|---|
|
INSTALLDIR |
(Optional) Specifies the location where the DigitalPersona software should be installed. If a folder is not specified, defaults to: C:\Program Files\DigitalPersona
|
|
ADDLOCAL |
(Optional) Indicates which DigitalPersona features to install by providing one of the values listed below. |
|
REMOVE |
(Optional) Indicates which DigitalPersona software features to uninstall by providing one of the values listed below. |
|
TRANSFORMS |
(Optional) Use the TRANSFORMS parameter to specify a UI language other than U.S. English. Separate multiple transforms with a semicolon. Do not use semicolons within the name of your transform, as the Windows Installer service will interpret those incorrectly. |
ADDLOCAL and REMOVE Values
The table below lists the values that may be provided with the ADDLOCAL and REMOVE parameters and provides a description of each value:
| Values | Description |
|---|---|
|
ALL |
Installs all DigitalPersona software components and features or removes all of the components and features that are currently installed. |
|
STS |
Installs or removes the DigitalPersona Secure Token Service. |
|
WebAdminConsole |
Installs or removes the DigitalPersona Web Administrative Console. |
Following are a few rules when using these parameters and their values:
-
If ADDLOCAL or REMOVE are not specified, msiexec will install all DigitalPersona Workstation features.
Individual software features cannot be installed unless the
Allvalue was used with theADDLOCALparameter first. -
To install DigitalPersona LDS Server for the first time while omitting one or more software features, use
ADDLOCAL=ALL, followed by theREMOVEparameter with each software component you do not want to install separated by a comma. For example;Copymsiexec /i setup.msi ADDLOCAL=ALL REMOVE=STS,WebAdminConsole
Activate the DigitalPersona Server License
In most cases, you will activate your DigitalPersona Servers over the internet through Active Directory and the DigitalPersona Activation wizard. For additional license activation options, see License Activation and Management.
-
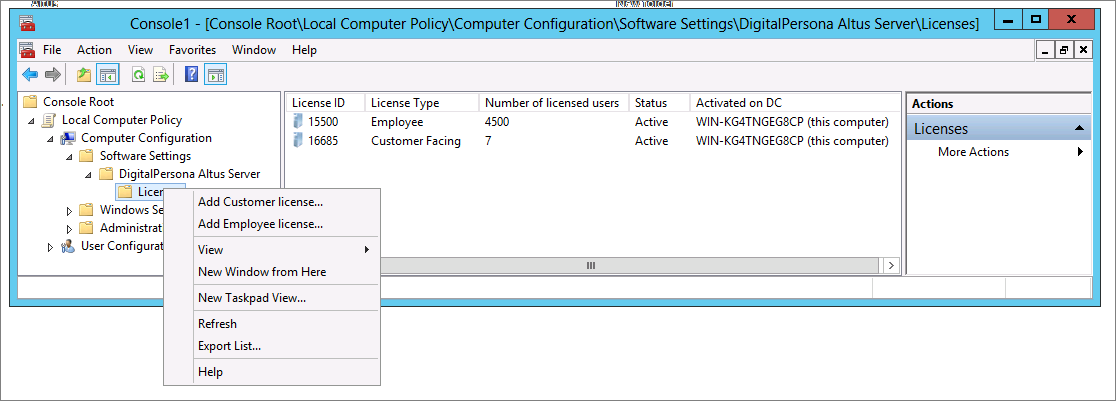
From the computer where the DigitalPersona Server to be licensed is installed, open the Local Group Policy Editor (gpedit.msc).
-
Navigate to Computer Configuration, Software Settings, DigitalPersona Server, and then Licenses.
-
Right-click on Licenses and select Add Customer license or Add Employee license.
-
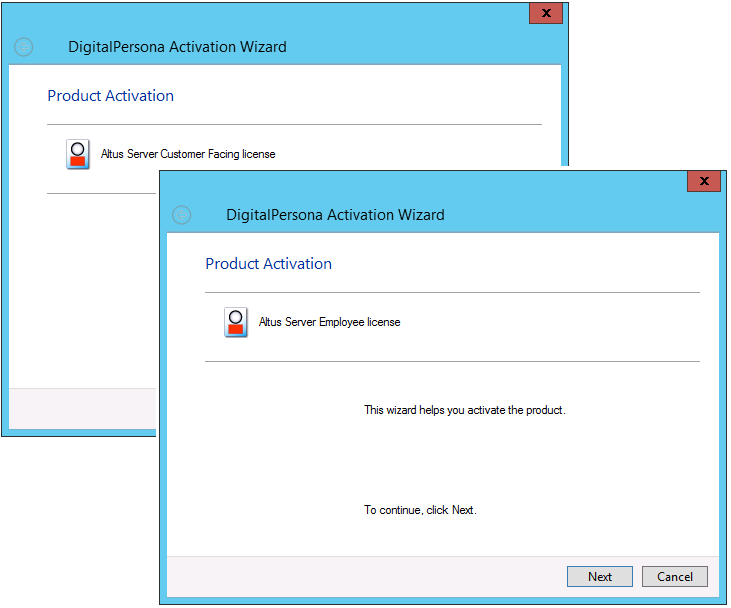
When the DigitalPersona Activation Wizard displays, click Next.
-
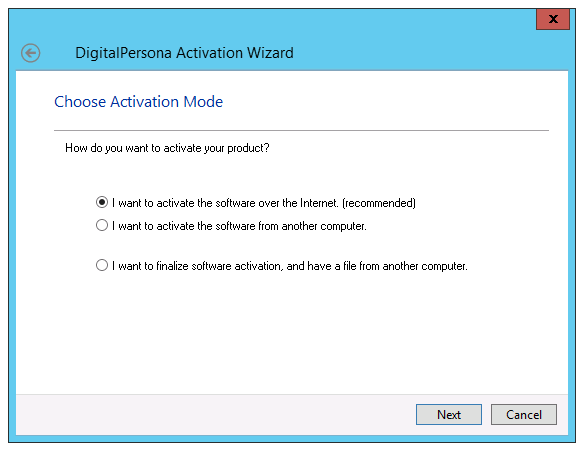
Select the option to I want to activate the software over the Internet.
-
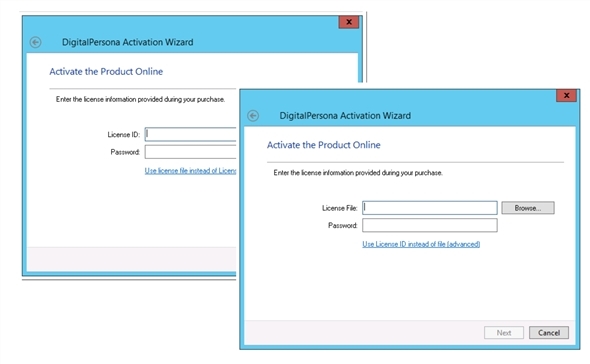
On the next page, enter the License ID and password provided with your product purchase. Or, if you have been given a License Activation (.dplic) file, click the Use license file instead of License ID link to display a page where you can activate the product with the License Activation file.
-
Click Next. Upon successful activation, a confirmation dialog will display.
Published information
The DigitalPersona Server publishes its service using the following properties:
-
Service Class Name, DPAltusSvr.
-
Service Class GUID, set to {708A50AA-F647-49E8-820A-F3D6BAF02330}.
The Server publishes its service in compliance with the Active Directory Service Connection Point specifications.
Uninstalling DigitalPersona LDS Server
DigitalPersona LDS Server can be uninstalled from the Add/Remove Programs Control Panel in Windows if you have administrator privileges on the domain on which DigitalPersona LDS Server is installed.
The software is listed as “DigitalPersona LDS Server.”
When you uninstall the Server software, the published information (described in Published information) is removed.


