Managing Your Users
Search For and Filter Users
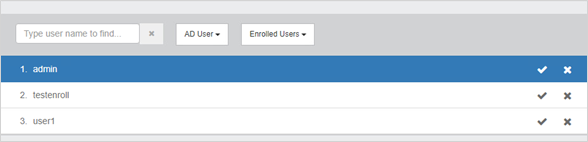
Use the Search field and Users drop down menu to search for and filter enrolled users by their status (that is, all Enrolled Users or only users whose accounts have been locked (Locked Users)).
When displaying AD Users, if Organization Units exist in Active Directory, you can click on an OU to display users within that Organizational Unit or the Up arrow to view a parent OU.
Display User Details
Most of the user properties and settings are accessed from the Details panel, which by default is hidden when first logging into the console. This panel displays user details, properties, credentials and task buttons. It also indicates whether any credentials required during Attended Enrollment were omitted and shows the reason the administrator provided for their omission.
To open the Details panel, select a user and click Show details. When details are being displayed, Show details changes to Hide details.


Set the Policy for a User
To set the credentials required for an AD user to authenticate
-
Select a user.
-
Click Show details.
-
In the Details panel, click Set policy.
-
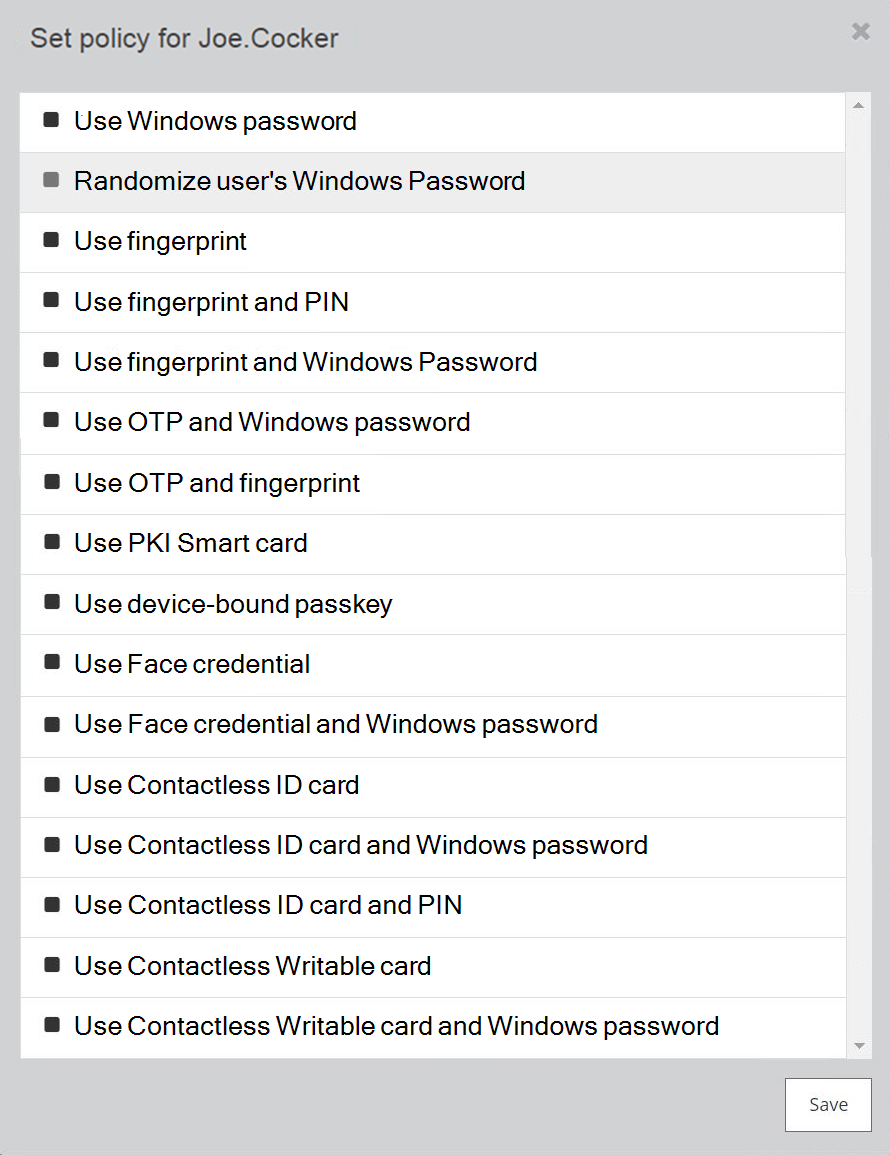
In the Set policy for ... window, you can set the user policies as described below.
Then click Save.
Use Windows password
When this option is set, the user will not be subject to any logon policy from DigitalPersona LDS.
Users will be able to logon with their password or PKI Smart Card as defined by the Windows logon settings.
By default this setting is turned off.
Randomize user's Windows Password
After selecting this option, the user’s Windows password will be randomized upon user authentication during the login process.
To return to an unrandomized password, the user will need to explicitly change their password after authenticating with another credential.
The user’s password will not be randomized in the case where a PKI Card is used to logon to Windows, even if this option is set the flag is set.
The Windows password for domain administrators cannot be randomized and this option will be grayed out in the UI.
Use fingerprint
The user must verify their identity with a fingerprint credential in order to log on to Windows. No other credentials can be used, except for supported recovery options such as Self Password Recovery.
Use fingerprint and PIN
The user must provide a PIN whenever a fingerprint is used to log on, to unlock the computer or to change their Windows password. The fingerprint PIN option adds another level of security to logging on with a fingerprint.
Use fingerprint and Windows Password
The user must verify their identity with their fingerprint credential in addition to Windows authentication (a PKI Smart card or password according to the Windows policy setting).
Use OTP and Windows password
When this option is set, the user must provide a One-Time Password and their Windows password to log on.
Use OTP and fingerprint
The user must verify their identity with their fingerprint credential in addition to using the OTP credential.
Use PKI Smart card
When this option is set, the user must use a PKI Smart card to log on.
Use device-bound passkey
When this option is set, the user must use a passkey (device-bound or synced) to log on.
Use Face credential
When this option is set, the user must use a Face credential to log on.
Use Face credential and Windows password
The user must verify their identity with their Face credential in addition to Windows authentication (a PKI Smart card or password according to the Windows policy setting).
Use Contactless ID card
When this option is set, the user must use a Contactless ID card to log on.
Use Contactless ID card and Windows password
The user must verify their identity with a Contactless ID card in addition to Windows authentication (a PKI Smart card or password according to the Windows policy setting).
Use Contactless ID card and PIN
The user must verify their identity with a Contactless ID card and its associated PIN.
Use Contactless Writable card
When this option is set, the user must use a Contactless Writable card to log on.
Use Contactless Writable card and Windows password
The user must verify their identity with a Contactless Writable card in addition to Windows authentication (a PKI Smart card or password according to the Windows policy setting).
Manage Credentials
To manage the credentials of a selected user:
-
If user details are not shown, click Show Details.
-
Click the Manage Credentials button.
The HID DigitalPersona Enrollment application is displayed, where you can enroll and manage the user’s credentials.
See Enrolling Users and their Credentials for further details.
Remove a User's Credential
To remove one or more of a user’s enrolled credentials:
-
Select a user.
-
If user details are not shown, click Show Details.
-
Under Credentials, click the X next to the credential that you want to unenroll.
-
Confirm the removal by clicking OK.
Recover Password (User Recovery)
The HID DigitalPersona Administration Console provides assisted access to
To recover a user’s Windows access:
-
Ask the user to click the Options/One-time access code button on the Windows logon screen.
-
The user will read the Security Key displayed on the screen.
-
A DigitalPersona administrator or designated person types the Security Key into the User recovery window and clicks Next.
Unlock the Account
The Unlock the account button is used to unlock the account of a user whose account has been locked because of too many failed authentication attempts using DigitalPersona credentials.
This button is not active (is grayed out) unless the account is locked.
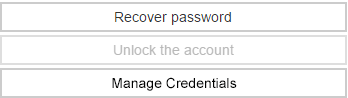
Once the account is locked, the button becomes active, and pressing it will unlock the specified user’s account.
After the first 10 fingerprint authentication failures, each further attempt will be delayed by 20 seconds.
After a further 10 unsuccessful attempts, additional attempts will be delayed by 5 minutes.
A successful fingerprint authentication or a computer restart will reset the counter.
Delete/Unenroll a User
To delete a user and unenroll the credentials of a DigitalPersona user:
-
Select a user.
-
Click the X next to the user name.
-
Confirm the deletion by clicking OK.
Their name will be removed from the list and the associated license returned to the license pool.
-
If the user is a Non AD User, they will be removed from the LDS database and their credentials deleted.
-
For AD Users, although their credentials will be deleted, their Active Directory account cannot be removed through the DigitalPersona Administration Console, but must be deleted through Active Directory.
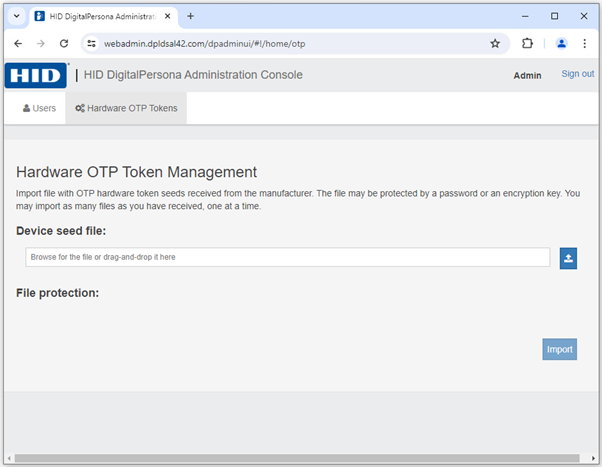
Manage Hardware OTP Tokens
To use hardware-based OTP tokens, you must import seed files provided by the hardware vendor to the DigitalPersona Server.
-
Select the Hardware OTP Tokens tab.
-
Drag-and-drop the OTP hardware token seed file(s) received from the manufacturer for your tokens into the Device seed file text box, or click Browse to navigate to the file.
The file format must be PKSC, although the actual file extension may be PKSC, xml or there may be no extension.
Additional file formats may be supported, see your channel partner for updated information.
Files may also be protected by a password or an encryption key.
-
If the file is protected by an encryption key or a password, select the appropriate radio button and enter the encryption key or password provided by the token vendor.
-
Click Import.


