Additional Fields for Visitors
This section describes how to create additional fields for Visitors (Check-In).
-
Admin users can add up to 20 text fields (including dropdown and text fields) and 5 date fields.
-
The field name length is restricted to a maximum of 500 characters.
Add Additional Fields
-
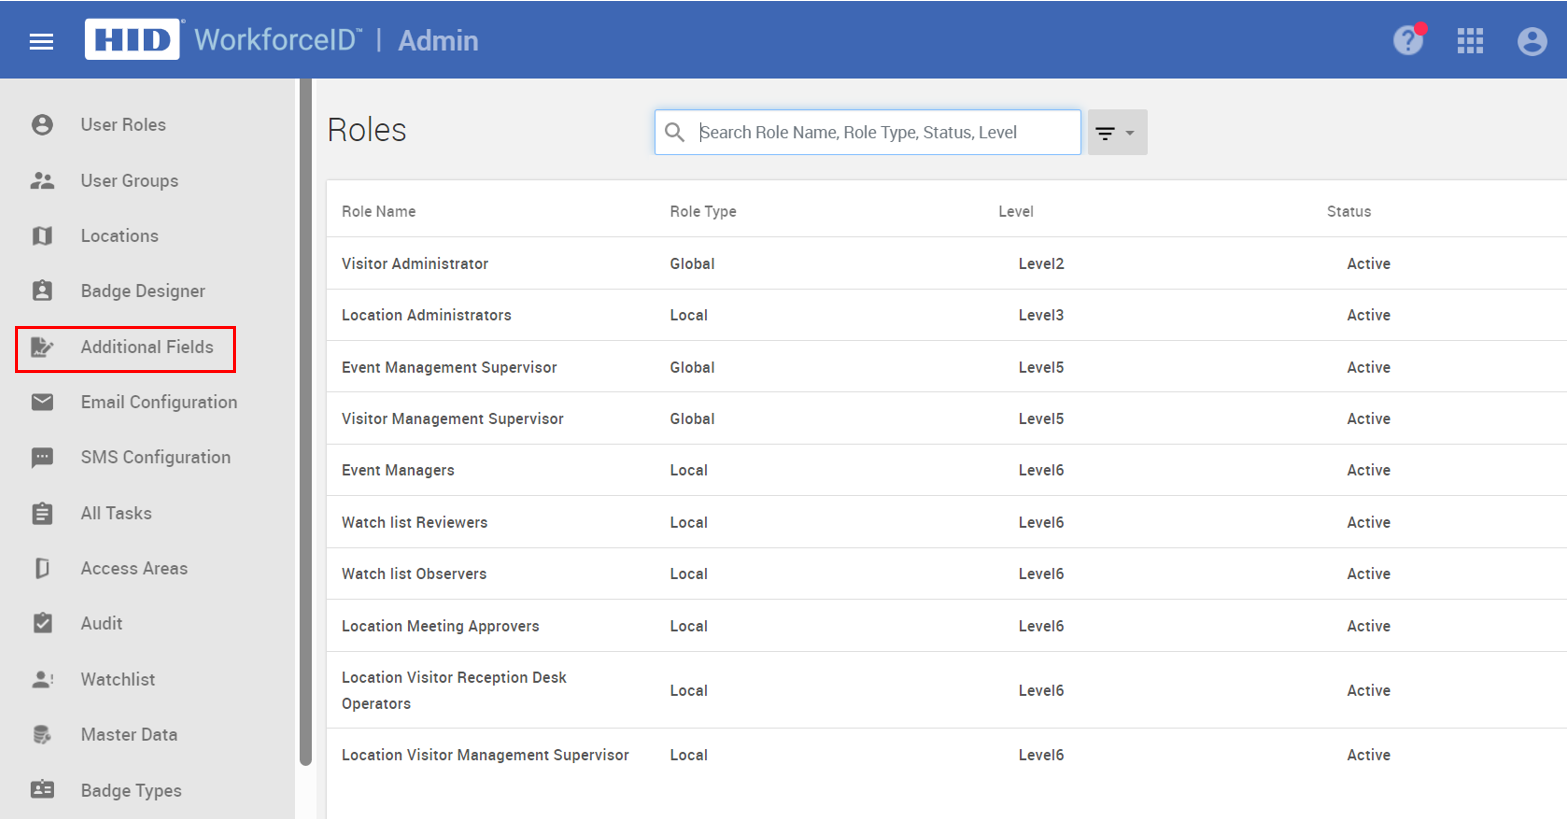
Select the Admin application from the App Launcher and click on the Additional Fields tab.
-
Adding a New Field
-
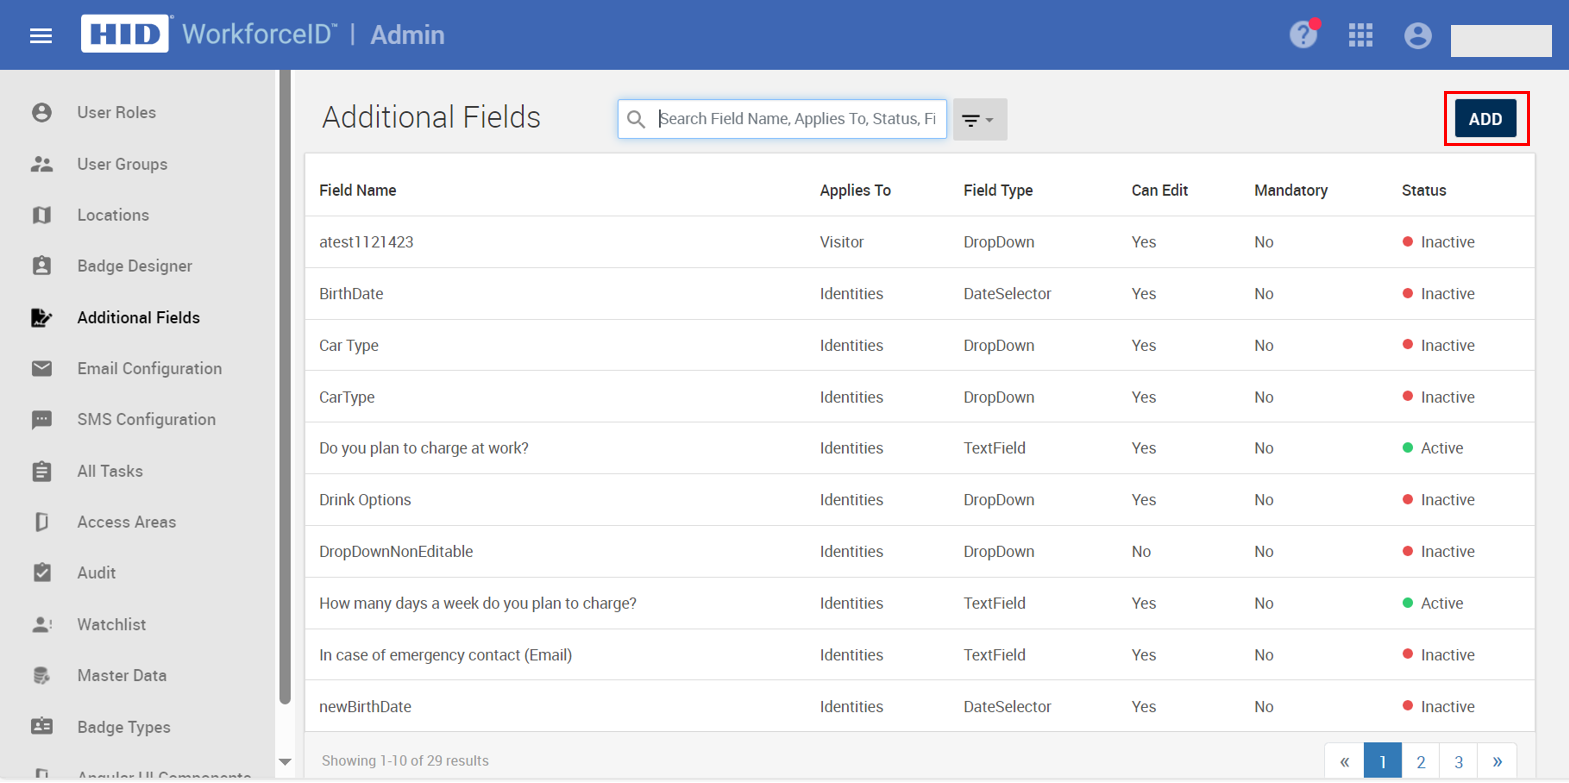
Click the ADD button to open the page for creating new additional fields.
-
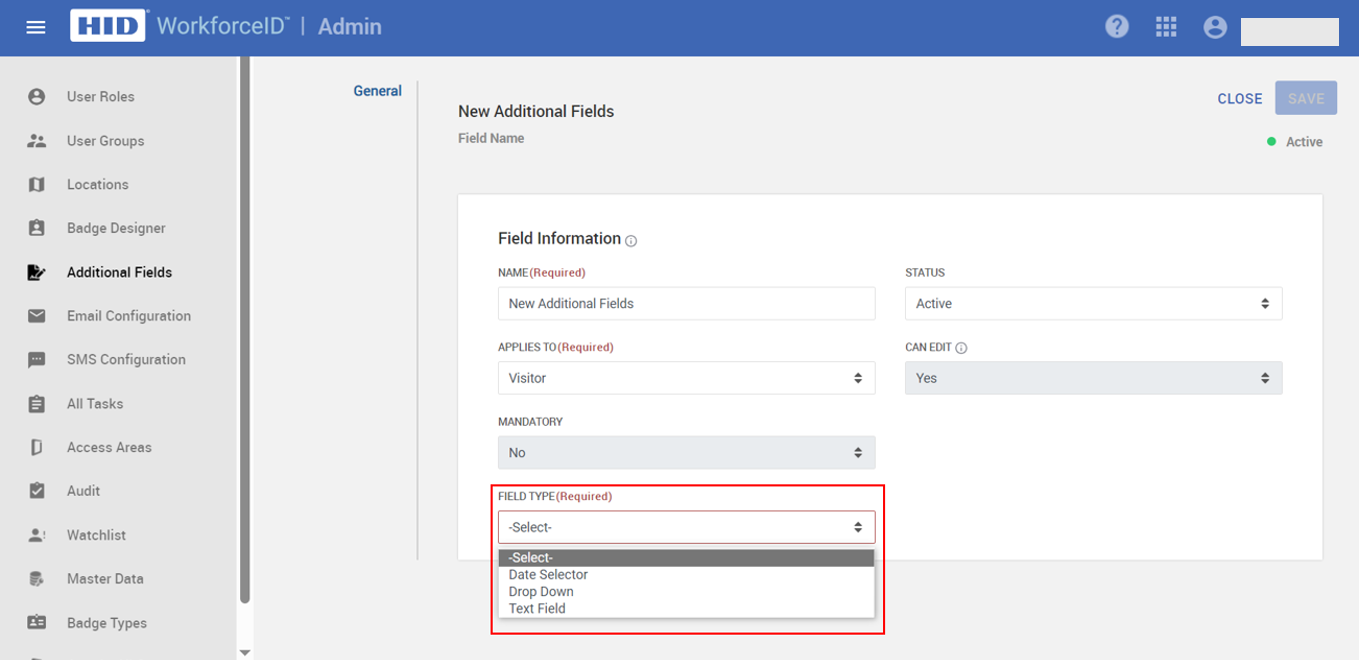
Enter a name for the new field (maximum character limit: 500).
-
The Applies To field lets you choose the object for which this field applies. Select Visitors.
-
Select the Field Type from the dropdown menu. Choose from Date Selector, Drop Down, or Text Field.
-
Date Selector: No further action is needed. A date type field will be created.
-
Drop Down: You will need to provide a list of dropdown options separated by semicolons (;).
-
Text Field: Select a field validation type to add validation to the text field. Leaving this blank creates a text field with no validation.
-
-
Enable Additional Information Flag
Once the additional fields are added, the next step is to enable the Additional Information flag during the check-in process.
-
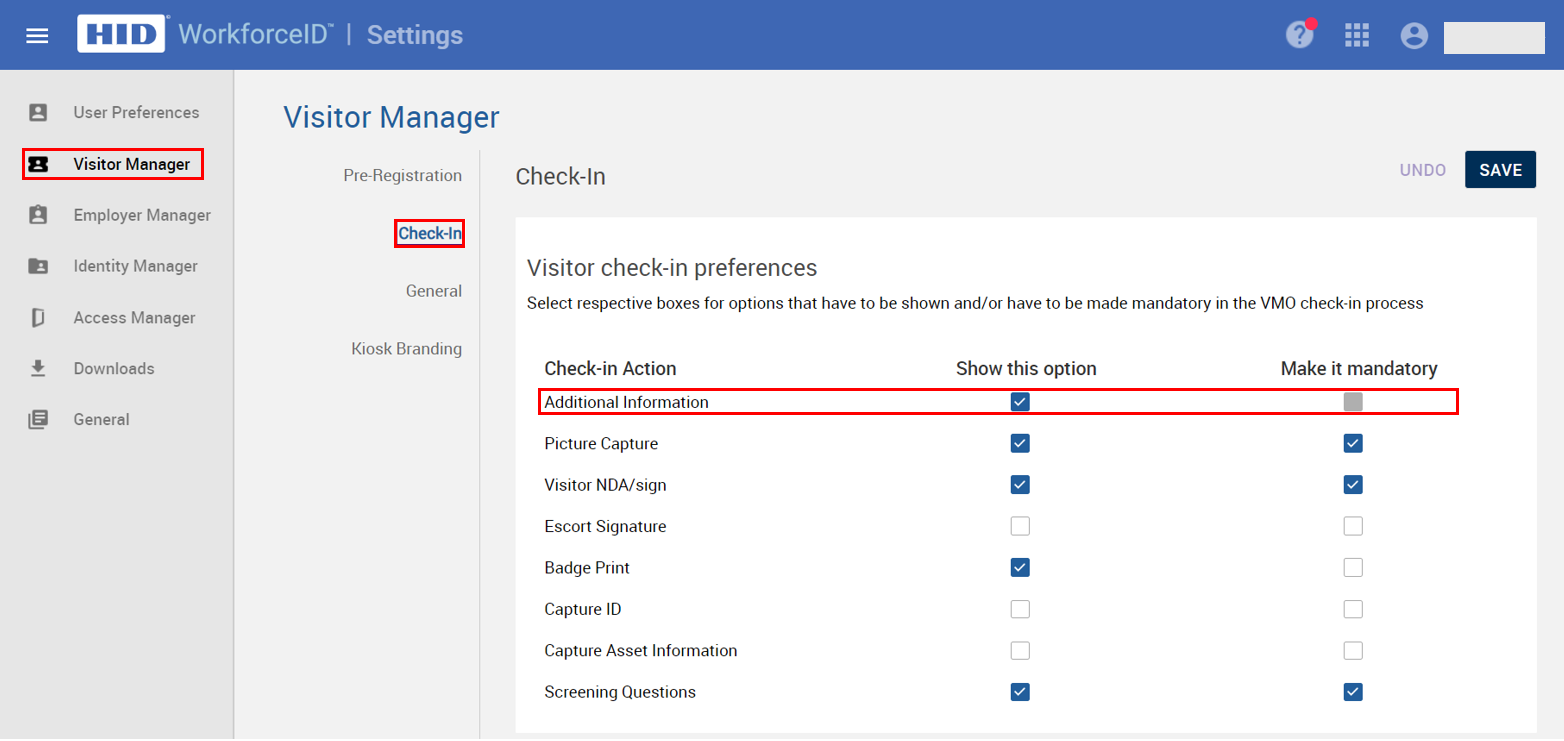
Navigate to the Settings application > Visitor Manager tab > Check-In sub-tab.
-
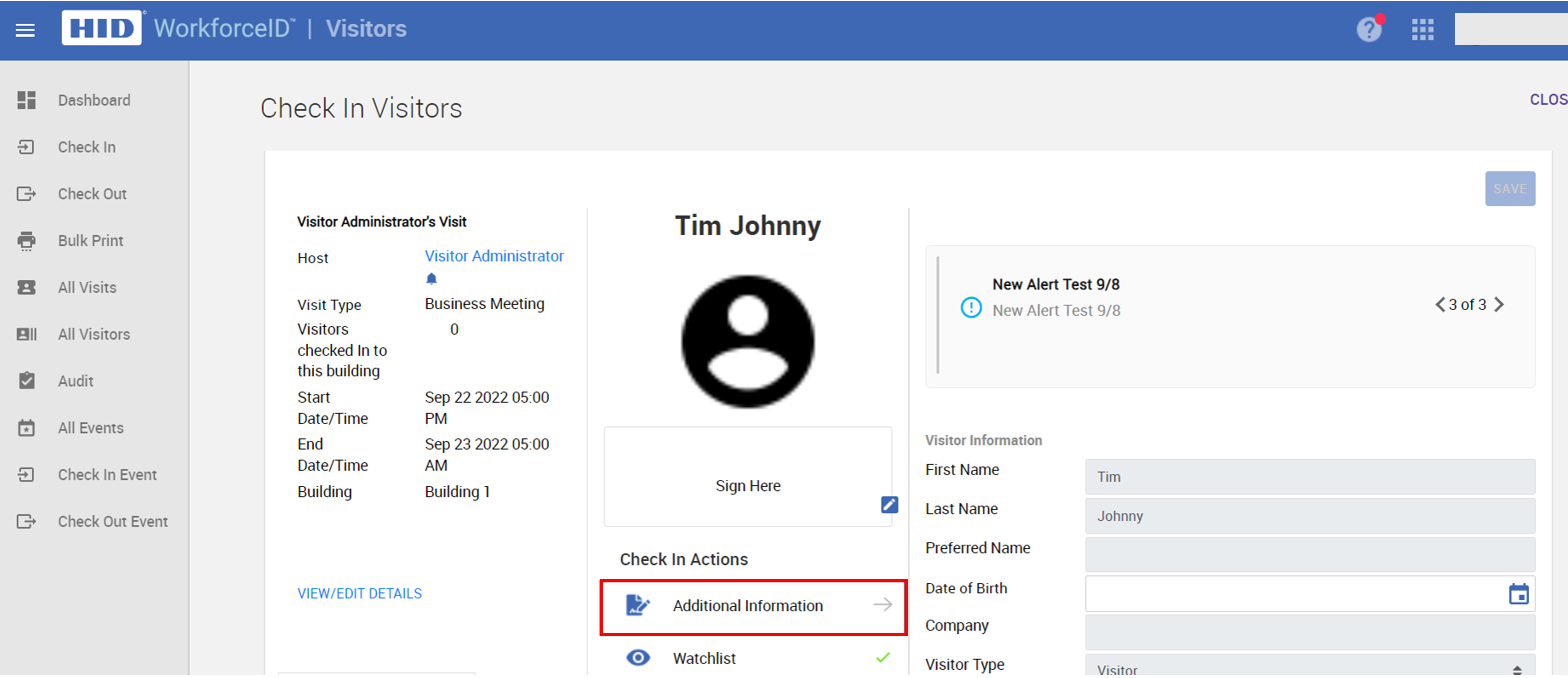
Check the Additional Information option as required. Once this is checked, a VMO can gather additional information from visitors during the check-in process.
Additional fields created for Visitors are available in the check-in screen.
Related Topics:
