Configuring the ActivID Appliance for HID RMS
The following sections explain how to configure and deploy HID RMS in your ActivID Appliance deployment.
It illustrates a configuration based on the HID RMS Sample provided in the ActivID Appliance delivery.
You have the following information available:
RMS Source provider account information
Values for the Channel ID and Application ID (defined during the preparation phase with HID Professional Services)
If you want to add an Adaptive Authentication Rule, make sure the required authentication policies are assigned to the channel that you want to use with HID RMS
Add a New RMS Source
-
Log on to the ActivID Management Console as an ActivID Administrator.
-
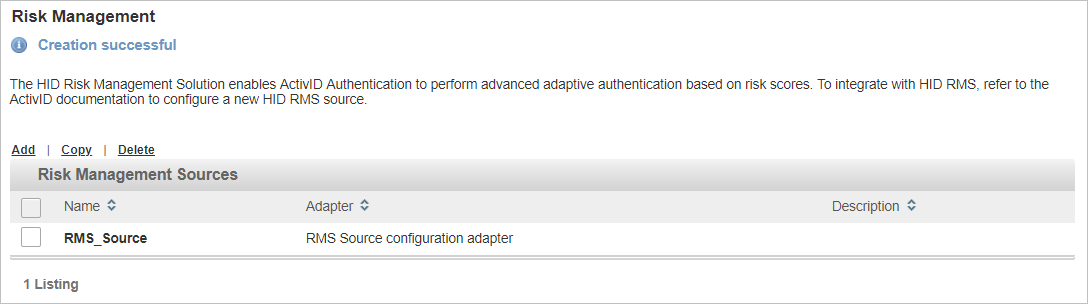
Select the Configuration tab and, under Environment, select Risk Management.

-
Click Add.
-
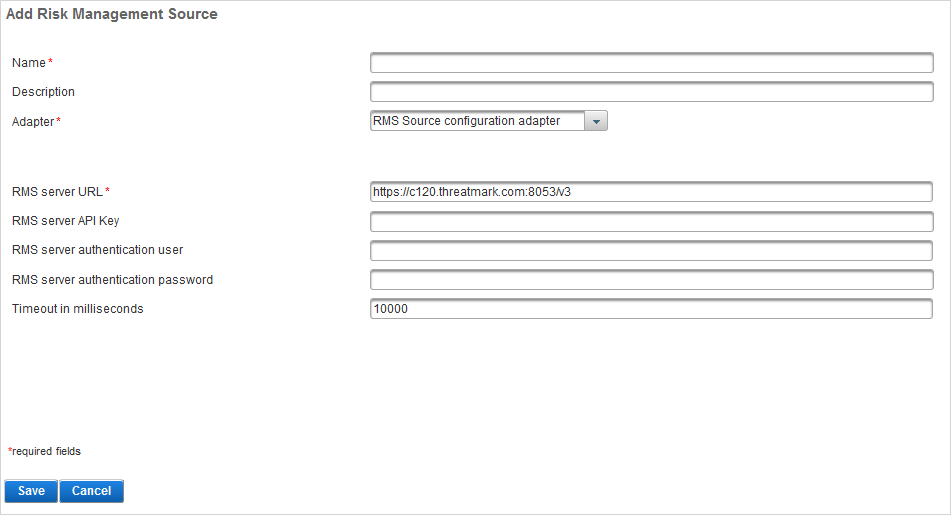
Enter a Name for the source.
-
From the Adapter drop-down list, select RMS Source configuration adapter.
-
Enter the values for the following parameters, defined in RMS Source provider account information:
Parameter Definition RMS server URL
URL ID used to authenticate to the RMS Provider
Defined by the HID RMS deployment account settings
RMS server API key
RMS server API key used to identify the account
Note: Not supported in this version of the solution.RMS server authentication user
Server authentication used to authenticate to the RMS Provider
Defined by HID RMS deployment account settings
RMS server authentication password
Server authentication password used to authenticate to the RMS Provider
Defined by HID RMS deployment account settings
-
Enter the Timeout (in milliseconds) for the server connection.
-
Click Save.
Bind the RMS Source to a Channel
You can bind the RMS source to the required channel by configuring the channel’s Adaptive Authentication settings.
-
Log on to the ActivID Management Console as an ActivID Administrator.
-
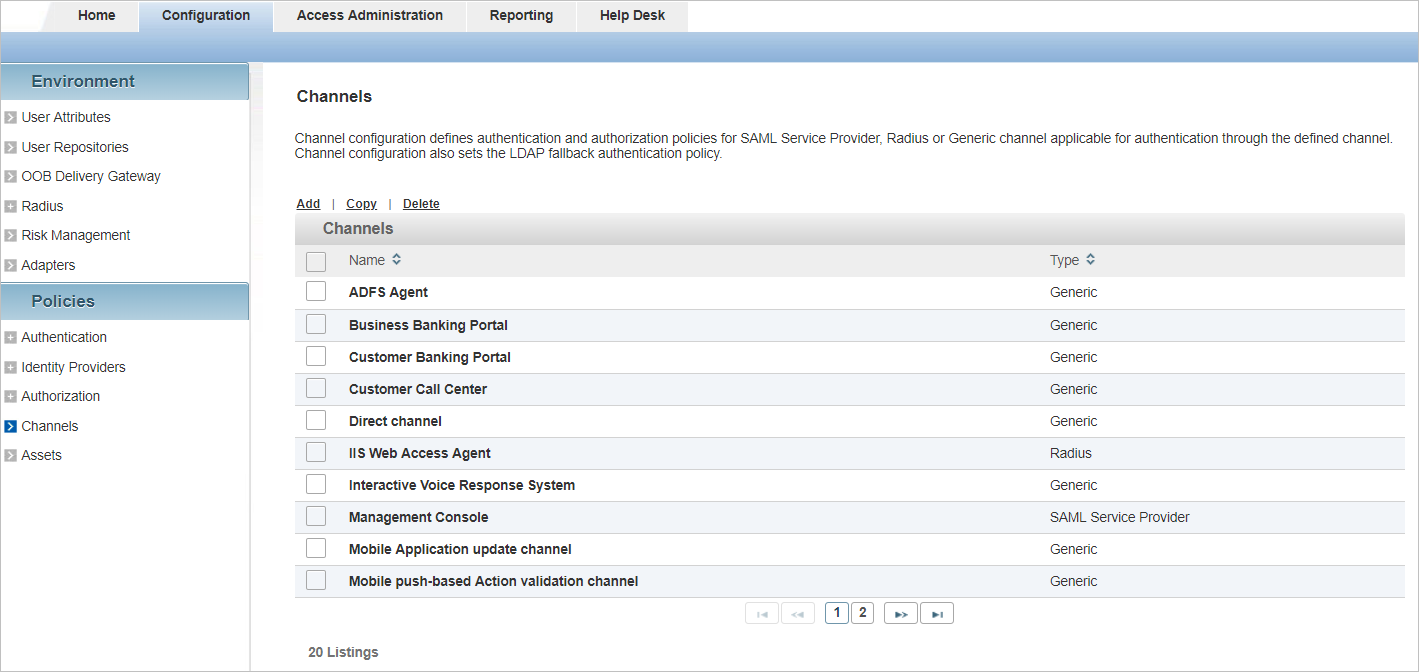
Select the Configuration tab and, under Policies, select Channels.
-
Click the name of the generic channel to which you want to bind the RMS source (in this example, Business Banking Portal).
Important: All requests missing the required HID RMS parameters will be rejected once the channel is configured for HID RMS. Therefore, it is strongly recommended that you do not configure the direct channel (CH_DIRECT) for HID RMS. -
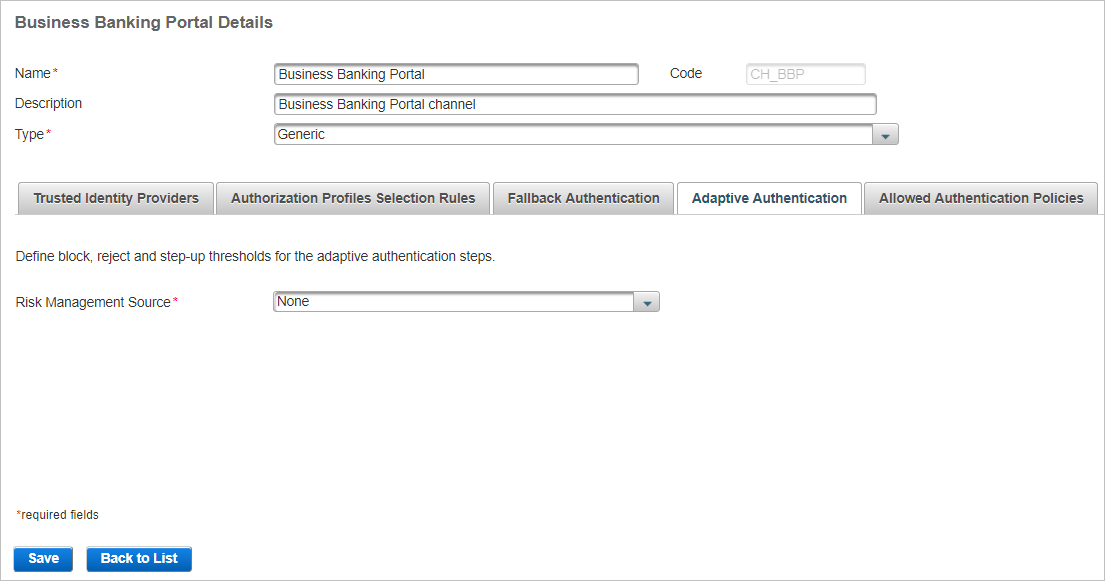
Select the Adaptive Authentication tab.
-
From the Risk Management Source drop-down list, select your RMS source.
Note: If there is an existing HID RMS configuration enabled on the channel, you can remove it by selecting None as the source and then saving the configuration.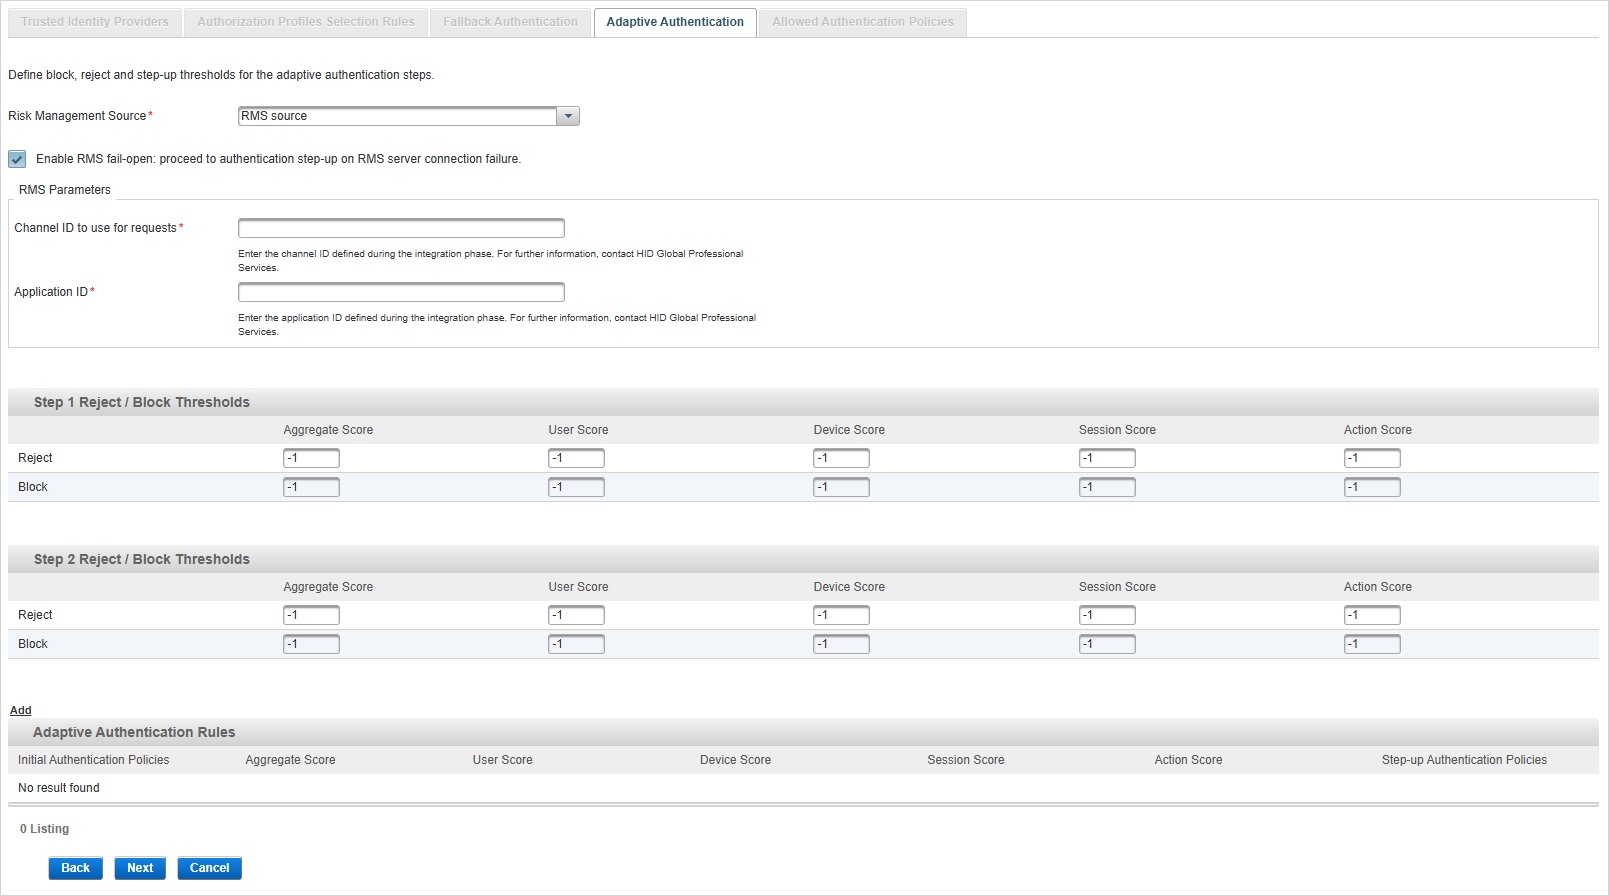
By default, the Enable RMS fail-open… setting is enabled so that authentications on this channel will be allowed if the HID RMS server is down (or cannot be reached). The user will be prompted for a step-up authentication (if configured), or the authentication will be accepted.
To reject all the authentications on this channel if the HID RMS server is down (or cannot be reached), clear this setting.
-
Enter the RMS Parameters defined during the integration phase:
-
Channel ID to use for requests
-
Application ID
-
-
Proceed to Configure the RMS Thresholds for a Channel.
Configure the RMS Thresholds for a Channel
You can define the Reject and Block thresholds for the following risk scores:
-
Aggregate Score
-
User Score
-
Device Score
-
Session Score
-
Action Score
It is recommended that you contact HID Global Professional Services to define the thresholds.
-
Log on to the ActivID Management Console as an ActivID Administrator.
-
Select the Configuration tab and, under Policies, select Channels.
-
Click the name of the generic channel for your RMS deployment (in this example, Business Banking Portal).
-
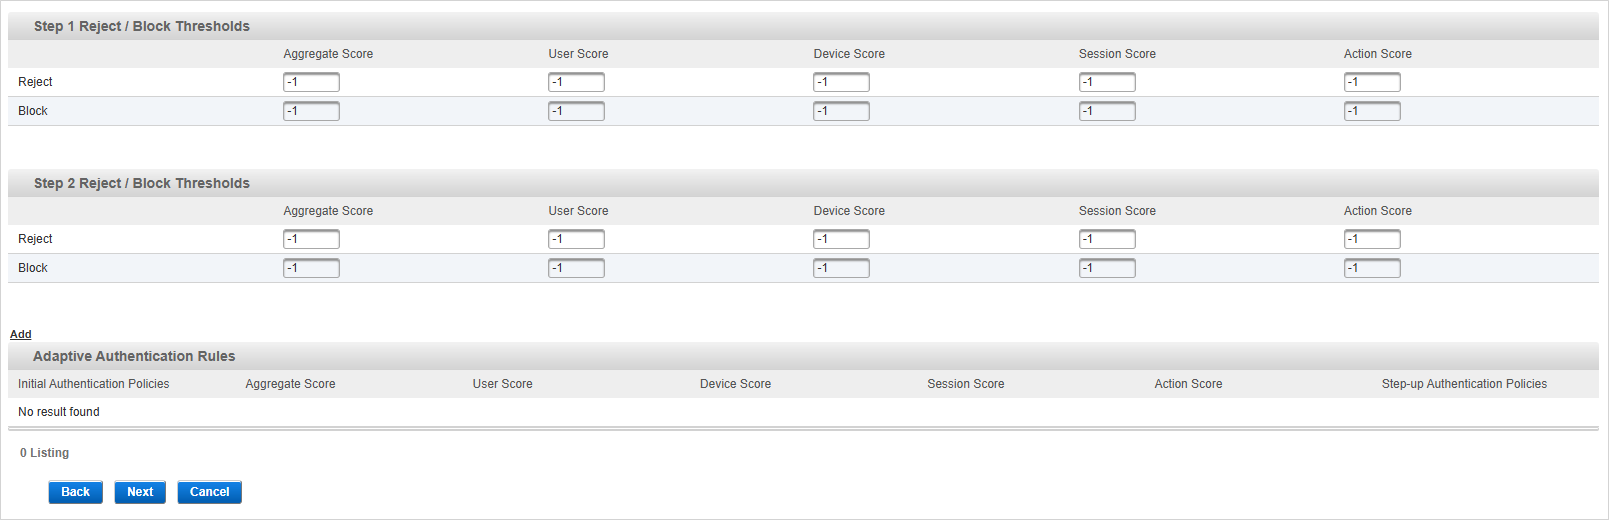
Select the Adaptive Authentication tab and go to the Thresholds section.
-
Define the Step 1 and Step 2 Reject/Block Thresholds for risk scoring that should be applied during step-up authentication.
Threshold Description Step 1 Blocked Threshold
Value of the threshold beyond which the authentication will be blocked and rejected during first authentication.
Step 1 Reject Threshold
Value of the threshold beyond which the authentication will be rejected during first authentication.
Step 2 Blocked Threshold for step-up
Value of the threshold beyond which the authentication will be blocked and rejected during second authentication.
Step 2 Reject Threshold for step-up
Value of the threshold beyond which the authentication will be rejected during second authentication.
Note:By default, the Step 1 and Step 2 Reject and Block thresholds are set to -1, representing the ‘off’ state where the threshold is not considered.
You do not need to activate both the Reject and Block thresholds.
You can define Reject and/or Block thresholds only for the Step 1 authentication and not Step 2 (that is, no step-up authentication). In this case, all the authentication policies allowed for the channel will be considered for Step 1.
 Constraints regarding the thresholds
-
All the Reject and Block thresholds must be between -1 and 1000 (where -1 is off).
-
All Step-up thresholds must be between 0 and 1000 (to disable step-up, delete the corresponding rule - no need for -1).
-
A Step 1 Reject threshold must be higher than any Step-up threshold (unless Reject is -1).
-
If Step 1 Reject threshold is disabled (-1), then Step 1 Block threshold must be higher than any Step-up threshold (unless Block is -1).
-
For Step 1 and Step 2, the Block threshold must be higher than corresponding Reject threshold (if both are defined and not set to -1).
-
The comparison is exclusive - if you have defined a threshold value, the scores concerned by the action (step-up, reject or block) are those that are exclusively superior to the defined value.
Summary:
-
For Step 1, if both Reject and Block thresholds are defined (not -1), then: 0 <= Step-up < Reject < Block <= 1000
-
For Step 2, if both Reject and Block thresholds are defined (not -1), then: 0 <= Reject < Block <= 1000
-
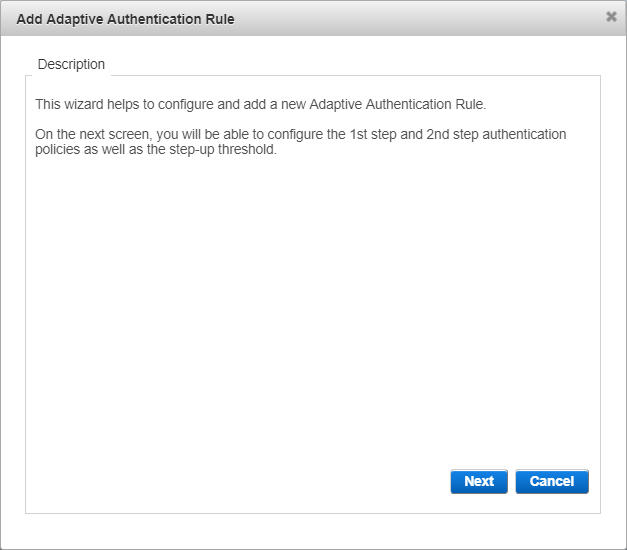
Optionally, you can configure the step-up authentication policies and threshold for the Step 1 authentication by clicking Add in the Adaptive Authentication Rules section.
-
Click Next.
-
Step 1 authentication policies for step-up authentication:
-
If an authentication request returns a score lower than the reject threshold (therefore, blocking threshold), ActivID Appliance verifies if an adaptive authentication rule exists for the authentication policy used.
-
If a rule exists and the score is higher than the configuration step-up threshold, then the list of allowed policies for second authentication is returned for the user to perform a second authentication.
-
If the current authentication refers to an unlisted policy, or if no Adaptive Authentication Rule has been set, the first authentication is successful.
-
-
Step 2 authentication policies for step-up authentication:
During step-up authentication, if the current authentication refers to an unlisted policy, then the authentication will fail.
Important:During a second authentication, the channel configuration from the first authentication is used to check if the second authentication policy is allowed.
If you add a new Authentication policy to a channel, you must update the Adaptive Authentication Rule accordingly (that is, if a step-up is required). The rule should also be updated if you remove an Authentication Policy from a channel (although the policy cannot be used even if it is not removed from the list).
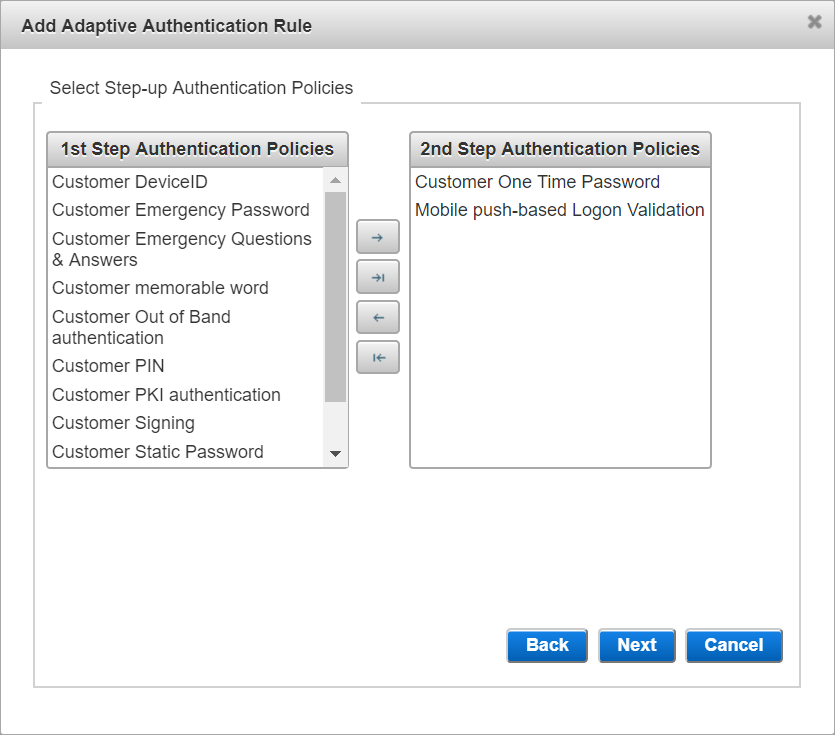
The HID RMS Demo sample only demonstrates step-up authentication with the OTP or Mobile Push-based Logon validation policies.
-
-
Use the arrow buttons to move the required authentication policies from the 1st Step Authentication Policies list to the 2nd Step… list and click Next.
Note: You must select at least one authentication policy for the 2nd Step list and have at least one authentication policy remaining in the 1st Step list (that is, neither list must be empty).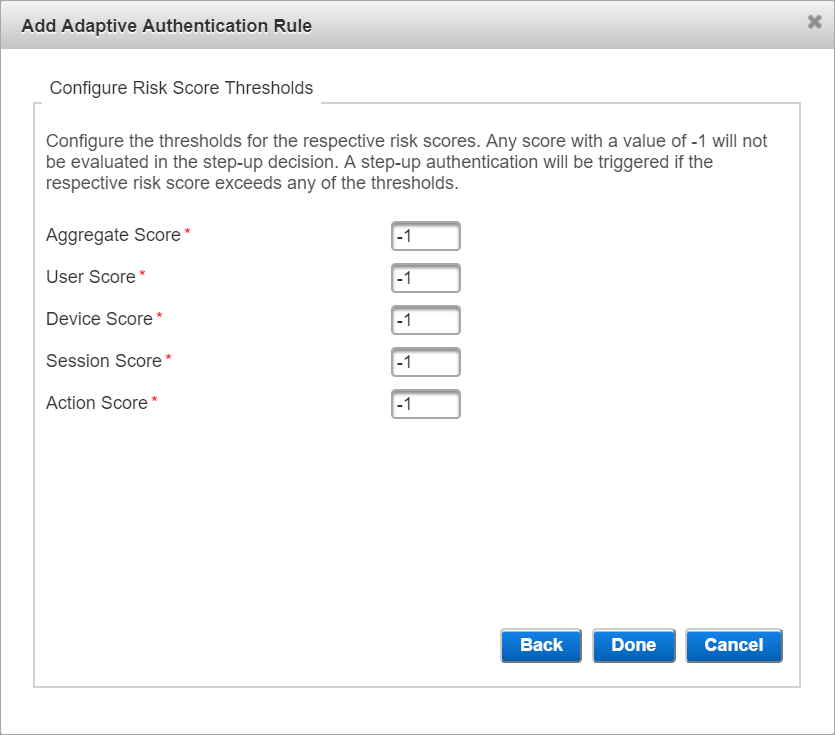
-
Enter the Risk Score Thresholds beyond which the authentication will require a step-up action and click Done.
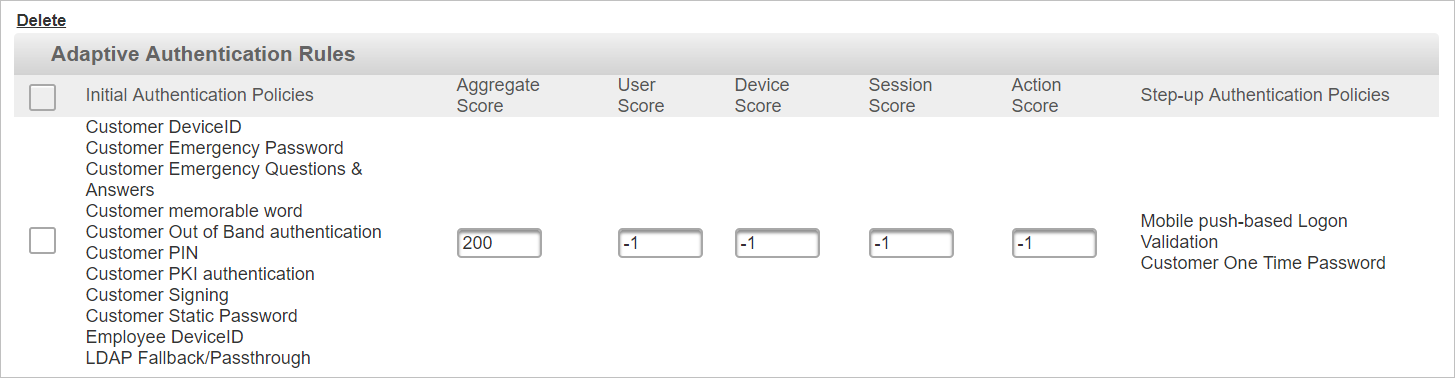
In this release, you can only enable one Adaptive Authentication Rule and edit the threshold values
You can edit the threshold values directly in the rule configuration if necessary
Configure the Proxy
A proxy must be configured as a part of the HID RMS deployment:
-
The proxy server should be installed with a valid SSL certificate. The Root CA for this SSL certificate should be imported into the ActivID Appliance keystore.
-
Redirect URLs should be configured in the proxy property files for the following locations:
Location Redirect URL /public/scripts/ib.js
https://<HIDRMSServerhost:port>/application/ib/get-js
/auth/ib-session
https://<HIDRMSServerhost:port>/application/ib/probe-request
/RMSDemoPortal
https:/<RelyingPartyApplicationServerIP:port>/RMSDemoPortal/
For further details, see the example in HID RMS Proxy Configuration Example.
Configure a Push-Based RMS Step-up Solution
This section provides an overview of the configuration required for an HID RMS step-up authentication that leverages the ActivID Push-Based Validation solution.
Configure Push Based Authentication Policies
-
Log on to the ActivID Management Console as an ActivID Administrator.
-
In the Configuration tab, under Policies, select Device Types and configure the Mobile push based Validation (DT_TDSV4) Device type.
-
In the Configuration tab, under Environment, select OOB Delivery Gateway and add the Azure WNS Push Delivery Adapter.
-
In the Configuration tab, under Authentication, select Authentication Policies and assign this adapter to the Mobile push-based Logon Validation (AT_PASA) and Mobile push-based Action Validation (AT_TDS) authentication policies.
-
Search for the spl-api user and, in the Wallet tab, add a static password authenticator based on the System Static Login authentication policy.
For further information, see Configure the Push-Based Validation Authentication Policies.
Configure HTTP Callback (CIBA)
The HTTP callback function is used for push-based logon validation during step-up authentication:
-
In the Configuration tab, under Environment, select User Attributes add a new attribute to store the CIBA callback URL of your application (for example, ATR_CIBACB).
-
In the Access Administration tab, under User Organization, select User Types and enable the new attribute for the Systems User Type (in the User Attributes tab).
-
In the Configuration tab, under Environment, select Adapters and add a new CIBA HTTP callback post-process adapter (post-authentication) on the Mobile push-based Action and Validation channels.
-
In the Configuration tab, under Environment, select OOB Delivery Gateway and add the CIBA Callback Delivery Adapter with the CIBA callback URL of your application.
-
In the Configuration tab, under Authentication, select Authentication Policies and assign this adapter to the Mobile push-based Logon Validation (AT_PASA) and Mobile push-based Action Validation (AT_TDS) authentication policies.
-
Search for the spl-api user and, in the ATR_CIBACB field, enter the CIBA callback URL of your application.
For example, https://myrmsproxy/RMSDemoPortal/CB/getApprovalStatus
For further information, see Enable Validation Feedback using CIBA Notifications.
Configure Continuous Authentication
The RMS risk score evaluation process is also invoked when a user requests to renew an access_token using a refresh_token.
If the request’s score exceeds the thresholds, the renewal will be rejected, and the user must log on again.
To support Refresh tokens, the client scopes parameter of the OpenID adapter must be configured with "offline_access".
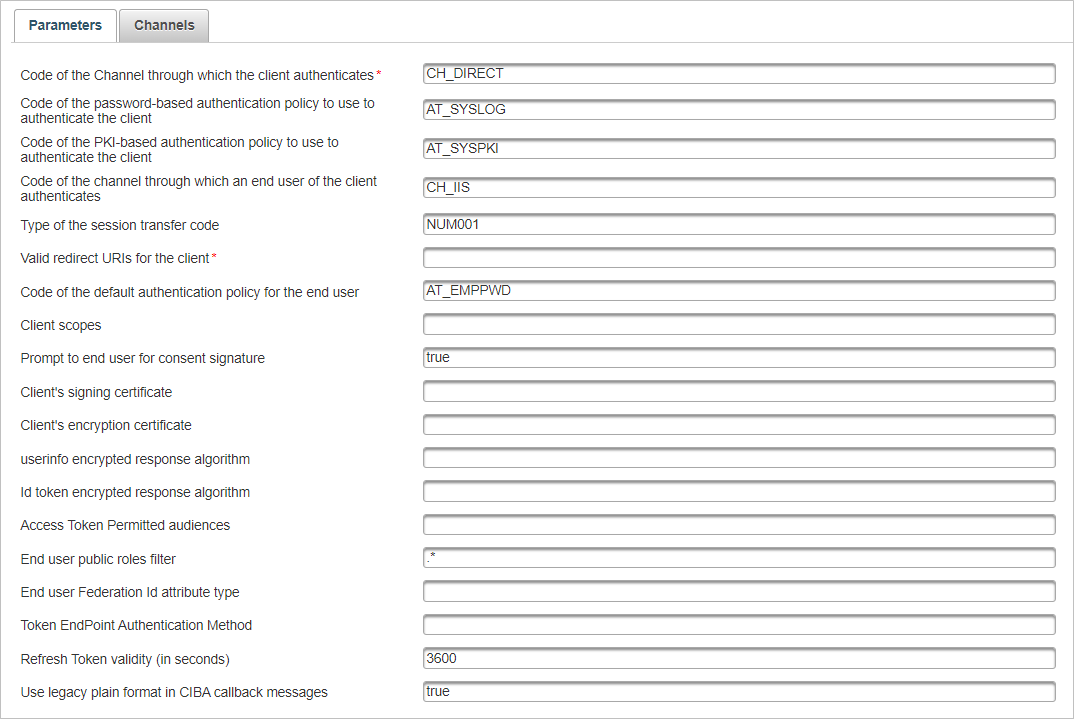
For further information, see configuring the OpenID client adapter.
If a channel has been configured with an RMS source, it must provide the RMS information in the "access_token" request. It must also be provided to renew the "access_token" using the "refresh_token".
As the risk score might change over time, and during the validity period of the authenticator, it is recommended that:
The risk score is re-evaluated regularly.
Deactivate the authenticator of a user whose score has exceeded the configured thresholds.
One method is to use the "session transfer" mechanism to check the score before any authorization renewal and reject if the score exceeds one of the thresholds.
Test the Configuration
To test the configuration:
-
As the user, activate an HID Approve service.
-
Authenticate with the user’s static password on the HID RMS Sample.
-
Retrieve the risk score in the ActivID Appliance audit.
See HID RMS Auditing or the ActivID Appliance logs.
Using the HID RMS Demo Sample
The HID RMS demo sample uses the ActivID OAuth/OpenID API (RESTful) and ActivID SCIM API (RESTful) to use a configured HID RMS on a defined channel (for example, Customer Banking Portal Channel).
It integrates the HID RMS JavaScript snippet in the header of all pages of its web application/portal. Also, it retrieves HID RMS cookies and includes them in the authentication requests sent to the ActivID Appliance.
Sample workflow:
-
It uses a static password login and, if the step-up threshold is reached, either asks for an OTP or sends a Mobile Push Logon Validation request to the HID Approve mobile application.
-
It then waits for the result of the Logon request on the RMS callback servlet.
For further information about installing and configuring the sample, refer to the readme provided with the sample.


