Configuring the Device Initialization Console
Set Your Company Information
-
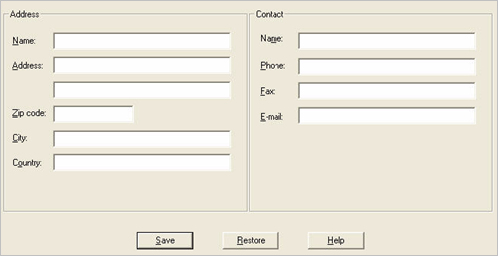
Click the Company folder at the top of the navigation tree or central pane.

-
Enter your company information and a main contact (perhaps yourself or another system administrator).
-
Click Save.
Initial Configuration
The Device Initialization Console automatically stores all devices at the Devices level in the Console’s navigation tree.
-
It is recommended that you create additional device repositories in the Console so that you can logically organize the storage of your initialized and imported devices. For more information, see Managing Repositories.
-
Initialize devices for the other Console users you will create. For more information, see Initialize a Device. You can also import pre-initialized devices for these Console users (see Import an Initialized Device).
-
Create other Device Initialization Console Administrators, Device Managers, and Audit Managers as needed and assign them initialized devices. For more information, see Managing Console Users.
-
Initialize devices as required for other users.
-
Finally, export device credentials to your application in order to deploy devices to end users. See Export Initialized Devices.


