Integrating with PingOne
A PingOne directory with a valid license for Ping Identity
A PingOne administrator account for your PingOne environment with the required roles to manage applications
The Administrator or Device Service Administrator role
Alternatively, you can use a custom role with the Create Configuration privilege for PingOne.
Create an Application
-
Log on to the PingOne admin console as an administrator for your PingOne environment.
-
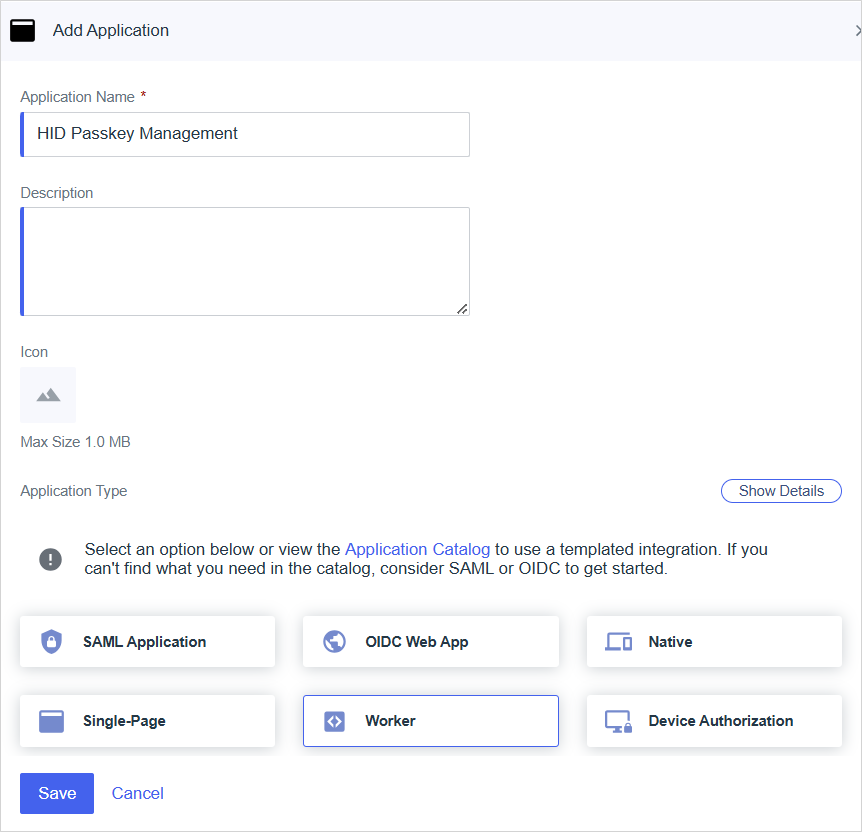
Expand and select Applications in the left menu and then click + to add an application.
-
Define the application's parameters:
-
Application Name - enter a name for your application
-
Description - enter a brief description for your application (optional)
-
Application Type - select Worker
For further information, go to Applications | PingOne Documentation.
-
-
Click Save.
-
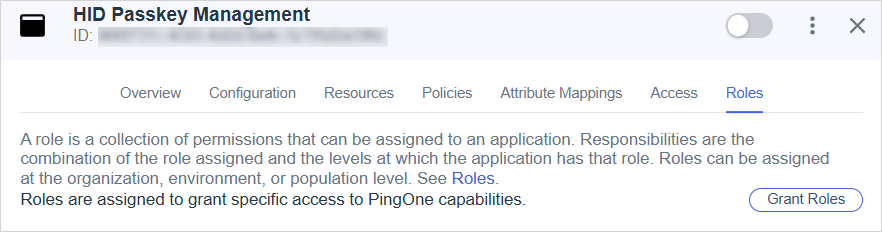
Select Roles in the application's top menu.
-
Click Grant Roles.

-
Add the following roles for your environment:
-
Environment Admin
-
Identify Data Admin
For further information, go to Configuring roles for a worker application | PingOne Documentation.
-
-
Click Save.

-
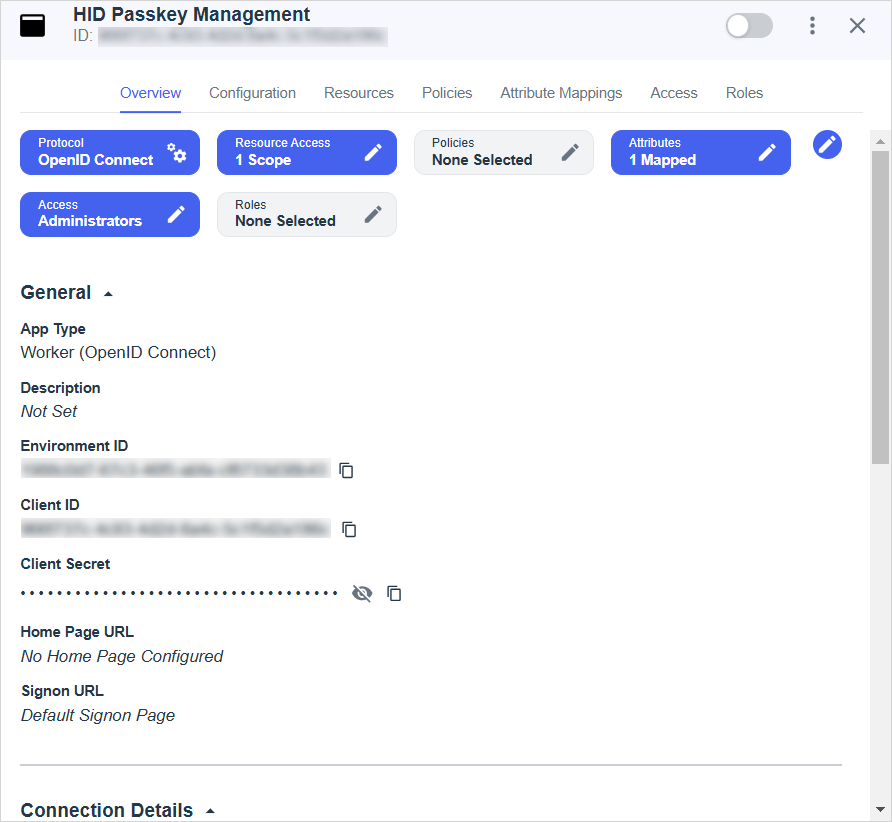
Select Overview in the application's top menu.
-
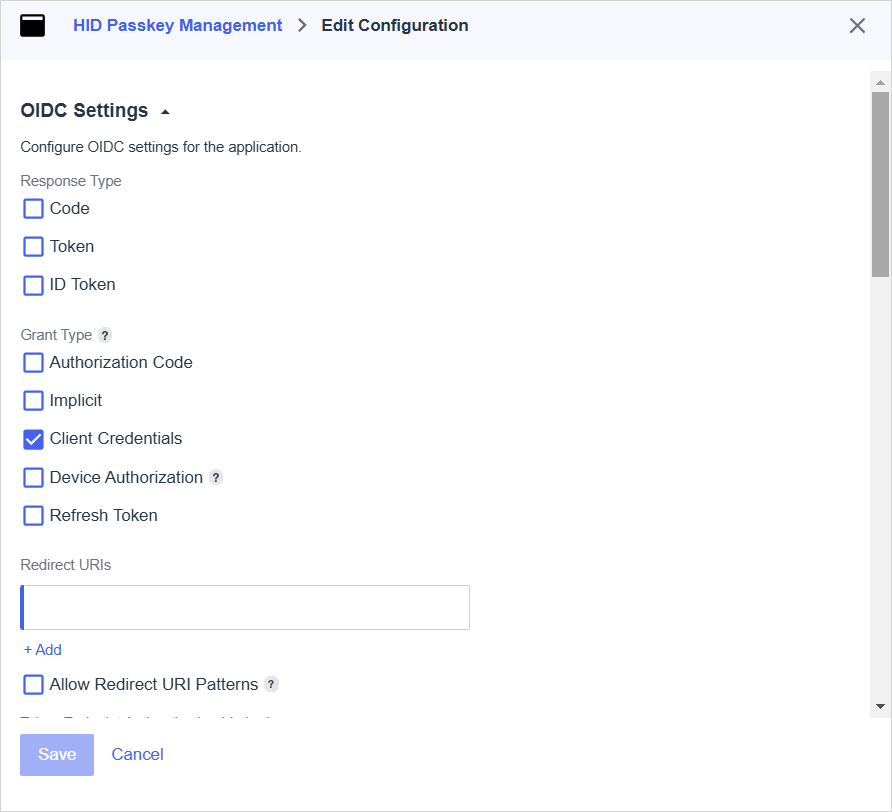
Click Protocol - OpenID Connect.
-
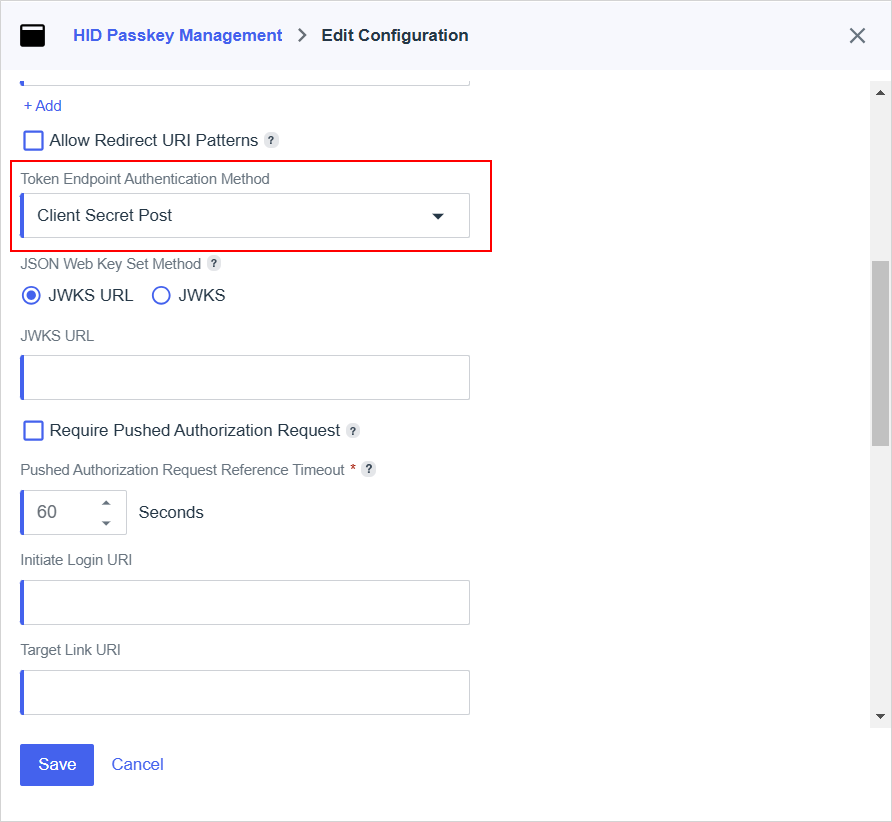
Scroll down to the Token Endpoint Authentication Method section and select Client Secret Post as the method.
For further information, go to Token endpoint authentication methods | PingOne Documentation
-
-
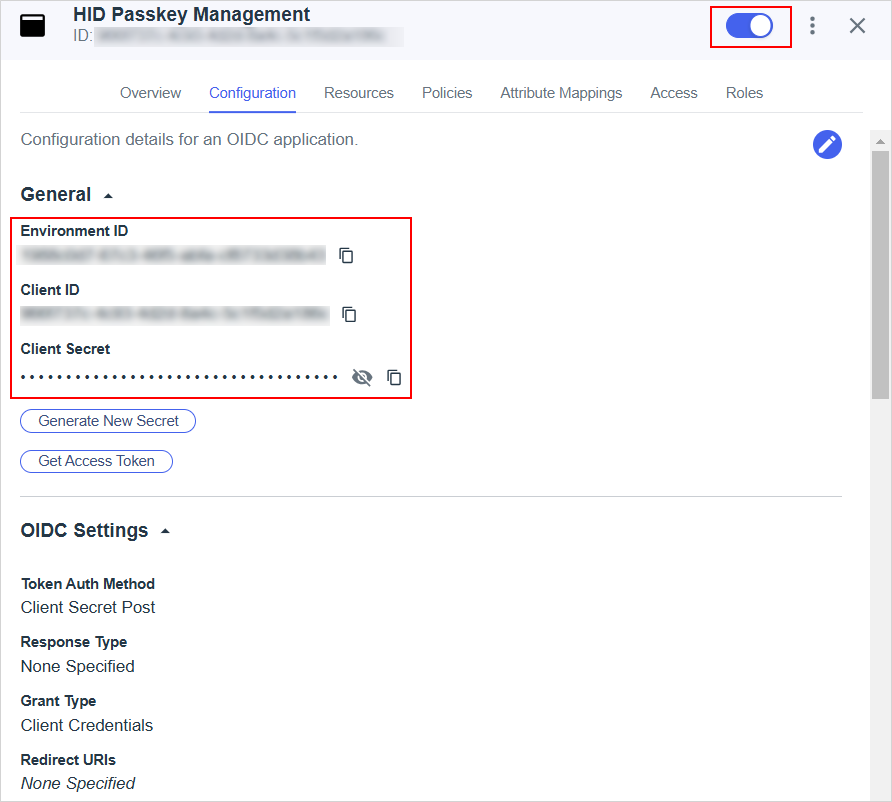
Make a note of the:
-
Environment ID
-
Client ID
-
Client Secret
Note: This information is required when configuring the connection to PingOne in Customer Central. -
-
Enable the application by toggling the button in the application's menu bar.
Define the Authentication Policies
-
Log on to the PingOne admin console as an administrator for your PingOne environment.
-
Expand Authentication in the left menu to display the Policies menu.
-
Select FIDO and either select an existing policy or create a new one with the following configuration:
Parameter Value Relying Party ID PingOne Discoverable Credentials Required Authenticator Attachment Both User Verification
-
Preferred
-
Enforce during authentication
Backup Eligibility
-
Disallow
-
Enforce during authentication
User Display Name
-
Attributes:
-
Email Address
-
Name (Given, Family)
-
Username
-
-
Additional Display Information:
-
Include Environment Name
-
Include Organization Name
-
Attestation Request
-
Attestation Type - Direct
-
Attestation Requirements - Allow Specific Authenticators
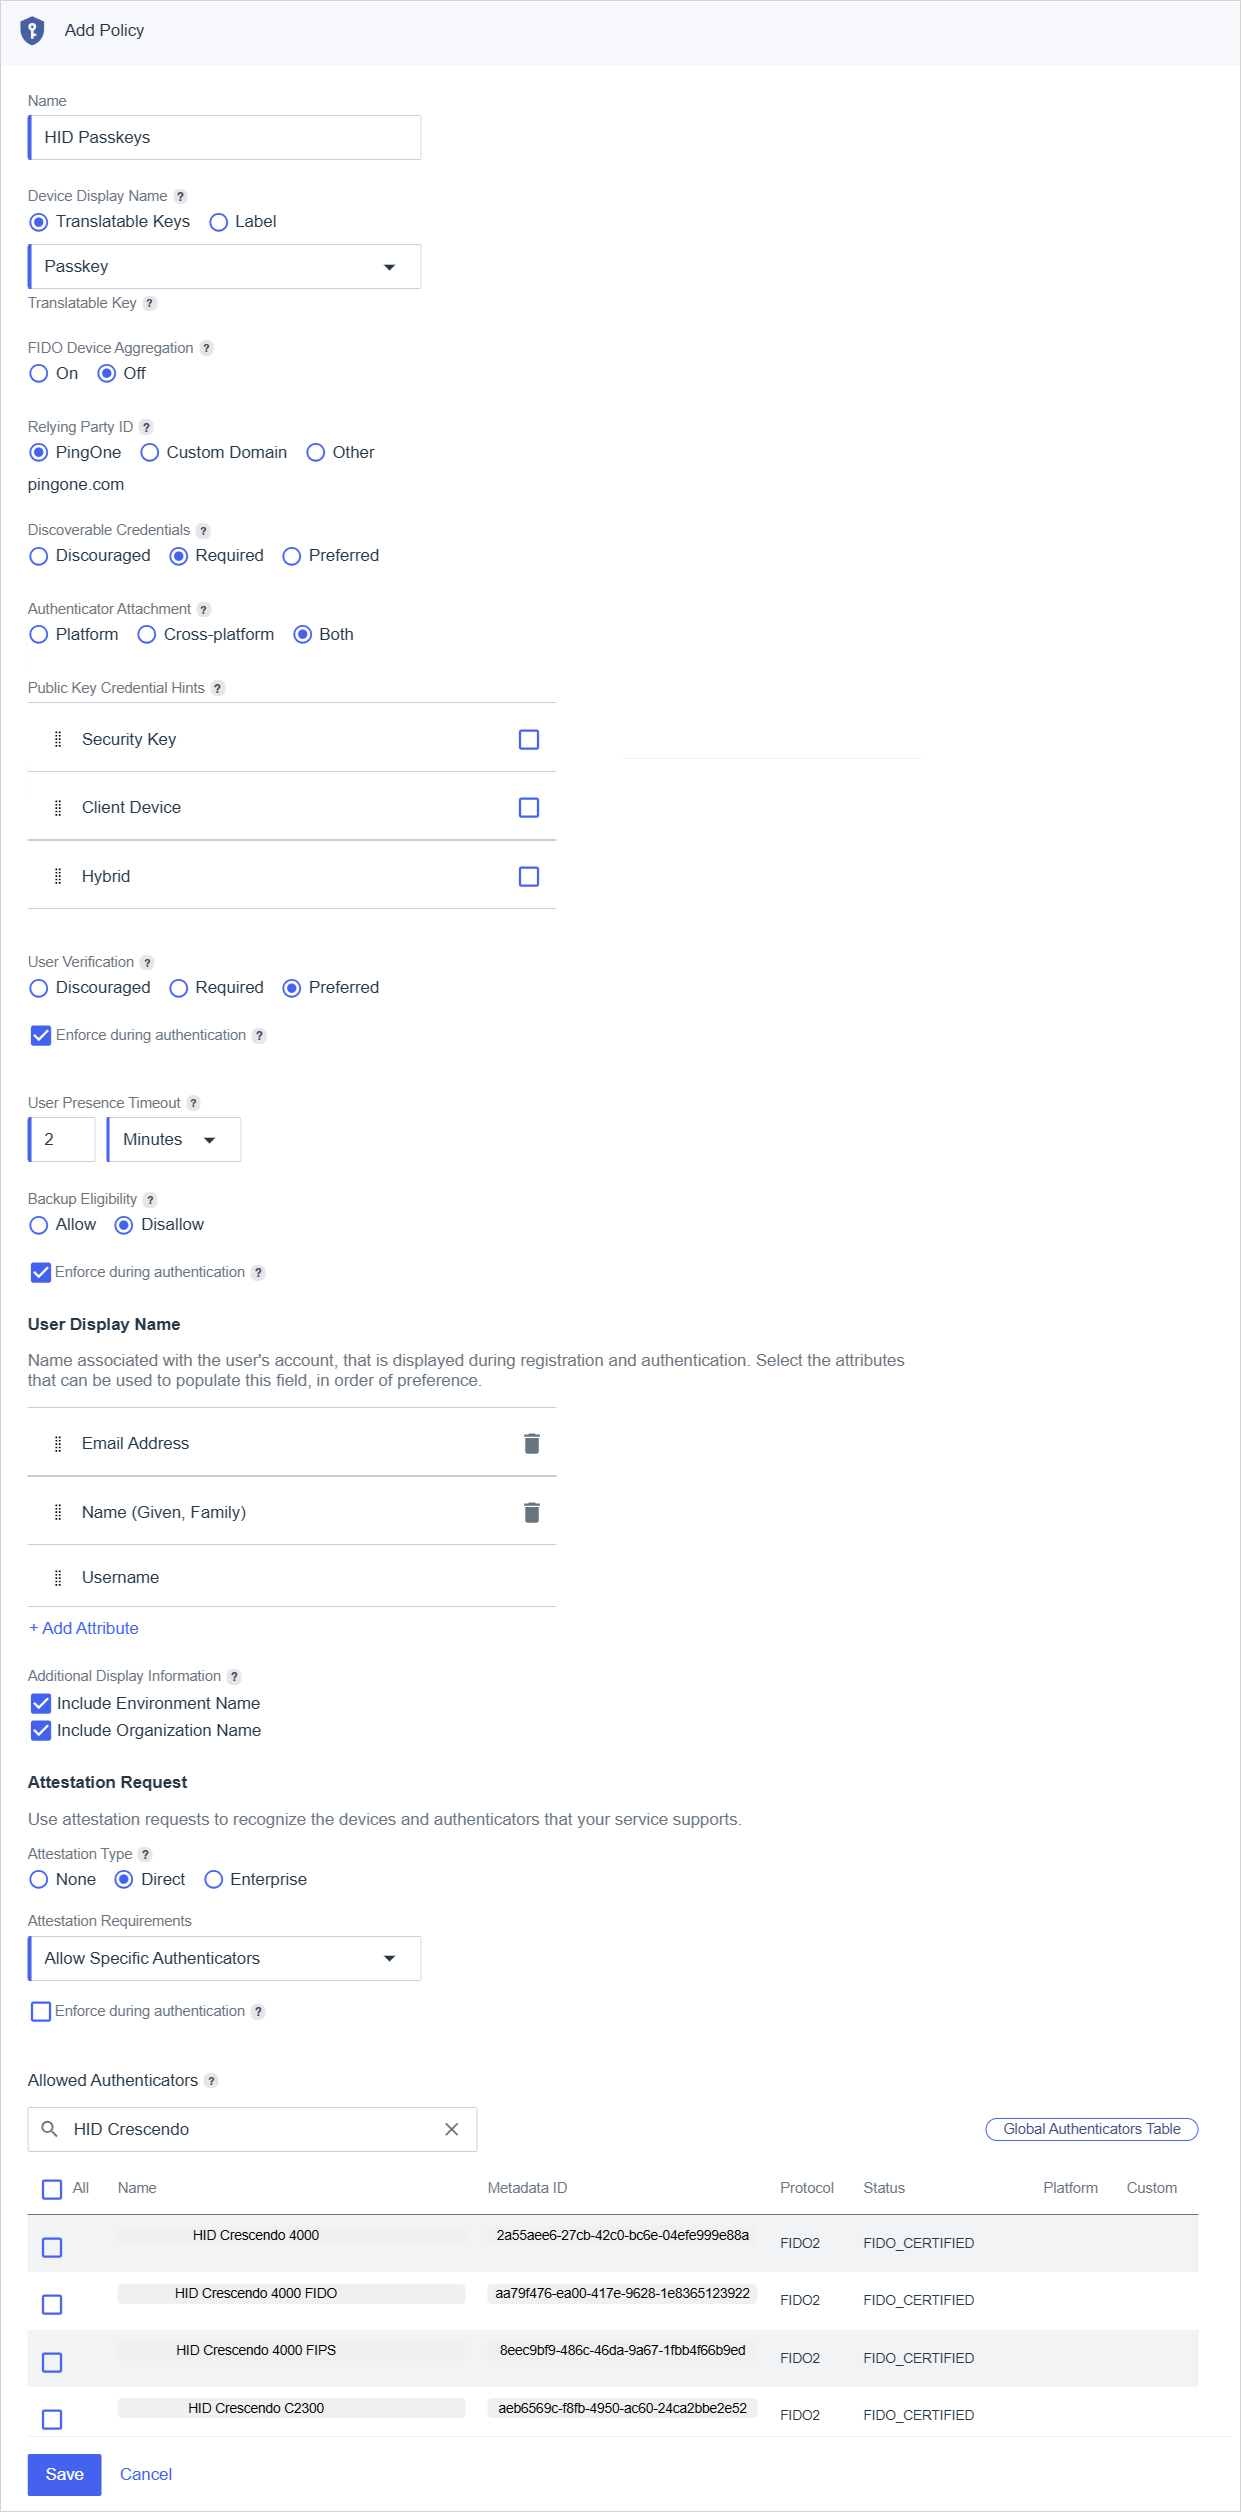
For further information, go to FIDO policies | PingOne Documentation.
-
-
Select MFA and either select an existing policy or create a new one with the following configuration:
Parameter Value Allowed Authentication Methods FIDO2 FIDO Policy The FIDO policy created above Allow Pairing Enabled 
For further information, go to MFA policies | PingOne Documentation.
-
Select Authentication and either select an existing policy or create a new one with the following configuration:
Parameter Value STEP TYPE Multi-factor Authentication MFA Policy The MFA policy created above 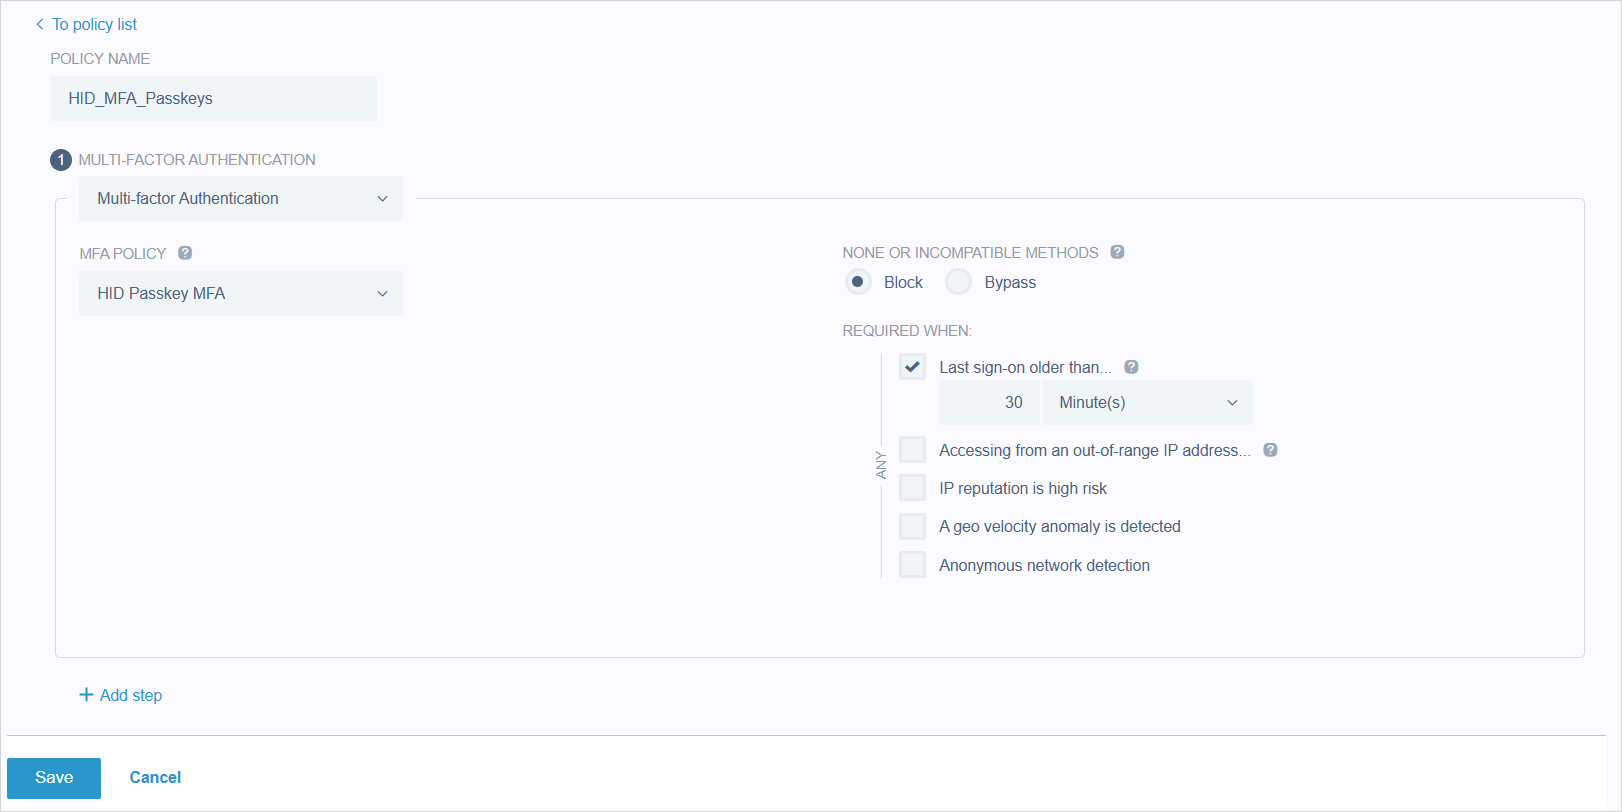
For further information, go to Adding a multi-factor authentication or PingID step | PingOne Documentation.
-
Enable the authentication policy for the application:
-
Expand and select Applications in the left menu and then select the application you created above.

-
Select Policies in the application's menu bar and click Add Policies.
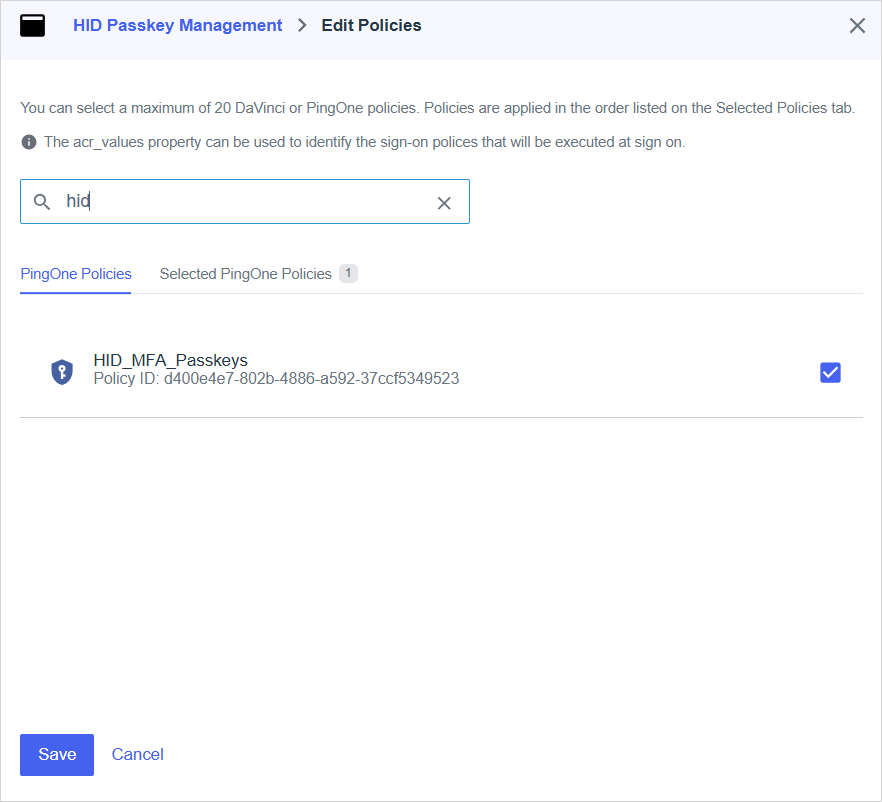
-
In the PingOne Policies tab, select the Authentication with MFA policy you created above and click Save.
-
Configure the Connection to PingOne
Before you can provision and enroll FIDO devices for your users, you must configure the connection between your PingOne application and Customer Central.
A valid license for the FIDO Provisioning service
To purchase new licenses or renew existing ones, contact your HID Account Manager.
The Administrator or Device Service Administrator role
Alternatively, you can use a custom role with the Create Configuration privilege for PingOne.
Created the application in PingOne and enabled passkey authentication for the service
Assigned the users or groups to the service
The following information that was obtained when you created the application in PingOne:
The Environment ID - the unique identifier that represents your organization's PingOne instance
This ID is used to identify which directory your Passkey Management application should communicate with and authenticate against.
The Client ID - the unique identifier that PingOne assigned to your Passkey Management application when you registered it
This ID is used to identify your application when it authenticates with PingOne.
Secret - the client secret credential used by your Passkey Management application to identify itself when requesting a token
-
Expand Service Settings
 in the left menu and select Directory Configuration.
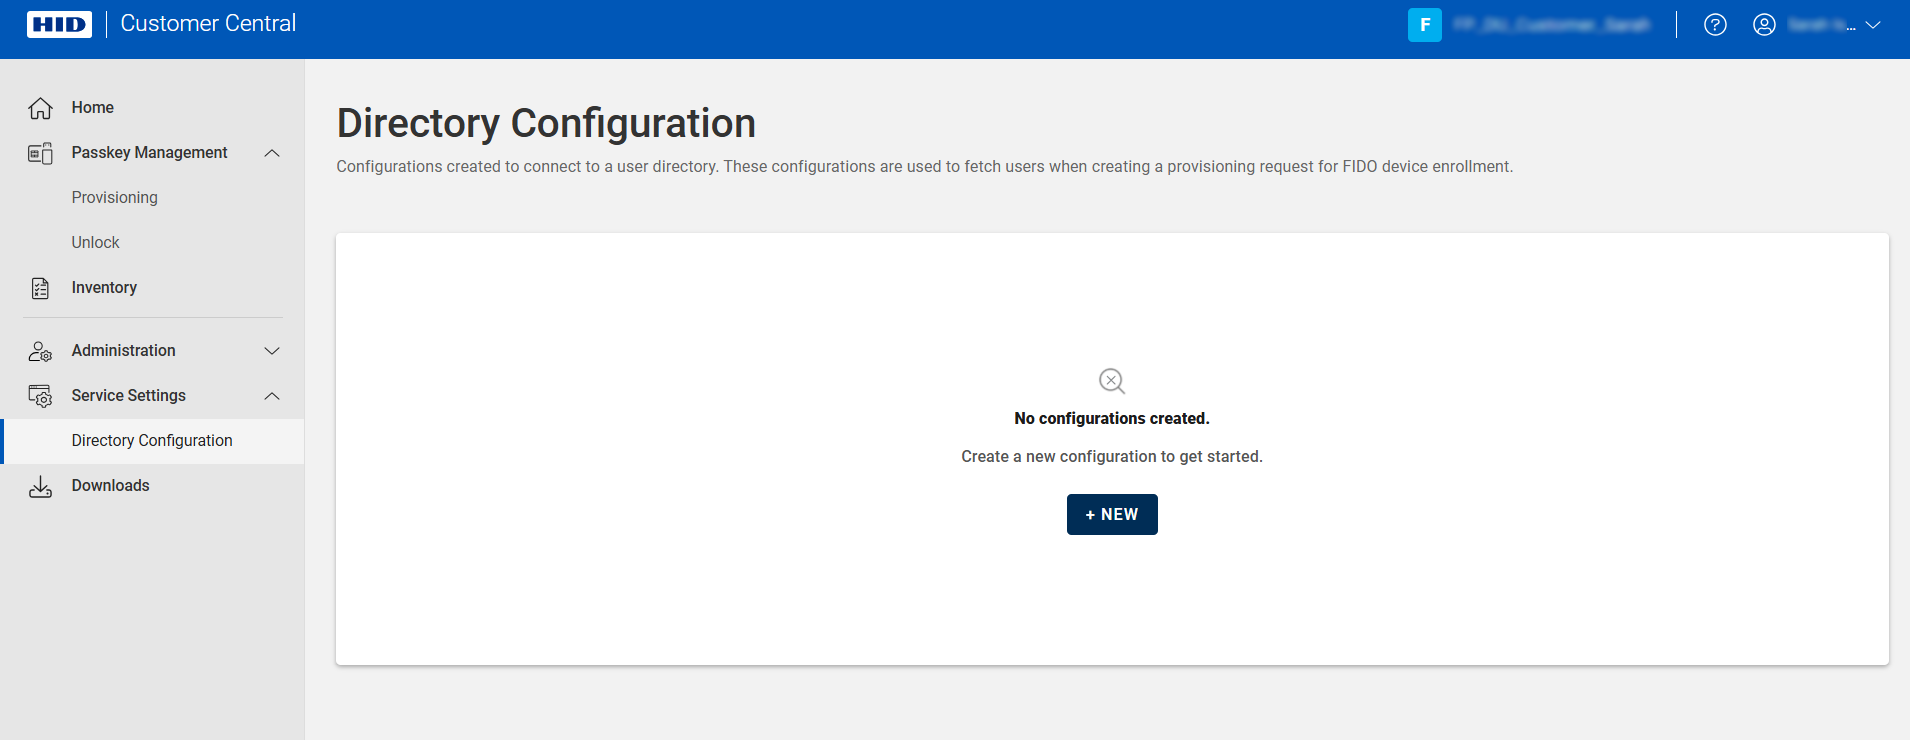
-
Click NEW.
-
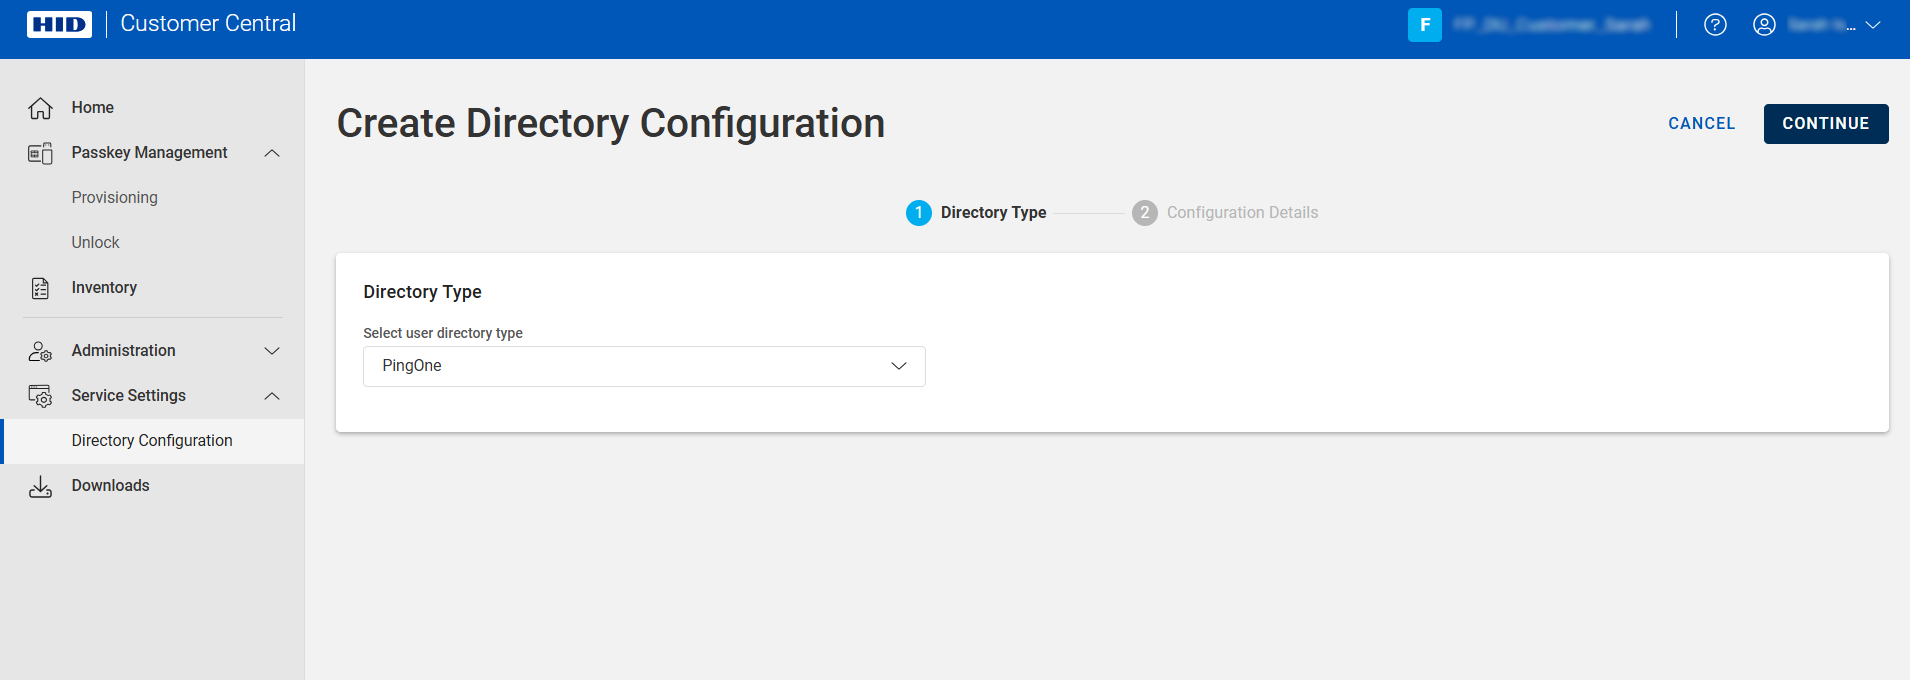
Select PingOne as the directory type and click CONTINUE.
-
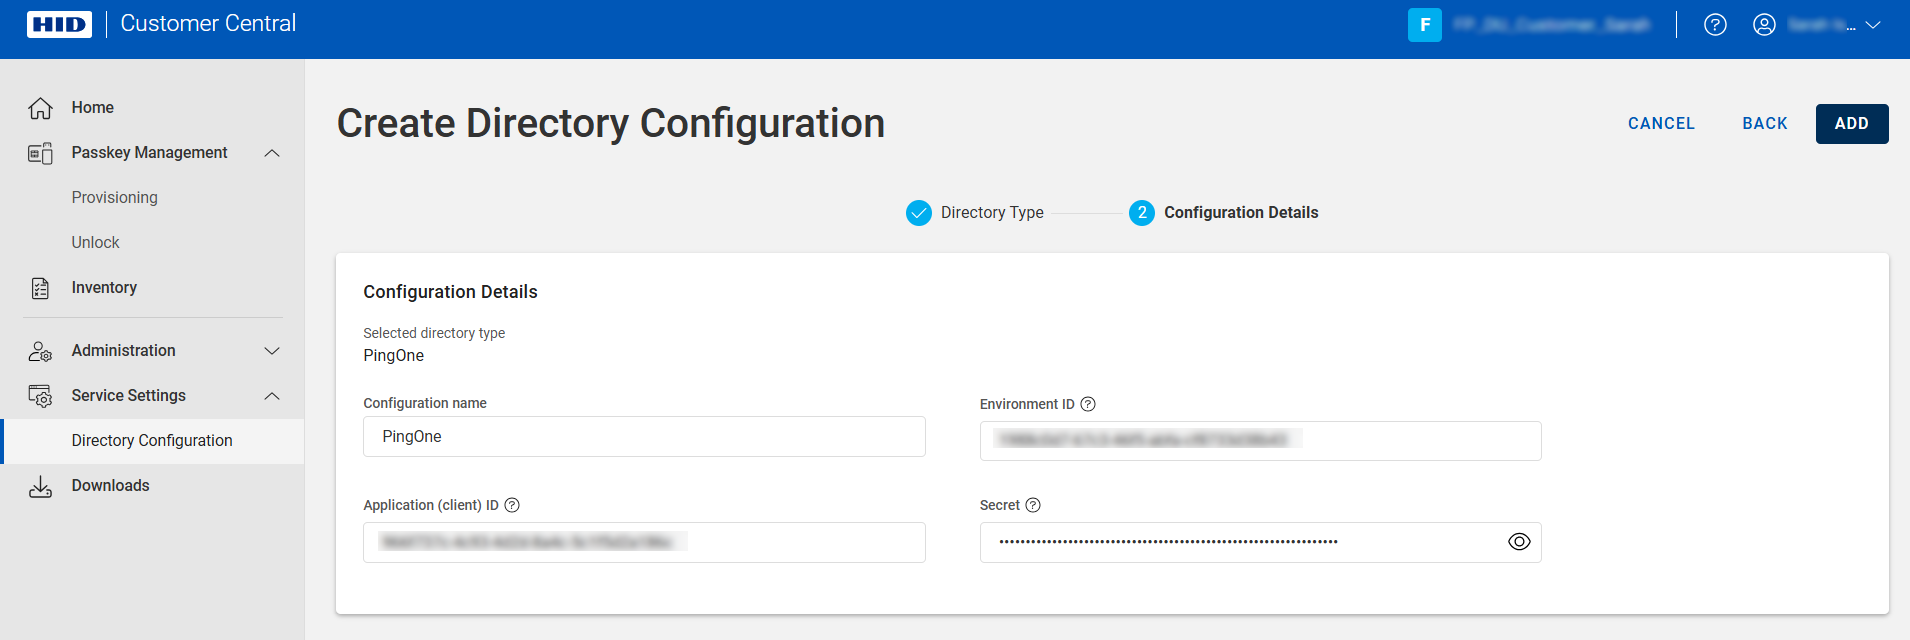
Enter a Configuration name for the configuration.
-
Enter the following information obtained in Create an Application:
-
Environment ID - the unique identifier that represents your organization's PingOne instance
-
Application (client) ID - the unique identifier that PingOne assigned to your Passkey Management application when you registered it
-
Secret - the client secret credential used by your Passkey Management application to identify itself when requesting a token
-
-
Click ADD.
Customer Central verifies that the configuration is correct and displays a success message when complete.
Customer Central is now connected to your PingOne application and your users are available for provisioning.

Test a Connection
Alternatively, you can use a custom role with the Test Configuration privilege for the directory type.
-
Expand Service Settings
in the left menu and select Directory Configuration.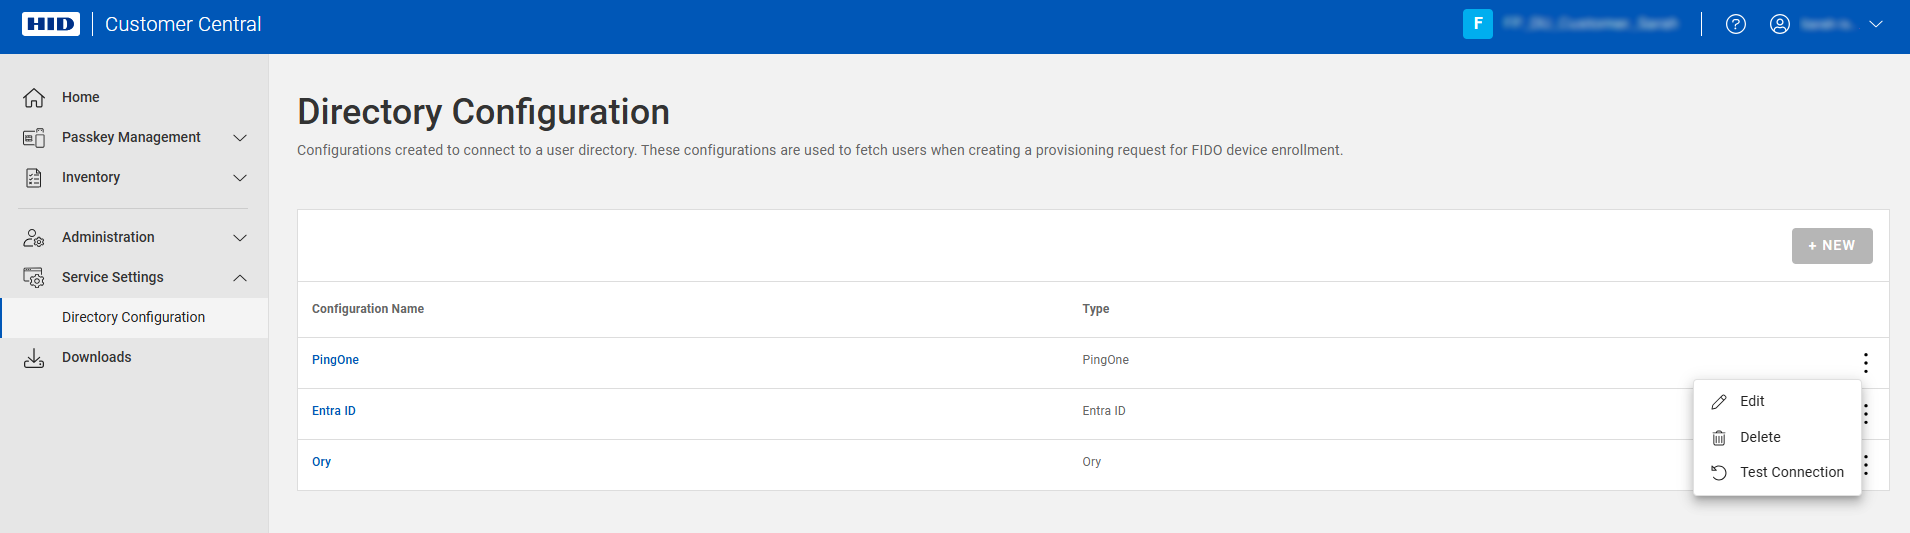
-
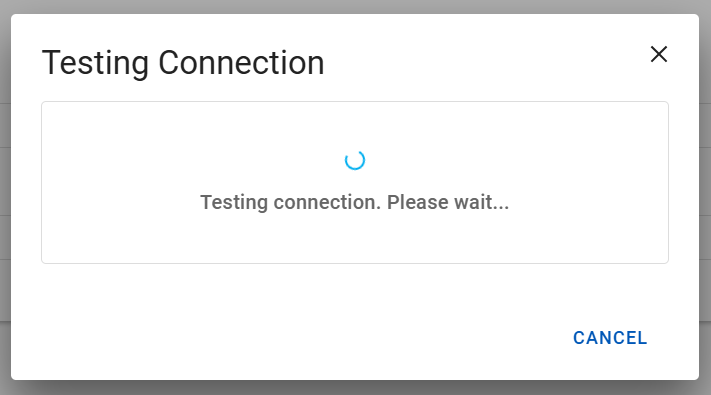
Click the menu icon
 for the configuration and select Test Connection.
-
Success:
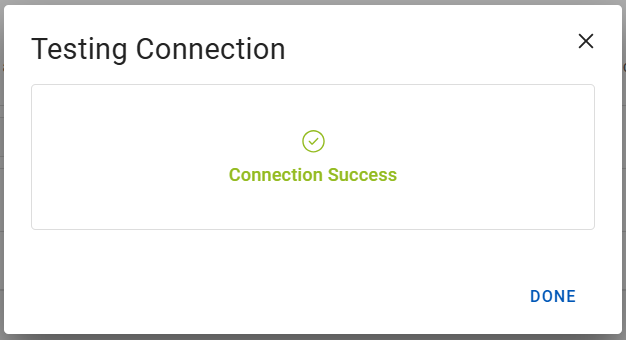
-
Failure - verify your configuration and try again
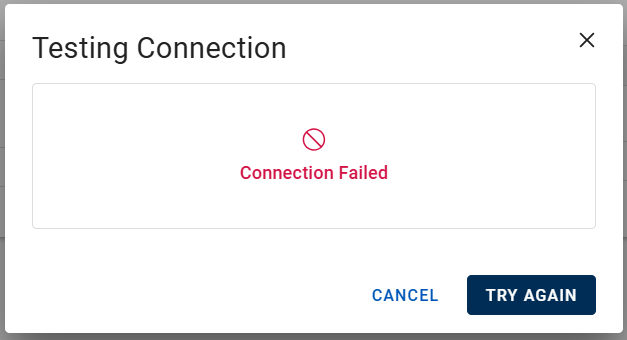
-
Edit a Configuration
Alternatively, you can use a custom role with the Edit Configuration privilege for the directory type.
-
Expand Service Settings
in the left menu and select Directory Configuration.
-
Click the menu icon
for the configuration and select Edit.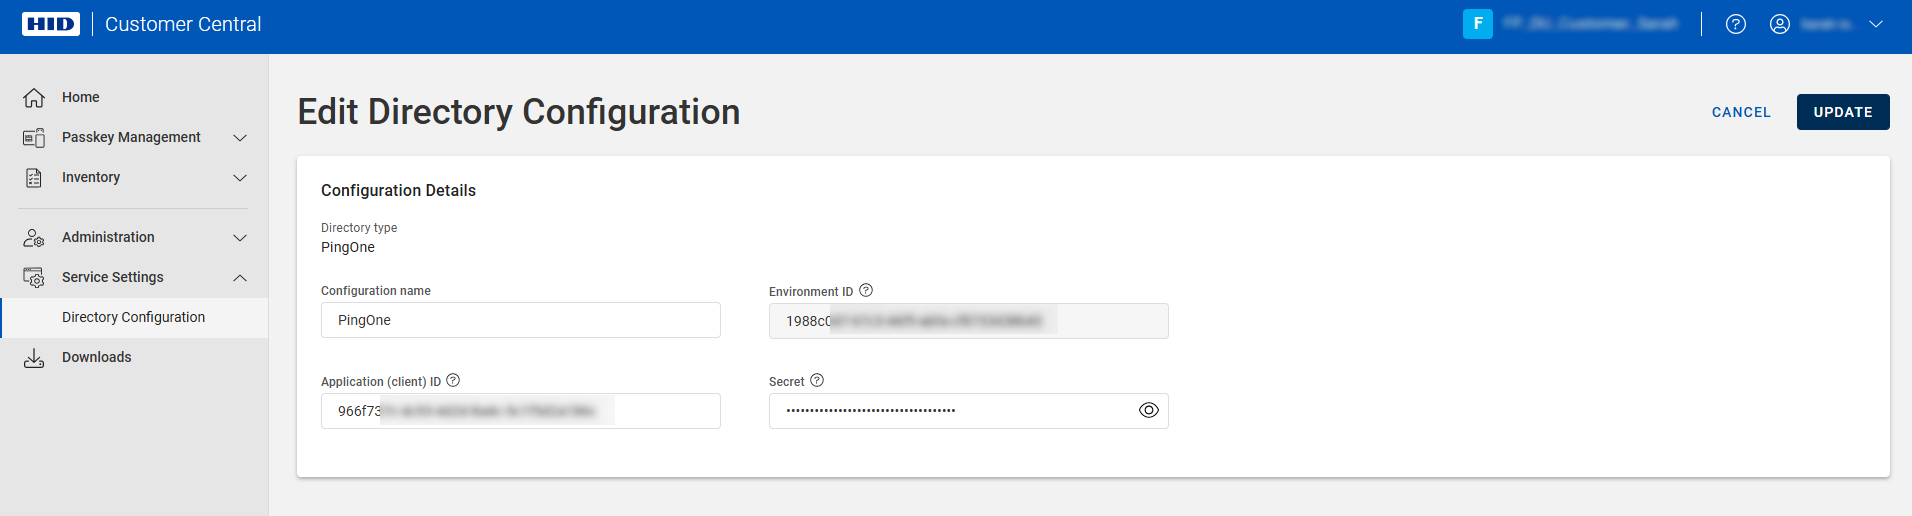 Note: The UPDATE button is unavailable until you have entered the required information.
You can update the:
-
Configuration Name
-
Application (client) ID - the unique identifier that assigned to your Passkey Management application when you registered it
-
Secret - the client secret credential used by your Passkey Management application to identify itself when requesting a token
Note: For Microsoft Entra ID applications, the secret’s Value is only displayed when the secret is generated and cannot be displayed again.If you do not know the secret's value, you must generate a new secret.
-
-
Edit the configuration as required and click UPDATE.
Delete a Configuration
- You must have the Administrator or Device Service Administrator role
Alternatively, you can use a custom role with the Delete Configuration privilege for the directory type.
You can only delete a configuration if there are no associated pending provisioning requests
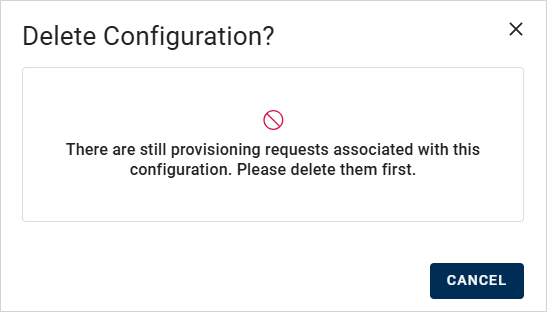
Complete or delete the requests before deleting the configuration.
-
Expand Service Settings
in the left menu and select Directory Configuration.
-
Click the menu icon
for the configuration and select Delete.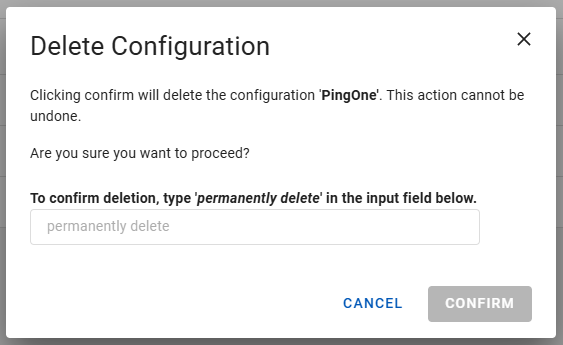
-
Enter permanently delete in the field and click CONFIRM.