Workflows: Honeywell Vuquest 3330G with HID Visitor Manager
Prerequisite
Install and configure the smart client.
Configure the Scanner
-
Connect the Honeywell Vuquest3330 scanner to the USB port of your computer.
-
Configure Honeywell Scanner to read the DL.
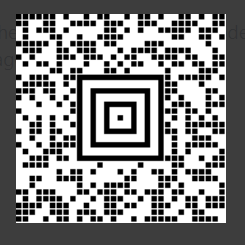
Note: Take a printout of the QR Code, scan the QR code using the Honeywell scanner. This enables the Scanner to send the data in the HID Visitor Manager Visitor Manager preferred format. Skip this step if user has already scanned the QR code during configuration of Honeywell scan.
Walk-In Visit
-
Login to HID Visitor Manager Kiosk from the Smart Client browser.
-
Navigate to App launcher > Visitosr app.
-
Click on the Check-In menu item on the sidebar. The Check-In screen with the list of visitors to be checked in for the day is displayed.
-
Click on Walk-In Visit on the top right-hand corner of the screen. The Create Visitor screen with a dialog box to select Host/Sponsor is displayed.
-
Click on Search. Enter the name of the host/sponsor.
-
Click on the Person record to add the person as a host/Sponsor.
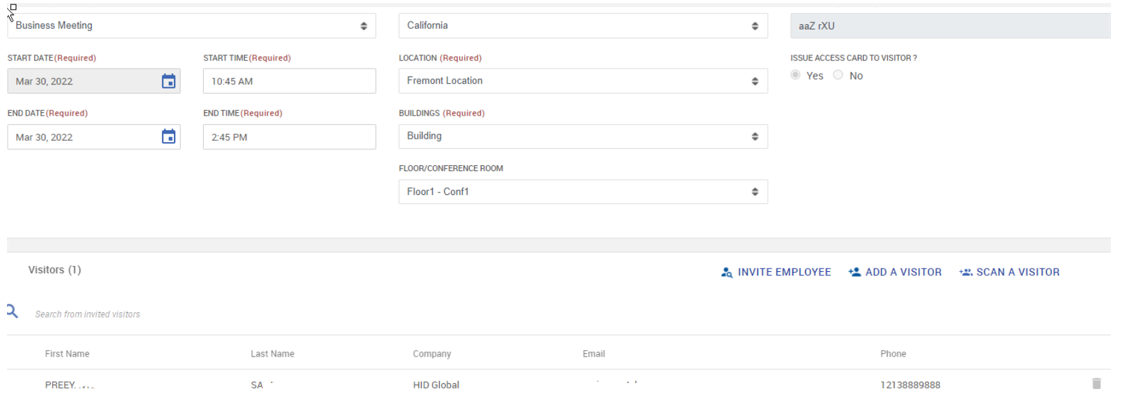
Visitor Information, Location Information and Access and Approval Section
-
On selecting the Host, the Host information is also applied to the Escort field
-
In the Visitor Information section, enter Visit description, Select Visit type, Select Start and end date and time.
-
In the Location Information section, from the drop-down list select Country, State, Location.
-
The Start time is the current time + 5 mins and the End Time is Start time + One Hour
-
Note: The Visitor Information Section and the Location Information section are pre-populated with the default values. Click on the appropriate field to update the information as required.
-
Visitors Section - Add a Visitor
-
Read the Driving License barcode with the Honeywell Vuquest 3330g scanner when the cursor is still on Create a Visit Page.
-
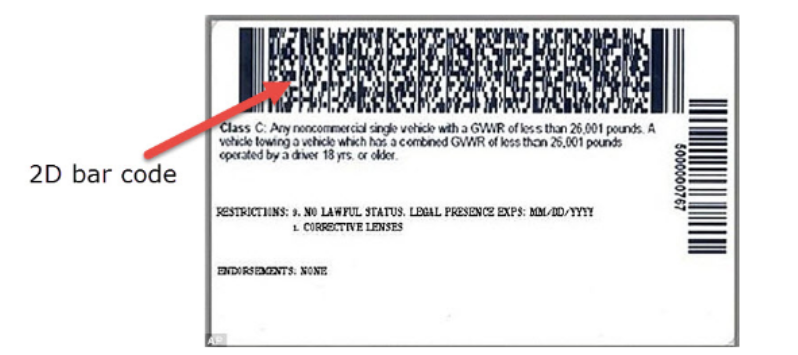
The bar code license scanner is capable of instantly reading the data from any US State-Issued Driver License and most State-Issued IDs that contain a 2D barcode like the one below
-
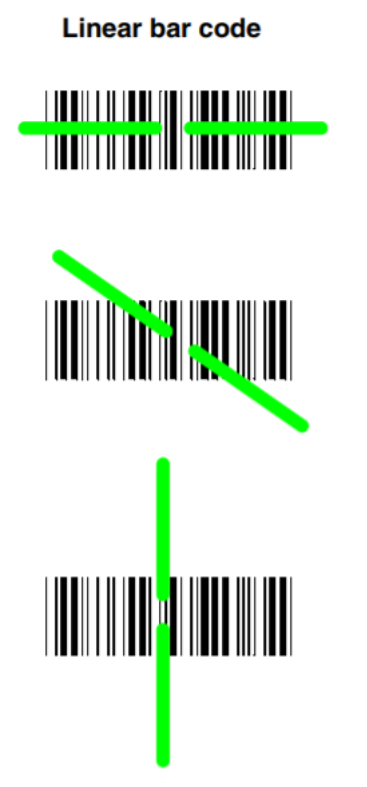
The scanner has a viewfinder that projects a bright green aiming beam that corresponds to the scanner’s horizontal field of view. The aiming beam should be centered over the bar code, but it can be positioned in any direction for a good read.
-
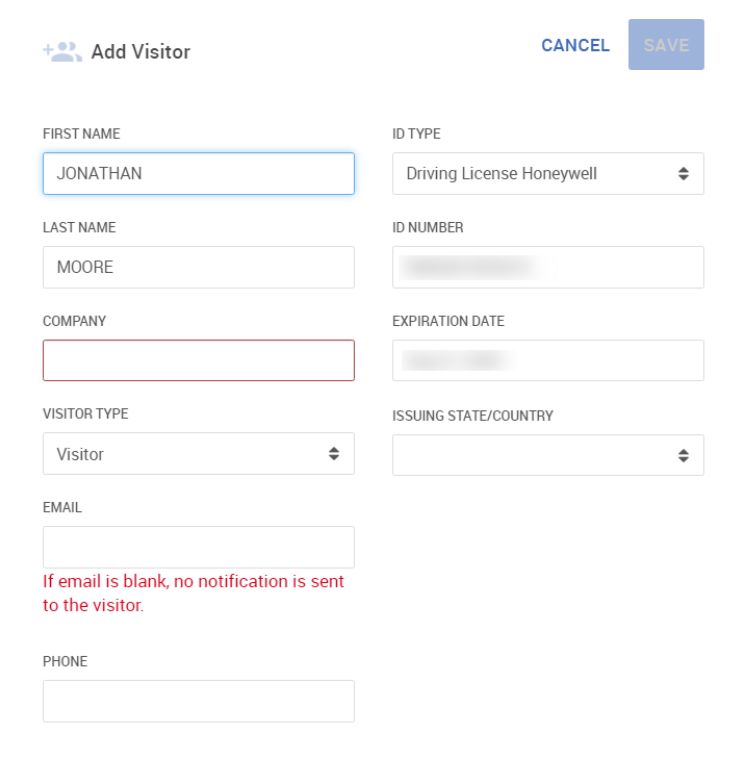
Add an Existing Visitor
-
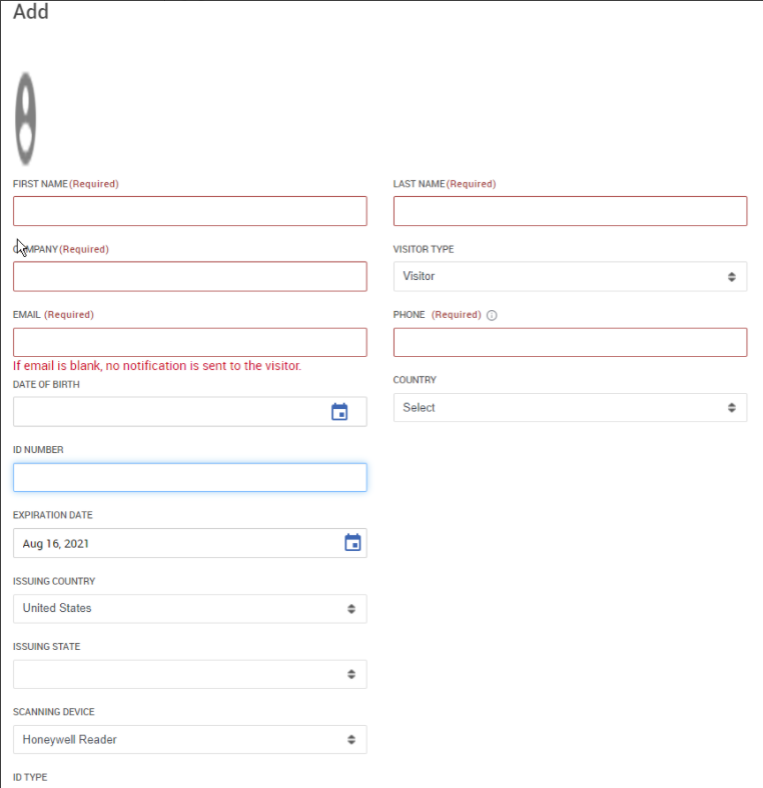
After scanning, the Add modal will appears and filled with ID information.
-
User expects to see First Name / Last Name / ID number / Expiration date / Issuing Country / Scanning Device showing as Honeywell.
-
-
Click SAVE to add the scanned DL info of the visitor and Visitor shows in Visitor() Section.
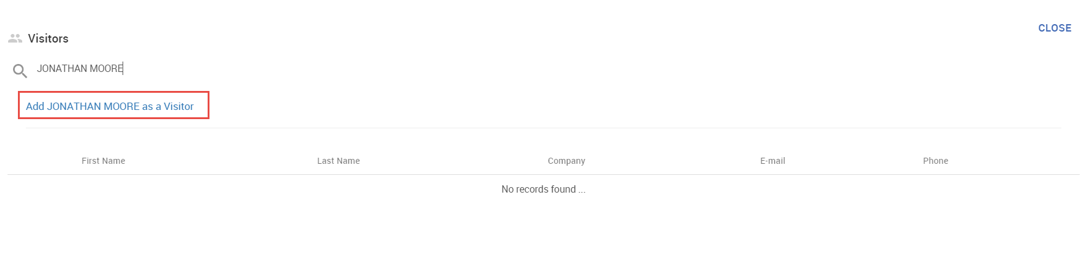
Add a New Visitor
-
Since the Visitor is visiting for the first time, there will be no results matching the search criteria after scanning the ID.
-
Click on the Add ..... as a Visitor link. The Add Visitor modal appears.
-
Enter the Company, Email Address and Phone number of the visitor and click Save.
-
Click Close. The visitor details is now available in the Visitors section.
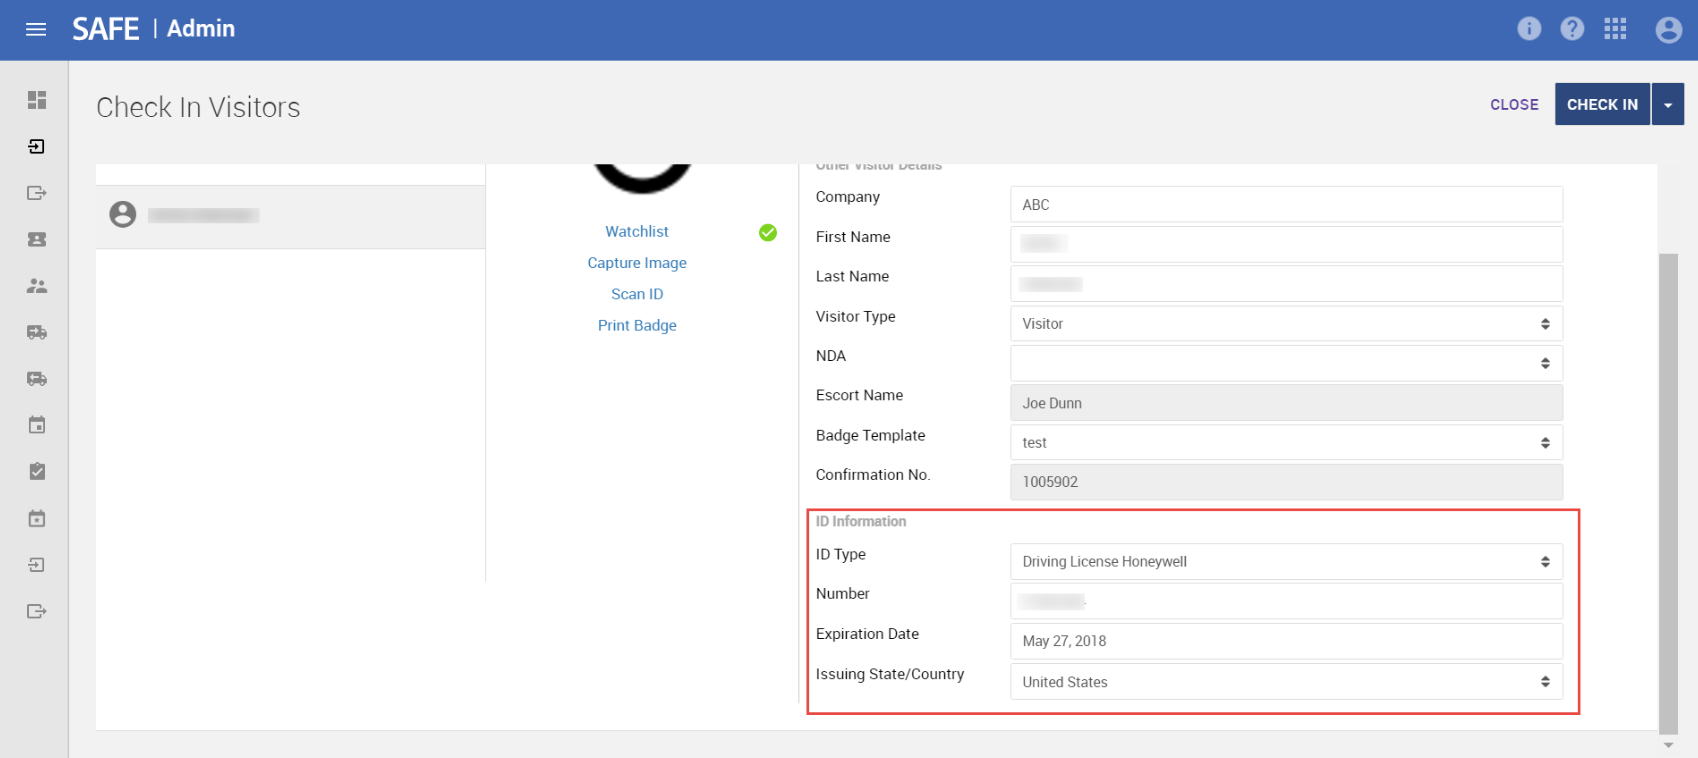
Scheduled Visitor Check-in
-
Login to HID Visitor Manager Kiosk from the Smart Client browser
-
Navigate to App launcher > Visitors app.
-
Click on the Check-In menu item on the sidebar. The Check-In screen with the list of visitors to be checked in for the day is displayed.
-
Scan the Visitor DL to search the visitor, the visitor details matching the scan appear on the Check-In screen.
-
Click on the desired Visitor record.
-
Verify the Contact Information and Other Visitor Details. When the ID Proof of the visitor is scanned, the ID information like the ID type, ID Number, Expiry Date and the Issuing Country is auto-generated.
-
If the Issue Access Card to Visitor option is selected while hosting a visit, then the Access Card Information section is enabled for the VMO to input the Access Card number
-
Select the appropriate Badge Template for the Badge Printing.
-
Capture the visitor image using the Capture Image link.
-
Scan the Visitor ID to add ID information in the Check-In Visitor Screen using the Scan ID link as follow:
Scan ID
-
Read the Driving License barcode with the Honeywell Vuquest 3330g scanner.
-
The bar code license scanner is capable of instantly reading the data from any US State-Issued Driver License and most State-Issued IDs that contain a 2D barcode like the one below:
-
The scanner has a view finder that projects a bright green aiming beam that corresponds to the scanner’s horizontal field of view. The aiming beam should be centered over the bar code, but it can be positioned in any direction for a good read.
-
-
When the ID Proof of the visitor is scanned, the ID information like the ID type, ID Number, Expiry Date and the Issuing Country is auto-generated.
Using Honeywell Vuquest 3330G in Kiosk
-
Go to Settings app > Downloads tab > Click on Launch Kiosk under Workforce Client Installer.
-
Login to HID Visitor Manager Kiosk.
-
Select Location / Building / Visitor badge Template and click Next.
-
Click on Check in on the Sign in Screen.
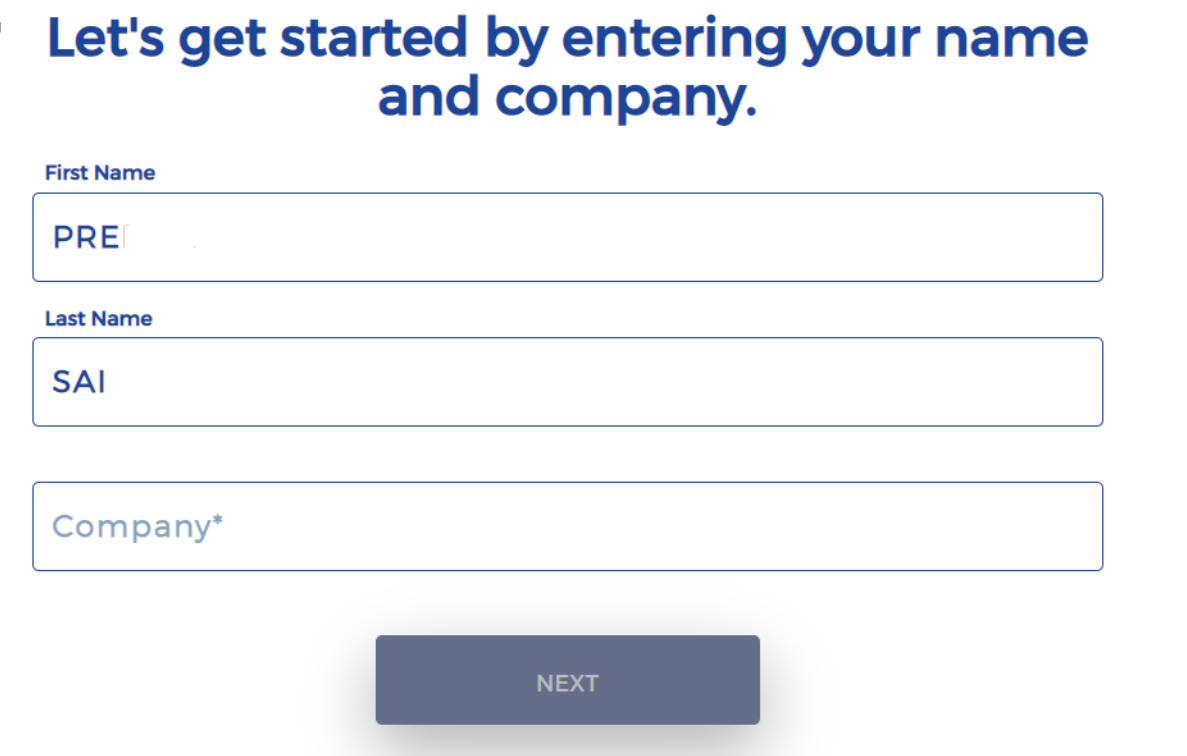
Check In via Name.
-
Click on Enter Name.
-
Scan the DL of the visitor by using honeywell Vuquest 3330G on 'Let's get started by entering your name and company' screen
-
Upon scanning the DL of the visitor see that the first name and Last name of the visitor will be mapped onto First name and Last Name respectively.
-
Complete all check-in steps to check in. This includes capturing the visitor's image and NDA signature, responding to the screening questions and scanning the visitor's ID.
-
Once the check-in process is completed. Tap I'M FINISHED to complete the process.
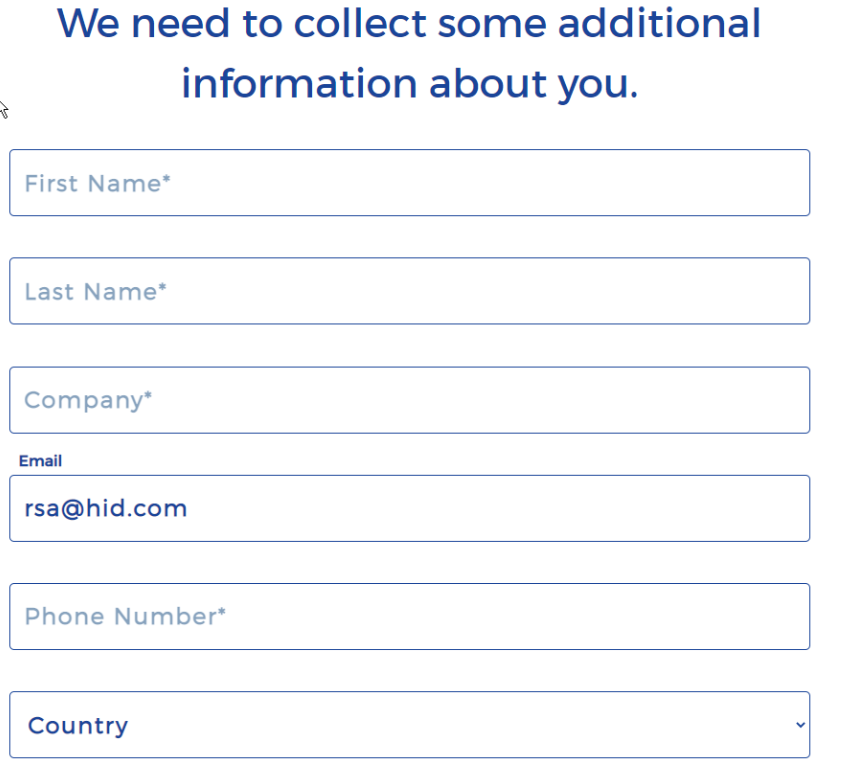
Check In via Email
-
Click on Enter via Email button and enter email address and click on NEXT button
-
Scan the DL of the visitor On " We need to collect some additional information about you". The first name and Last name of the visitor will be mapped onto First name and Last Name respectively.
-
Complete all check-in steps to check in. This includes capturing the visitor's image and NDA signature, responding to the screening questions and scanning the visitor's ID.
-
Once the check-in process is completed. Tap I'M FINISHED to complete the process.
Related Articles:
Honeywell Vuquest 3330G ID Scanner


