Configuring the Initial Appliance Settings
When you first start the ActivID Appliance, log on to the ActivID UNIX Terminal using the Appliance Administrator account to perform the initial configuration (keyboard layout and network) before you can use the ActivID Console.
After the initial appliance configuration, you can then access a set of shell scripts for administration tasks.
The DNS record for the appliance – the IP address of the DNS server that is used to register the appliance hostname
The appliance name and IP can be recorded in your DNS server so that the appliance name is resolved when you enter the URLs for the ActivID Console and ActivID Management Console in a browser to access either the ActivID Appliance (or remotely from a different machine) for administration purposes.
An FTP Server registered in the same DNS as above
Netmask and Default gateway
1U rack space
Power and network connectivity
A client that meets the system requirements
-
Go to the ActivID UNIX Terminal to launch the initialization process.

-
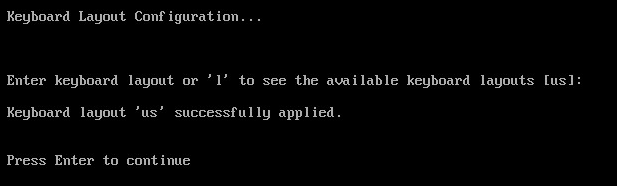
Press Enter to continue.
-
Enter your keyboard layout and press Enter.
Note: By default, the appliance is configured with English (us) keyboard layout.
-
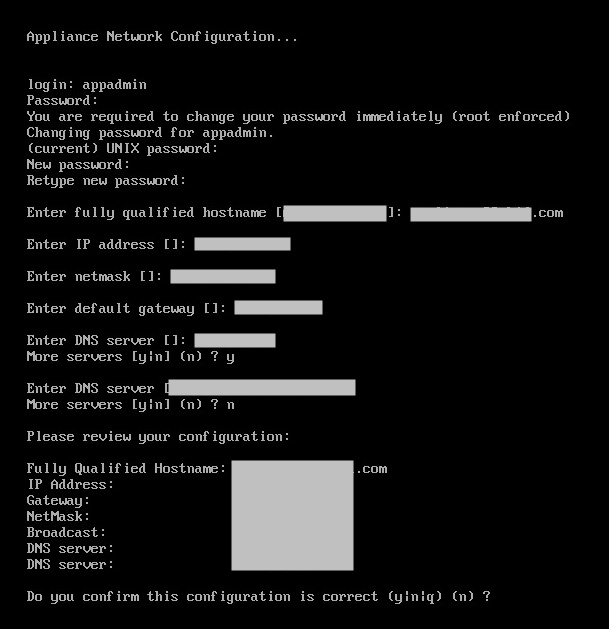
Log on as the ActivID Appliance administrator (appadmin) using the default credentials:
-
Username – appadmin
-
Password – password01
You are prompted to change the default password.

-
-
Enter the current (default) password.
-
Enter and confirm a new password.
Important:Make sure you keep a record of the password
The password must contain a minimum of 6 characters
You are then prompted to enter the appliance hostname.
-
Enter the fully qualified hostname of the machine hosting the ActivID Appliance, and then press Enter.
Important:Make sure that this name does not contain the _ character as it is not supported by DNS
The maximum length of the hostname is 46 characters
-
Enter the IP address of the machine, and then press Enter.
-
Enter the netmask of the machine, and then press Enter.
-
Enter the address of the default gateway, and then press Enter.
-
Enter the IP address of the DNS server, and then press Enter.
If you want to enter other DNS servers, enter y when prompted to configure more servers.
Otherwise, enter n.
-
Review the configuration.
-
When prompted, enter y to confirm the configuration is correct, and then press Enter.
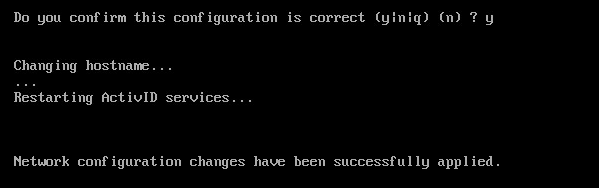
The configuration process might take several minutes.
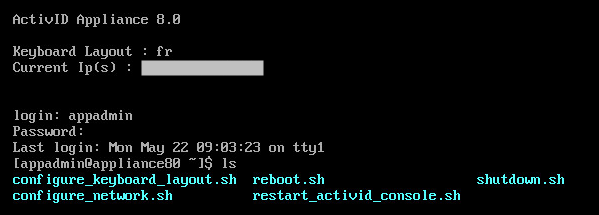
When you next log on as the ActivID Appliance administrator (appadmin), the following shell scripts are available for configuration updates and/or administration:
-
configure_keyboard_layout.sh – configure the keyboard layout
-
configure_network.sh – configure the appliance hostname and network
-
reboot.sh – reboot the appliance
-
restart_activid_console.sh – restart the ActivID Console
-
shutdown.sh – shut down the appliance
-
-
When the network is configured, shut down the virtual machine using the shutdown.sh script.
-
The next steps depends on your virtualization environment:
-
For VMWare and Microsoft Hyper-V environments, proceed to Initializing the ActivID Appliance
-
For Microsoft Azure environments, you must first create the virtual machine
-


