Installing the Front-End Applications
You can install the ActivID Management Console, Self-Service Portal, and RADIUS Front End on a separate appliance using the Front-End installation option during the appliance initialization process.
When you install Front-End applications alone on an appliance, you must install them for the same set or a subset of the domains installed on the back-end appliance.
You can deploy the back-end appliance with an HSM, but Front-End applications can be installed on an appliance with software cryptography as they do not use the HSM.
Install the Front-End Applications
The ActivID Authentication Services have already been installed on the back-end appliance(s) using the Full installation option (see Initializing the ActivID Appliance).
You know passwords for the ftinit accounts associated to the security domains(s) that the front-end installation will join.
Download the Appliance Root CA certificate for the back-end appliance (or the CA certificate if you customized the back-end TLS server certificate) and make sure that it is accessible from the system where you will install the front-end appliance.
You have configured the appliance network using the ActivID UNIX Terminal as described in Configuring the Initial Appliance Settings.
-
From any browser, access the ActivID Console using the following URL:
https://<appliance-hostname>:1005
The first time you access the ActivID Console, you are prompted to trust the connection to the site.
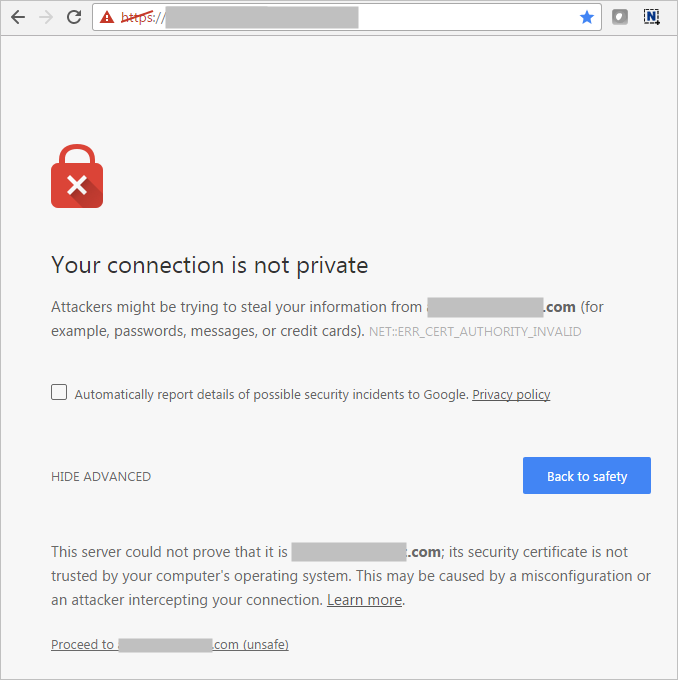
-
Click Proceed to <appliance site>.
-
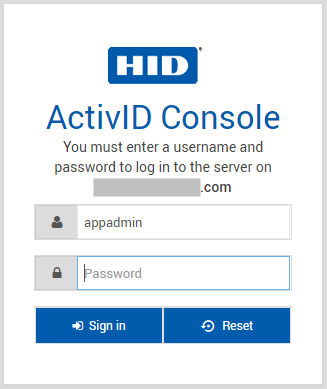
Enter the credentials for the Appliance Administrator account (appadmin and the password you set during the initial configuration using the UNIX terminal).
-
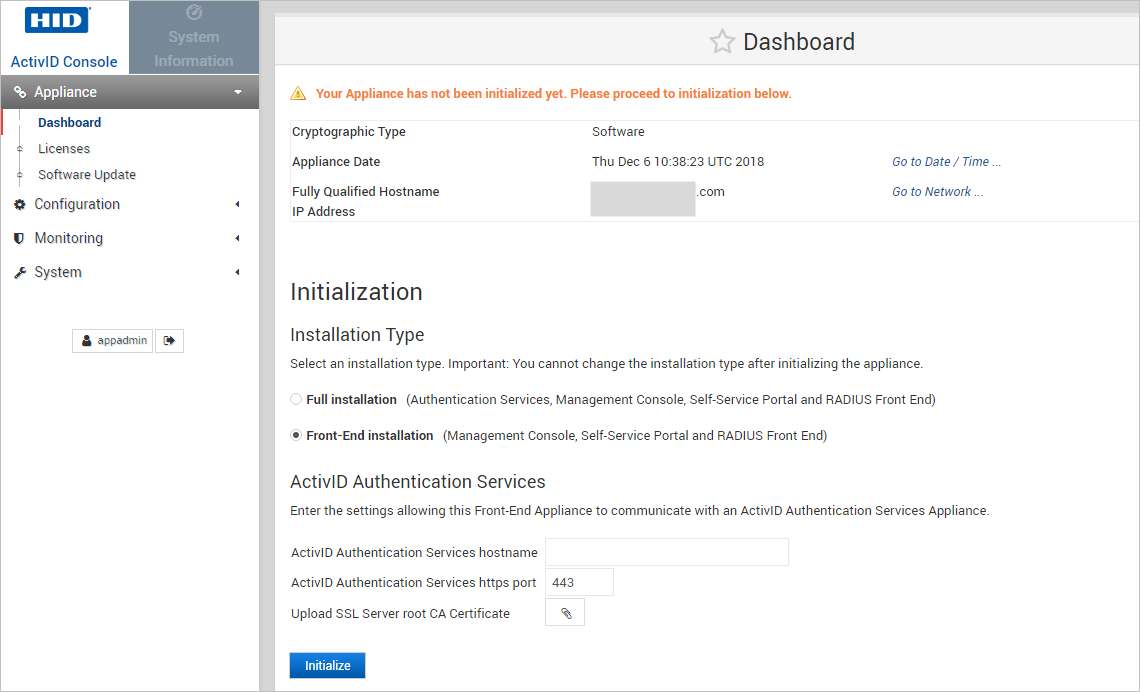
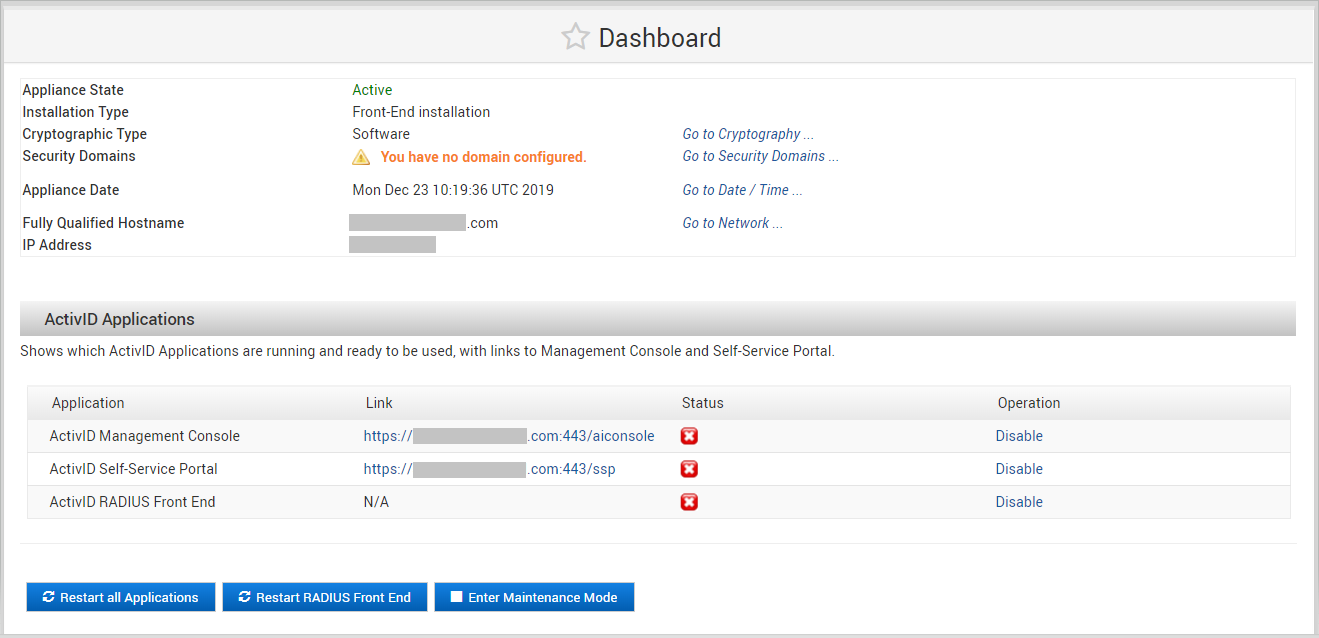
Under Appliance in the left-hand menu, select Dashboard.
-
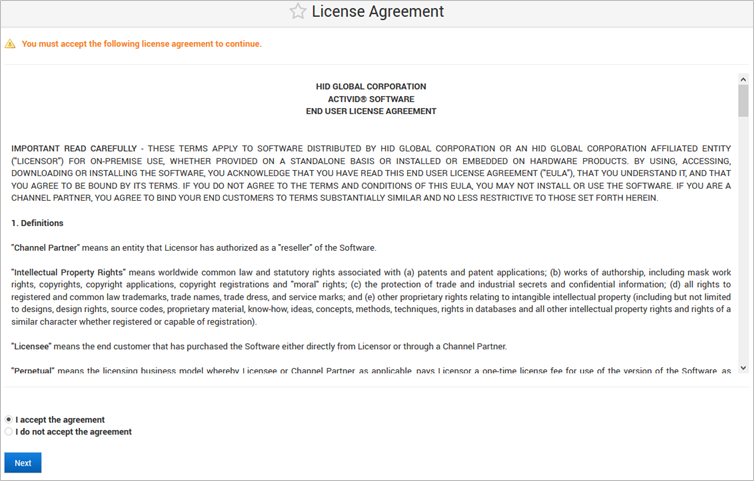
Select I accept the agreement and click Next.
-
In the Initialization section of the appliance dashboard, select Front-End installation.
Important: After successfully setting the appliance installation type (Full or Front End), you cannot change it unless you reset the appliance to the factory settings (for hardware versions) or revert to the Initial backup (for virtual machines). -
Enter the hostname and https port for the back-end appliance where you installed the ActivID Authentication Services.
-
Upload the SSL Server Root CA Certificate for the back-end appliance (the Appliance Root CA certificate or the customized CA certificate that you downloaded before starting the installation).
-
Click Initialize.
-
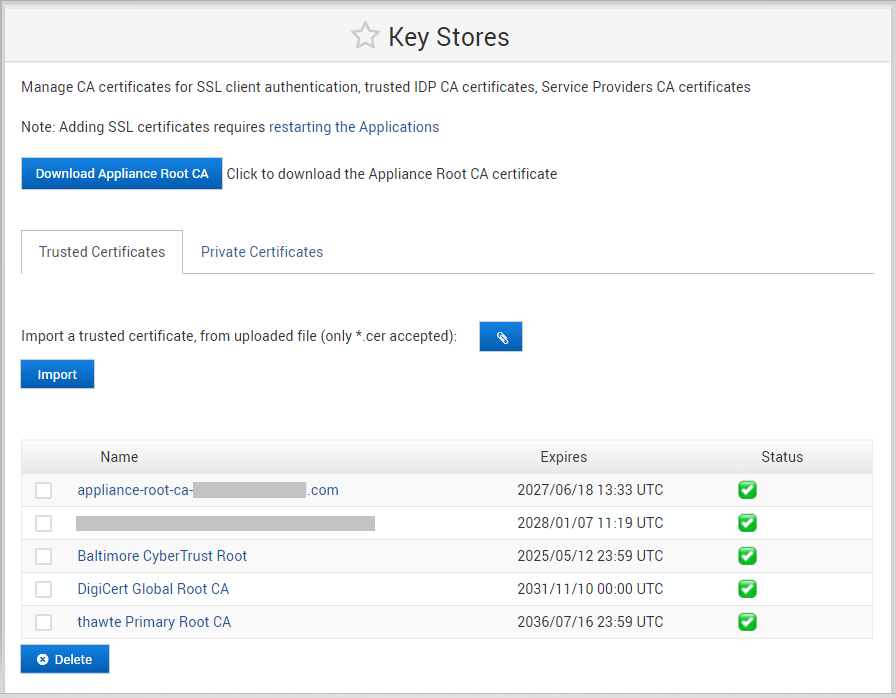
Under Configuration in the left-side menu, select Key Stores.
-
Download the Appliance Root CA Certificate for the front-end appliance that you will need to upload to the back-end appliance.
-
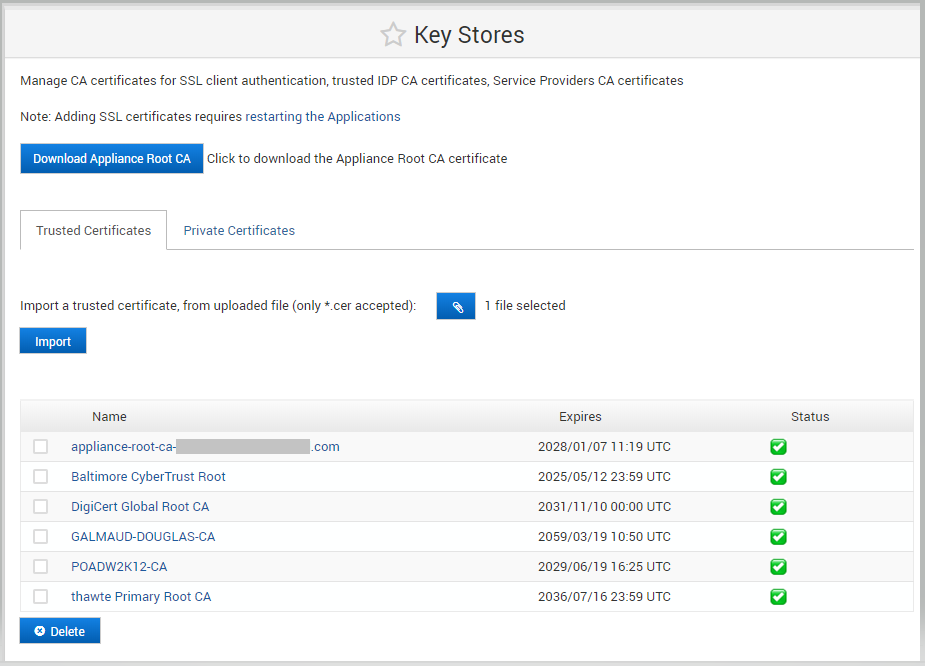
Log on to the ActivID Console for the back-end appliance and, under Configuration in the left-side menu, select Key Stores.
-
Browse to the Appliance Root CA Certificate for the front-end appliance and click Import.
-
Under Configuration in the left-side menu, click Applications, and then click Restart all Applications to establish the trusted connection to the front-end appliance.
-
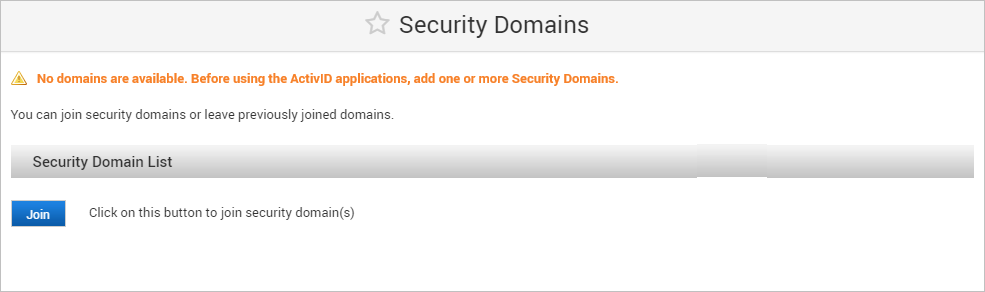
Return to the ActivID Console for the front-end appliance and, under Configuration in the left-side menu, click Security Domains.
-
Click Join.
-
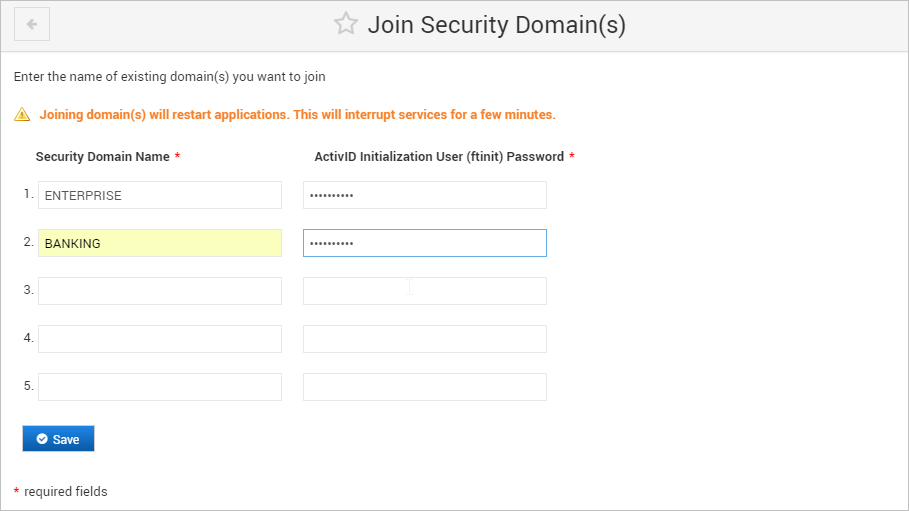
Enter the name(s) of the Security Domains and the Password(s) for the corresponding ftinit users that the front-end installation should join.
You can join all or only a subset of the security domains.
Important: The names of the security domains must be exactly as defined in the back-end appliance (including upper or lower case). -
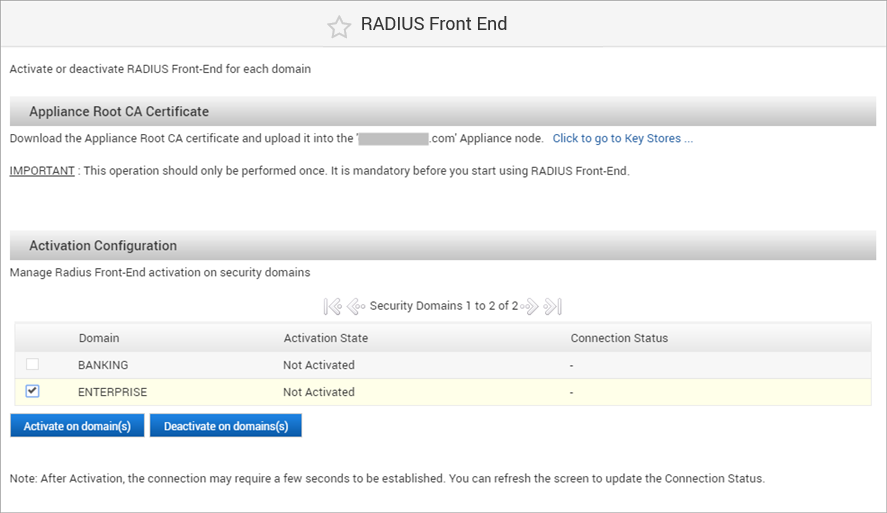
If you want to deploy the ActivID RADIUS Front End on one or more security domains, under Configuration in the left-side menu, select RADIUS Front End.
-
Select the checkbox(es) of the domain(s) that you want to activate for RADIUS Front End and click Activate on domain(s).
-
Click OK to confirm the operation.
Installing the Front Ends in Dual Mode
To deploy several appliances as front ends in a dual mode deployment, you should proceed in a certain order to minimize some reconfiguration requirements.
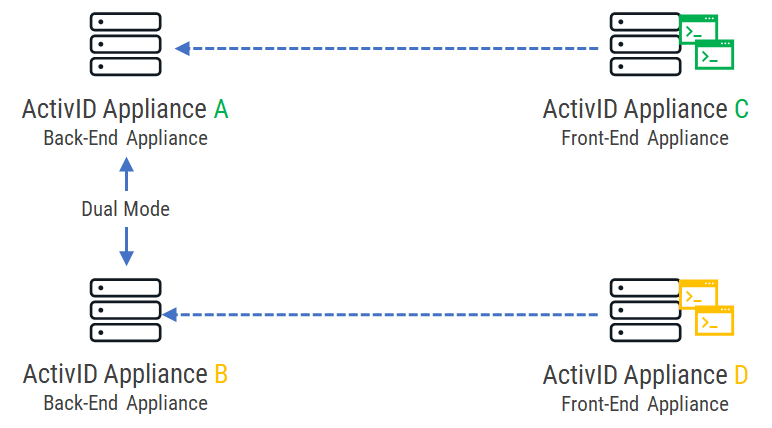
Sample high availability deployment:
-
Appliance A – Back-End appliance (that is, ActivID Authentication Services deployed)
-
Appliance B – Back-End appliance (that is, ActivID Authentication Services deployed)
-
Appliance C – Front-End appliance – linked to Appliance A
-
Appliance D – Front-End appliance – linked to Appliance B
Recommended order:
-
Set Appliances A and B to dual mode.
-
Initialize Appliance C so that it is linked to Appliance A.
-
Initialize Appliance D so that it is linked to Appliance B.
However, if you do NOT follow the recommended, for example:
-
Initialize Appliance D so that it is linked to Appliance B.
-
Set Appliances A and B to dual mode (‘source’ node is A and ‘target’ node is B).
-
Initialize Appliance C so that it is linked to Appliance A.
Then the front-end Appliance D should be reconfigured as the ‘target’ Appliance B was overwritten during the dual mode configuration.
In this case, you have to repair the domains configured on the front-end Appliance D:
-
Log on to the ActivID Console and, under Configuration, select Security Domains.
-
For each of the defined security domains:
-
Click Repair.
-
Enter the password of the ActivID Initialization User (ftinit) user.
-
Click Recover.
-


