Managing External HSMs
Using the ActivID Console, you can manage the configuration (including the encryption keys) of the integrated external HSMs and, optionally, HSM clusters.
Renew the External HSM Keys
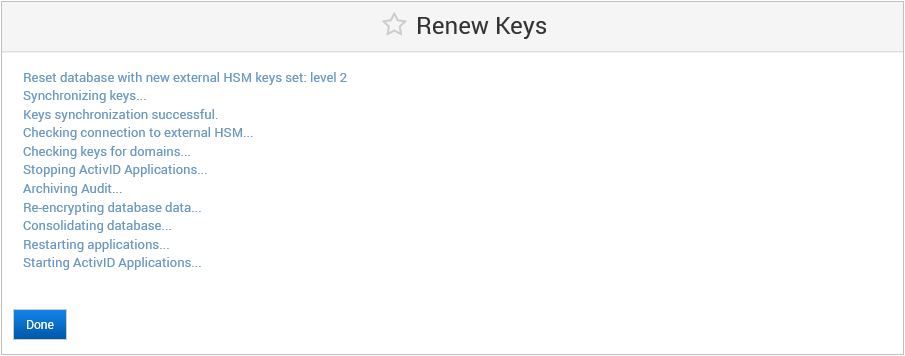
- The renewal process might take several minutes during which the audit data will be archived and deleted, the database re-encrypted and the applications restarted.
- It is recommended that you back up the appliance and archive the audit data before renewing the keys.
The keys are managed in consistent set of five AES-256 symmetric keys with specific roles and naming convention for the key aliases:
<PREFIX>.<Key Role Type>.<version>
Where:
-
<PREFIX> – to make sure that the names remain unique, a specific prefix 'HID-IA-4T’ is used for all the ActivID Appliance key aliases
This prefix is not configurable.
-
<Key Role Type> – is mandatory and is part of the key set
-
<Version> – number version of the key (increment with renewal)
Based on this convention, the default key set (shared by all domains) that you need to generate using the HSM tools is:
| Key Role | Key Type | Alias – shared | Key Usage | Key Role |
|---|---|---|---|---|
|
AUDIT |
AES 256 |
HID-IA-4T.AUDIT.1 |
Signature | Audit signature |
|
CREDS |
AES 256 |
HID-IA-4T.CREDS.1 |
Encryption | User credentials encryption (replaces the des and DeviceSecretsKey keys of previous versions of the ActivID Appliance) |
|
DSIGN |
AES 256 |
HID-IA-4T.DSIGN.1 |
Signature | Database row integrity signature |
|
SESSION |
AES 256 |
HID-IA-4T.SESSION.1 |
Encryption | ALSI sessions encryption/decryption |
|
SYS |
AES 256 |
HID-IA-4T.SYS.1 |
Encryption | System credentials encryption/decryption (adapter parameters, replaces the ParameterValueKey key of previous versions of the ActivID Appliance) |
Therefore, when the HSM keys are created or renewed using a manual process (using HSM dependent tools), it is recommended that you always use the uppercase key aliases.
-
On your HSM, create the new set of keys based on the naming convention detailed above and incrementing the version.
For example:
Existing Key Set New Key Set HID-IA-4T.AUDIT.1
HID-IA-4T.AUDIT.2
HID-IA-4T.CREDS.1
HID-IA-4T.CREDS.2
HID-IA-4T.DSIGN.1
HID-IA-4T.DSIGN.2
HID-IA-4T.SESSION.1
HID-IA-4T.SESSION.2
HID-IA-4T.SYS.1
HID-IA-4T.SYS.2
-
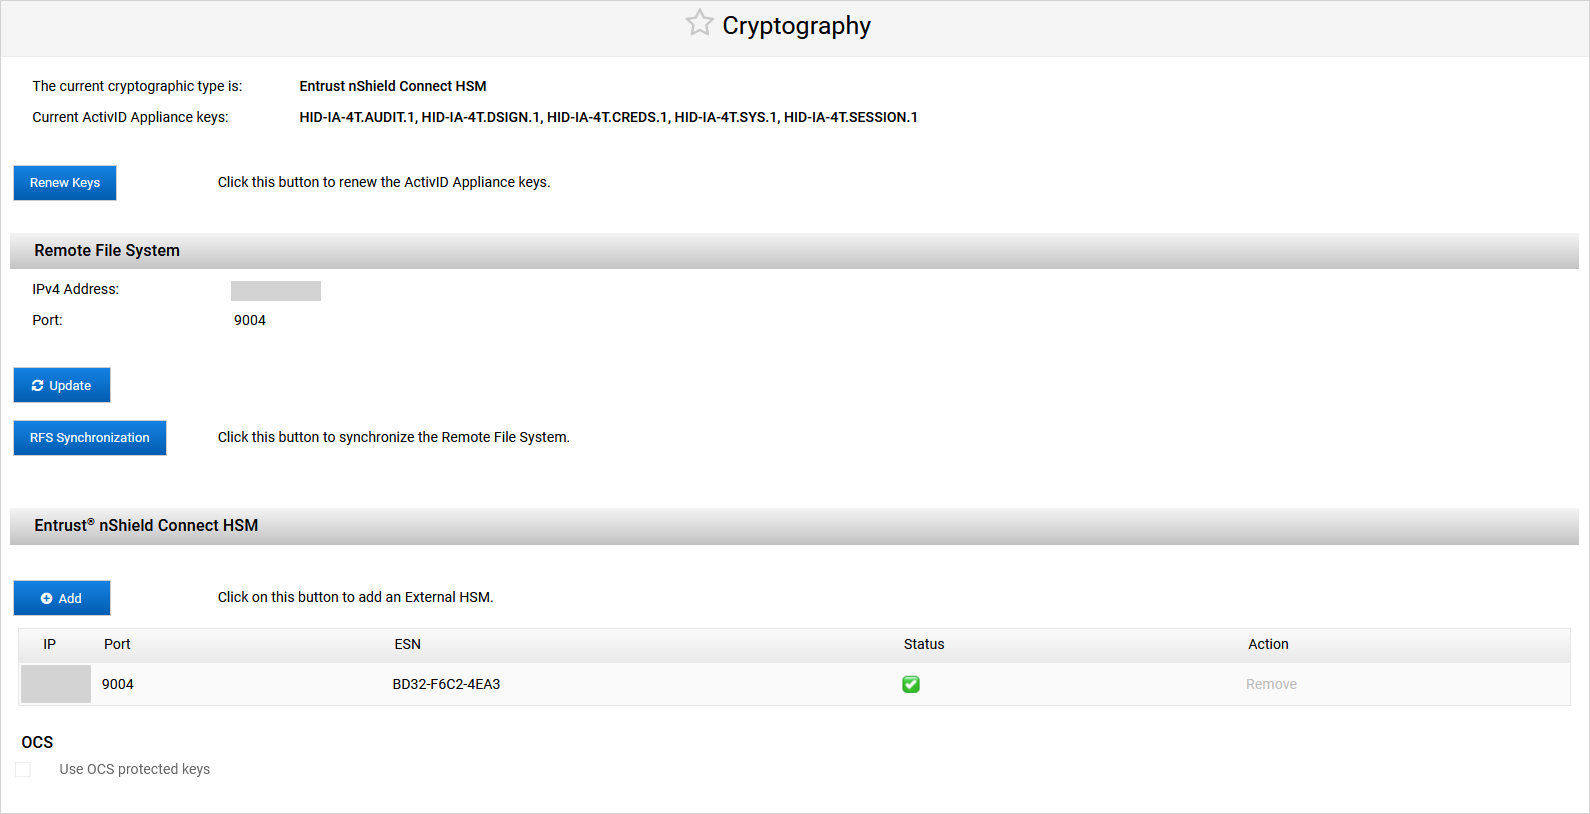
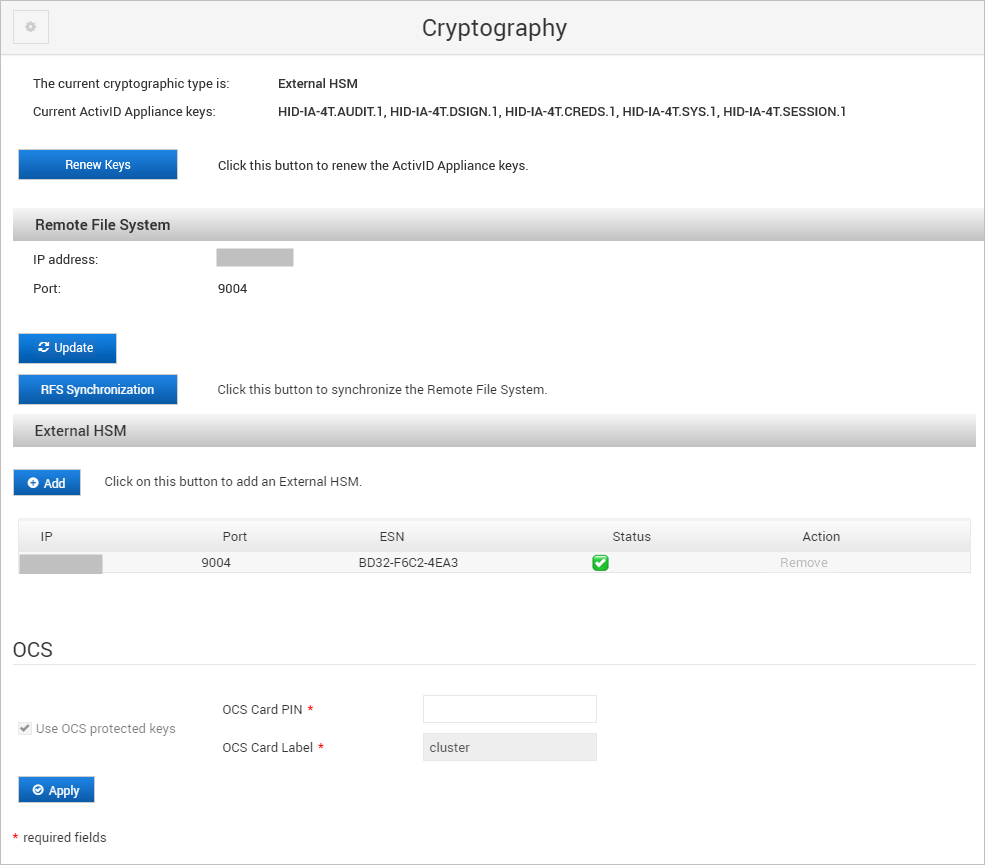
Log on to the ActivID Console and, under System in the left menu, select Cryptography.
-
Click Renew Keys.

-
Click Yes, proceed.
-
Wait for the renewal process to complete.
-
Click Done.
Modifying an Entrust HSM Configuration
These options are only available when the external HSM has already been configured
You cannot edit the IP address of the configured Entrust HSM
Modify the RFS Configuration
-
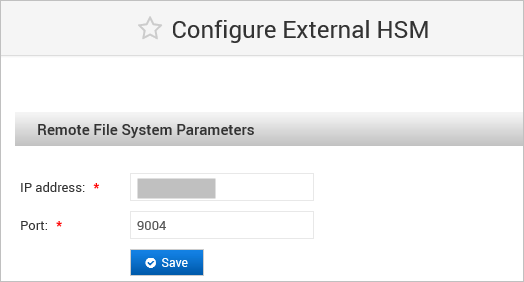
Modify the Remote File System Parameters as required and click Save.
If you modified the RFS configuration, the ActivID Console performs the RFS synchronization.
Note: If the new security world configuration does not match the existing one, the process exists with an error.
Synchronize the RFS
If you have already created keys on the RFS that will be needed for further operations (for example, you want to add a new domain or renew IDP signing /encryption keys), and you want to check that the keys are successfully configured, you can synchronize with the RFS so that the new key information from the RFS is copied onto the appliance’s file system.
This option is only available when the external HSM has already been configured.
When you update IDP signing or encryption keys, to view them in the ActivID Console keystore, simply restart the ActivID Console.
RFS synchronization is automatically performed during migration, Set Dual Mode, and Add domain operations.
-
Under Remote File System, click RFS Synchronization.
The ActivID Console performs the RFS synchronization and the new key information from the RFS is copied onto the appliance’s file system.
Update the OCS Card PIN
-
Log on to the ActivID Console and, under System in the left menu, select Cryptography.
Note:You cannot define a different OCS card set.
Only the OCS Card PIN can be updated.
-
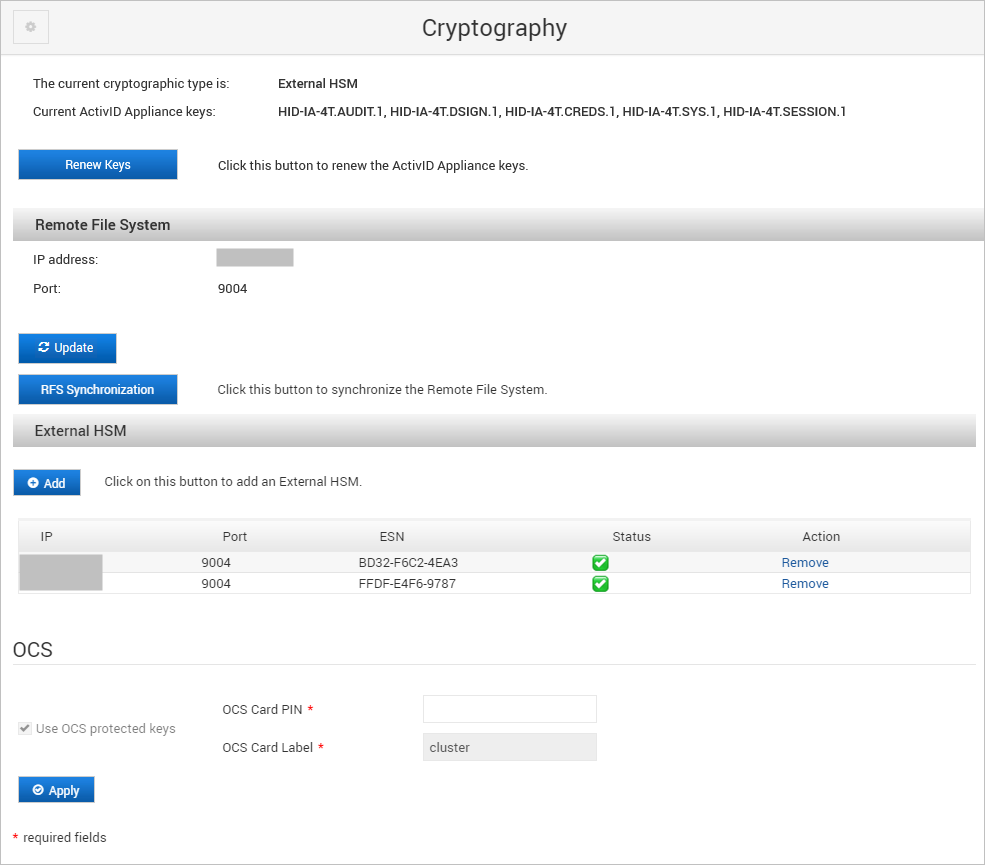
Under OCS, enter the new OCS Card PIN and click Apply.
If you need to change the OCS card set, you must restart the external HSM process – reset the ActivID Appliance, restore from a backup, and then perform the migration again with the required OCS card set.
Modifying a Thales HSM Configuration
Otherwise, the ActivID Appliance encryption will be broken.
Modifying the HSM configuration will remove the current connection to the HSM and interrupt the services
Plan the modification to minimize the impact on operations.
It is strongly recommended that you create a backup of the ActivID Appliance before modifying the HSM configuration
-
Log on to the ActivID Console and, under System in the left menu, select Cryptography.
-
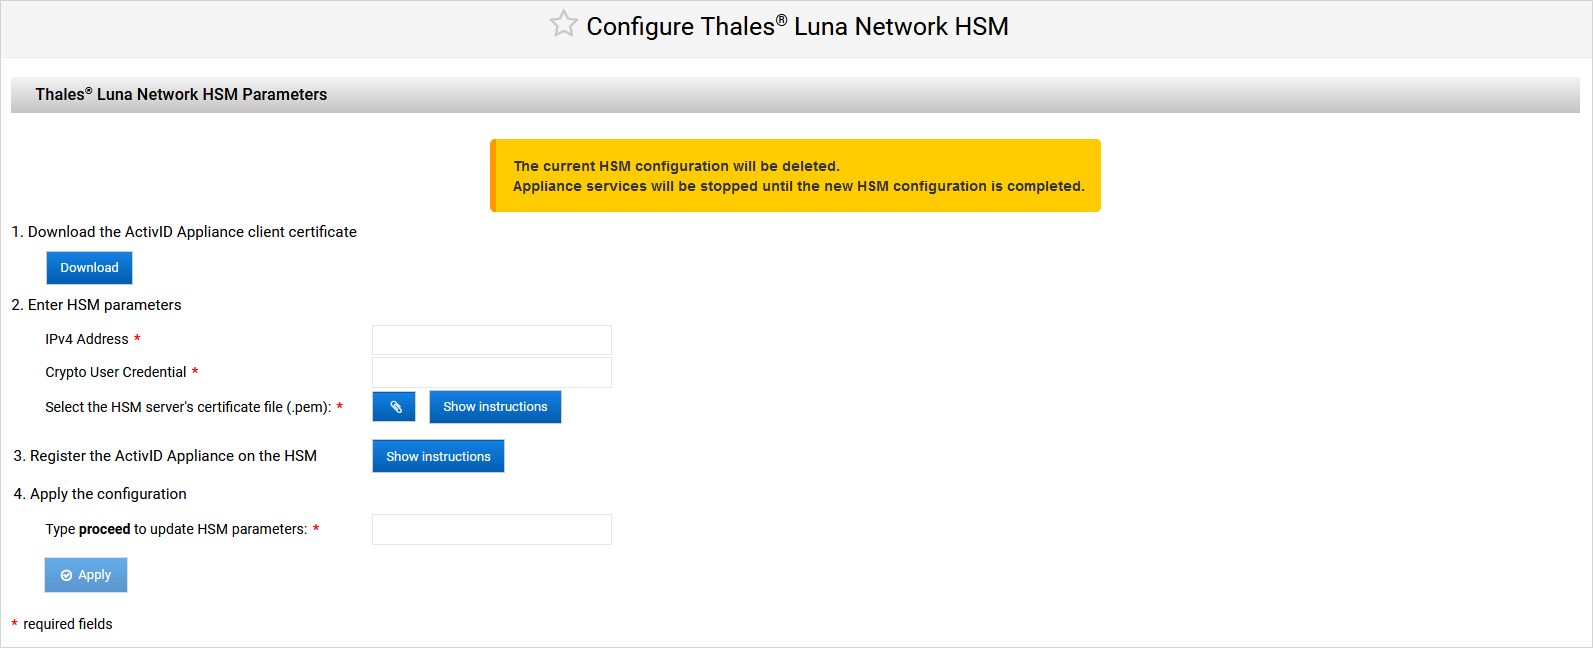
Click Edit.
Note:Click Show instructions to display the relevant commands
The code samples are pre-populated with your parameters where relevant
-
Click Download to get the same ActivID Appliance client certificate (valid for 10 years) that was generated when you initially configured the Thales HSM.
-
Enter the HSM parameters:
-
IPv4 Address
-
Crypto User Credential (as defined during the HSM preparation)
-
HSM server certificate (.pem)
Note: You can get this certificate from the HSM using one of the following commands:Where:
<ADMIN_HSM_USERNAME> is the username of the HSM admin user
<HSM_IP> is the IP address of your HSM
-
-
To register the ActivID Appliance on the HSM:
-
Copy the client certificate (that you downloaded above) to the HSM using one the following commands:
CopyOn a Microsoft Windows host:
pscp <YOUR_FOLDER>/<APPLIANCE_HOSTNAME>.pem <ADMIN_HSM_USERNAME>@<HSM_IP>:<APPLIANCE_HOSTNAME>.pemCopyOn a Linux host:
scp <YOUR_FOLDER>/<APPLIANCE_HOSTNAME>.pem <ADMIN_HSM_USERNAME>@<HSM_IP>:<APPLIANCE_HOSTNAME>.pemWhere:
-
<YOUR_FOLDER> is the directory containing the client certificate
-
<APPLIANCE_HOSTNAME> is the hostname of the ActivID Appliance (pre-populated in the console's code samples for convenience)
-
<ADMIN_HSM_USERNAME> is the username of the HSM admin user
-
<HSM_IP> is the IP address of the HSM
-
-
ONLY if the ActivID Appliance is already registered on the HSM, open an SSH terminal on the HSM using the HSM Administrator account and delete the existing registration using the following command:
Copyclient delete -client <APPLIANCE_NODE_LABEL> -
Open an SSH terminal on the HSM using the HSM Administrator account and register the client certificate using the following commands:
Copyclient register -client <APPLIANCE_NODE_LABEL> -hostname <APPLIANCE_HOSTNAME>
client assignPartition -client <APPLIANCE_NODE_LABEL> -partition <APPLIANCE_PARTITION_NAME>CopyMap a label to the IP of the ActivID Appliance
client hostip map -c <APPLIANCE_NODE_LABEL> -i <APPLIANCE_IP>Where:
-
<APPLIANCE_NODE_LABEL> is the name of node for the ActivID Appliance on the HSM
-
<APPLIANCE_HOSTNAME> is the hostname of the ActivID Appliance (pre-populated in the console's code sample for convenience)
-
<APPLIANCE_PARTITION_NAME> is the name of the partition you created on the HSM for the ActivID Appliance
-
<APPLIANCE_IP> is the IP address of the ActivID Appliance (pre-populated in the console's code sample for convenience)
-
-
Managing Clusters (Entrust HSMs Only)
This section explains how to configure multiple HSM modules in a cluster for failover.
Be of the same type (that is, Entrust nShield Connect HSM)
Use exactly the same keys, not just keys with the same name (for example, by cloning the HSM)
For deployments with Entrust nShield Connect XC, the cluster mode is only available using Entrust firmware version 12.50 or later. Earlier firmware versions do not support the pool mode.
The cluster deployment behavior differs if the ActivID Appliance keys are protected by an OCS card set:
With OCS-protected keys – the cluster of HSMs are set in load-sharing mode. During the cluster deployment, the ActivID Appliance applications will be restarted automatically so there will be a short interruption of services.
With keys not protected by an OCS card set – the cluster of HSMs are configured in Pool mode. Services will not be interrupted.
Add an HSM Module to the Cluster
-
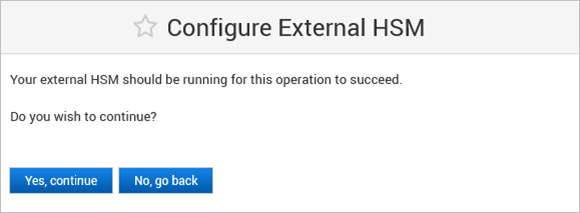
Make sure that the external HSM is up and running.
-
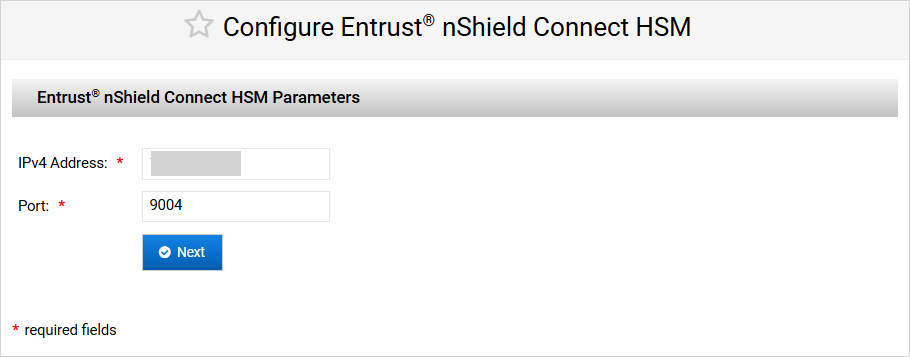
Enter the HSM Parameters for the module to be added and click Next.
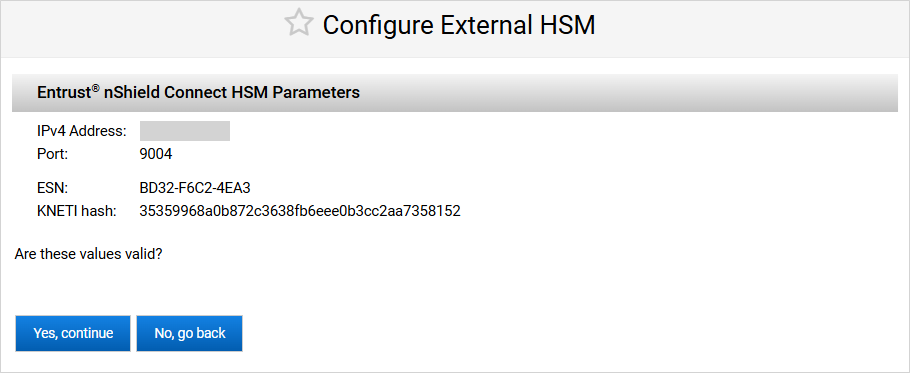
The ActivID Console obtains the ESN and KNETI hash values from the HSM module and displays them:
-
ESN – represents the Electronic Serial Number of the HSM unit
-
KNETI – represents the key used to authenticate the HSM unit to the clients
-
-
Click Yes, continue to confirm that the ESN and KNETI hash values are valid to ensure that the correct HSM is configured.
If the values are not correct, click No, go back and enter the correct HSM Parameters.
The ActivID Console displays the current configuration with the HSM modules.
-
Under Configuration in the left-hand menu, select Applications.
-
Click Restart all Applications and then Ok so that the new HSM will be taken into account.
Remove an HSM Module from the Cluster
-
Under External HSM, click Remove in the Action column for the HSM module that you want to remove from the cluster.
-
Click Yes to confirm the removal.
-
Under Configuration in the left-hand menu, select Applications.
-
Click Restart all Applications and then Ok.
See also:
Integrating an Entrust® nShield™ Connect HSM
