Configure Additional Servers (Recommended)
It is recommended using additional DigitalPersona LDS Servers to make use of the solution’s built-in load balancing and failover capabilities.
However, each DigitalPersona LDS Server and its associated AD LDS database must reside on a separate machine.
Multiple DigitalPersona LDS Servers cannot coexist on the same machine, and an associated database must be on the same machine as the DigitalPersona LDS Server.
To configure an additional DigitalPersona LDS Server for load balancing and failover, follow the steps provided below.
This will result in multiple AD LDS instances that are automatically synchronized and load balanced.
For scenarios where separate DigitalPersona LDS Servers are desired that are not synchronized and will not load balance or failover, these steps are not required.
Add Server Roles and Features
Before installing DigitalPersona LDS Server, there are a few roles and features that need to be added to the default installation of Windows Server.
To add the required roles and features required by the DigitalPersona LDS Server:
-
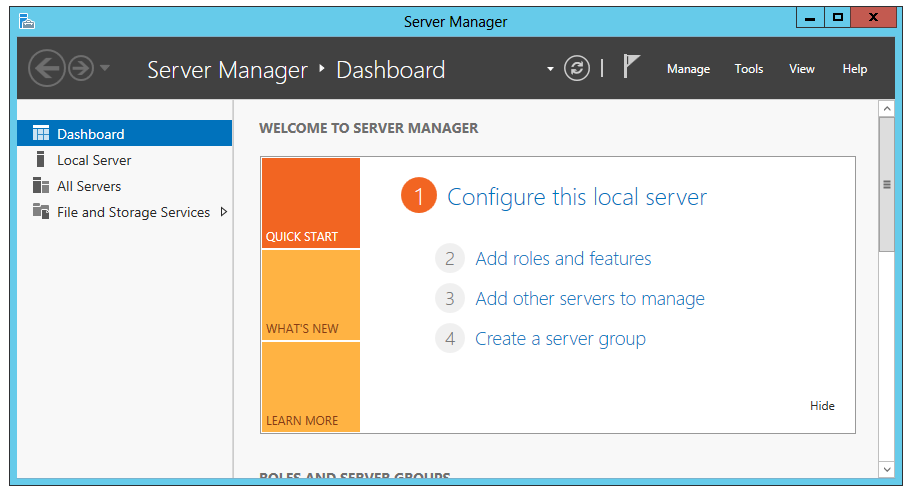
In Windows Server, open the Server Manager and select Dashboard.
-
Under Configure this local server, click Add roles and features.
-
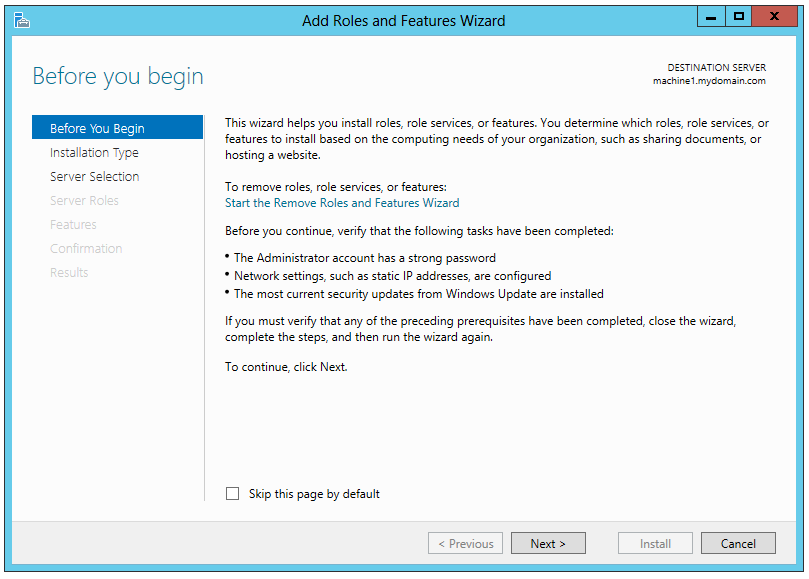
On the Before you begin page of the Add Roles and Features Wizard, verify that you have completed the prerequisite tasks before continuing. Then click Next.
-
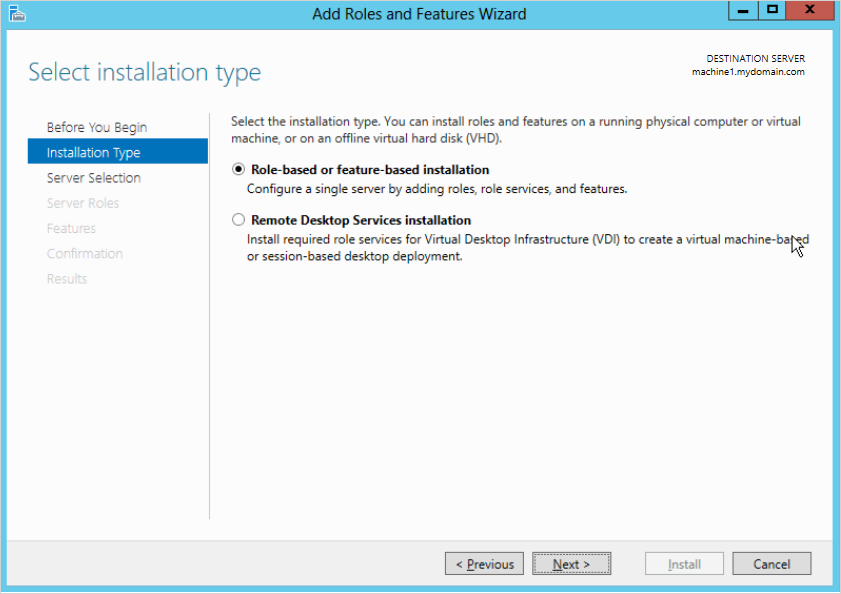
On the Select installation type page, select Role-based or feature-based installation. Then click Next.
-
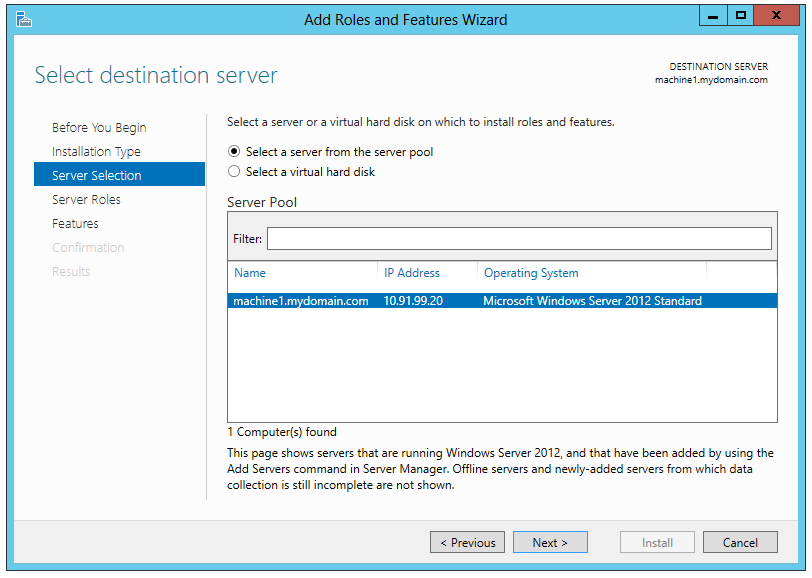
On the Select destination server page, choose Select a server from the server pool. Then click Next.
-
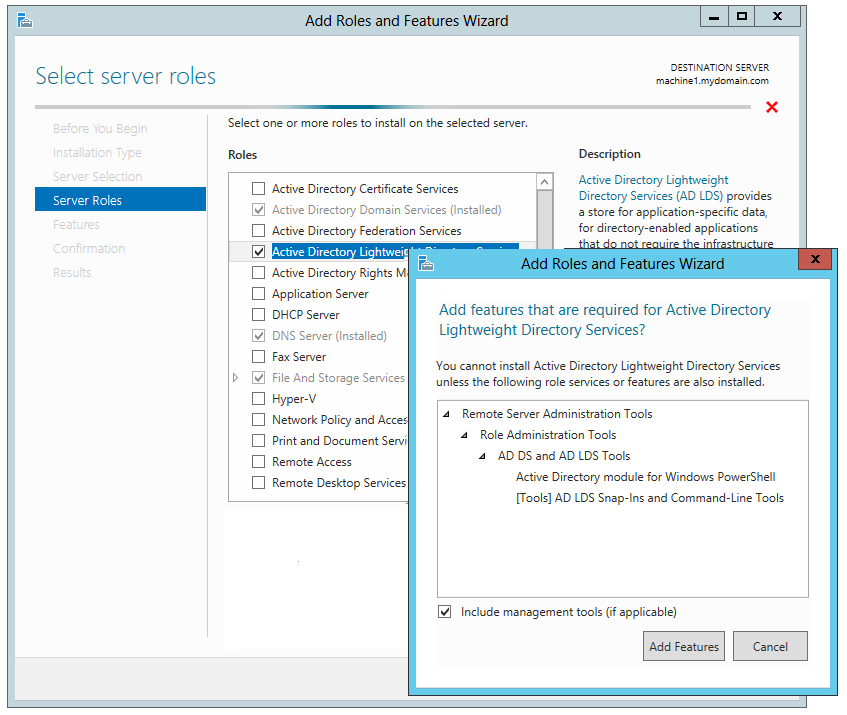
On the Select server roles page, in addition to the roles selected by default, ensure that the Active Directory Lightweight Directory Services role is included.
-
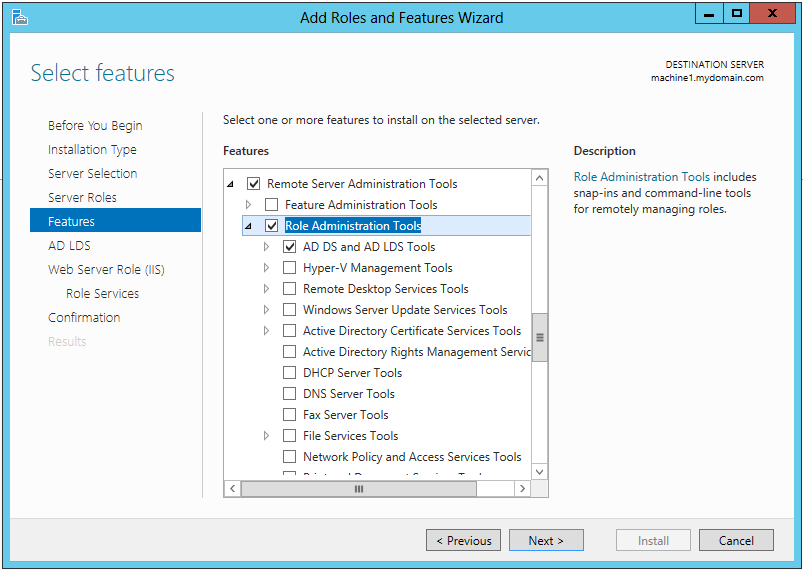
On the Select features page, in addition to the features selected by default, ensure that the following features are selected and then click Next:
-
Group Policy Management
-
AD DS and AD LDS Tools
-
-
The following page simply explains how to create an AD LDS instance, by using the AD LDS Setup Wizard, and how to remove the AD LDS role through the Windows Control Panel. Click Next.
-
On the Confirm installation selections page, click Install.
-
The Installation Progress page displays a bar indicating the approximate progress of the installation process.
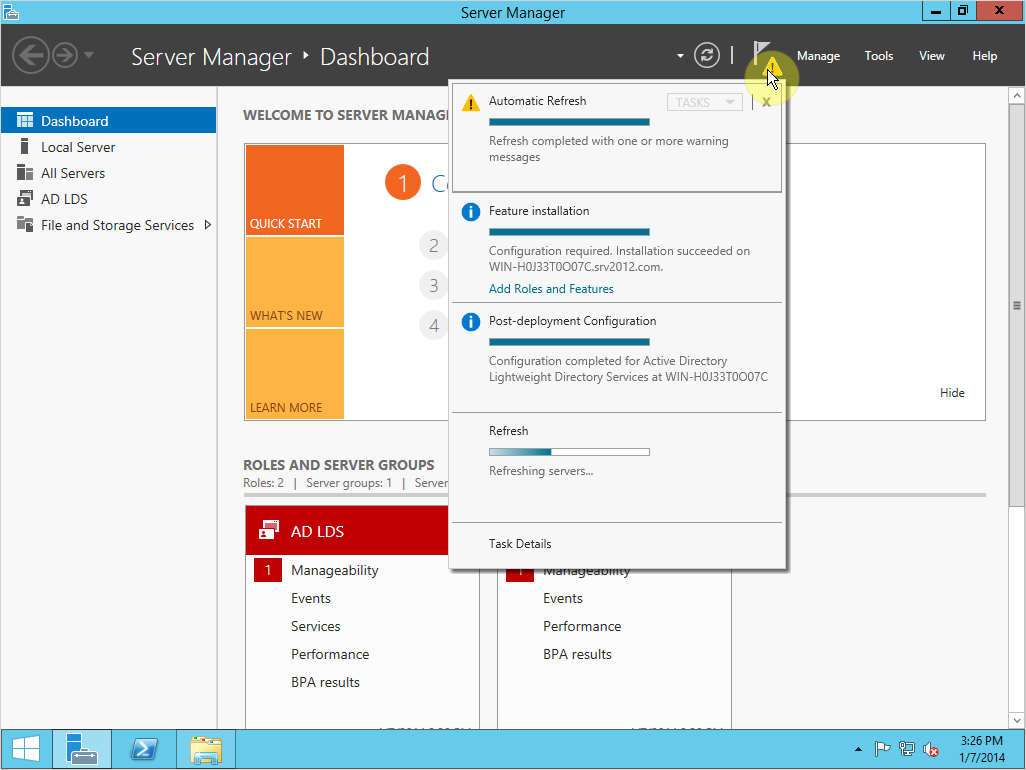
Note: You can close the wizard (by clicking the Close (X) button) without interrupting the installation, and open it again to view progress by clicking Notifications and then Task Details in the Server Manager Dashboard Command Bar.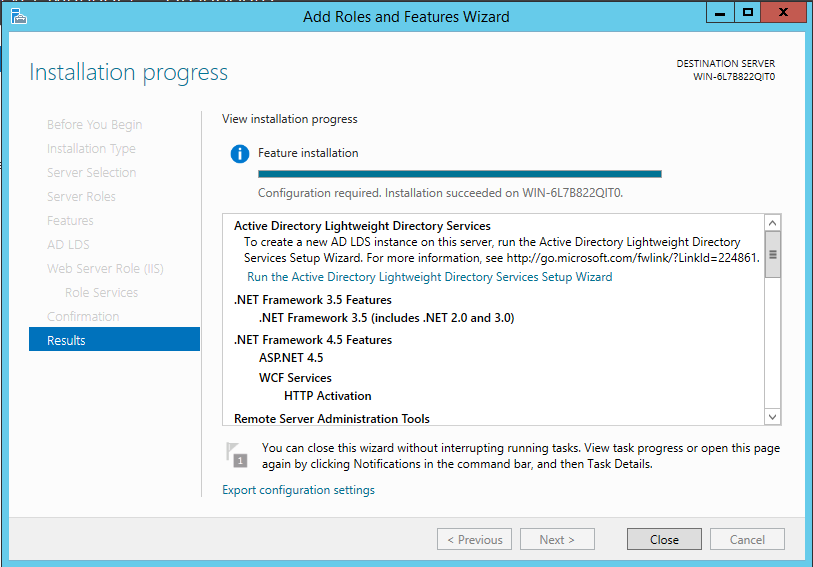
-
Upon completion of the installation, the wizard will close and the following information will display.
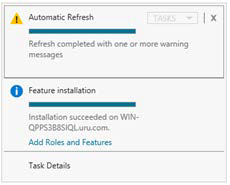
An automatic refresh will also be performed.
Replicate an Existing AD LDS Instance
Once the LDS feature has been installed, you will use the Active Directory Lightweight Directory Services Setup Wizard to install a new AD LDS instance on this machine that is a replica of the existing instance created during the installation of your first DigitalPersona LDS Server.
To set up an AD LDS replica:
-
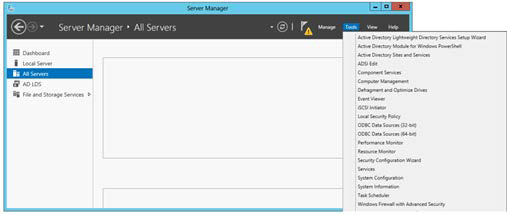
In the Server Manager Dashboard Command Bar, select Tools. Then select Active Directory Lightweight Directory Services Setup Wizard.
-
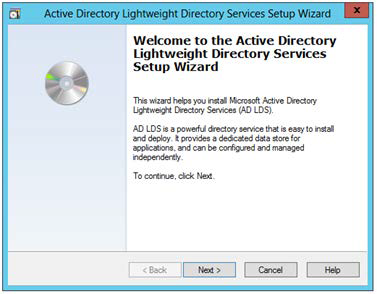
The Active Directory Lightweight Directory Services Setup Wizard displays. Click Next.
-
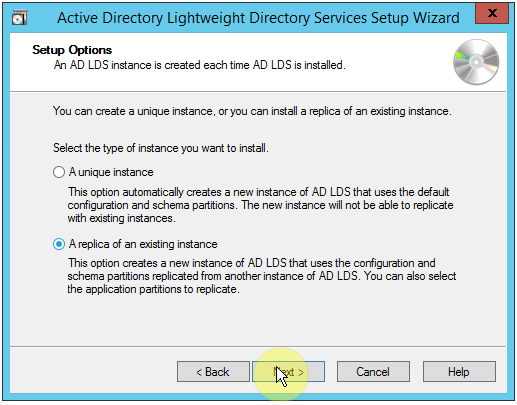
On the Setup options page, select A replica of an existing instance and click Next.
This will create a new AD LDS instance on this machine that uses the configuration and schema pattern from the instance associated with your previously installed DigitalPersona LDS Server.
-
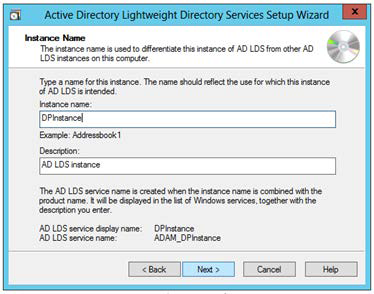
Enter the name for the instance you are creating. This must be the same name as the original instance that you are replicating. Optionally, enter a description.
-
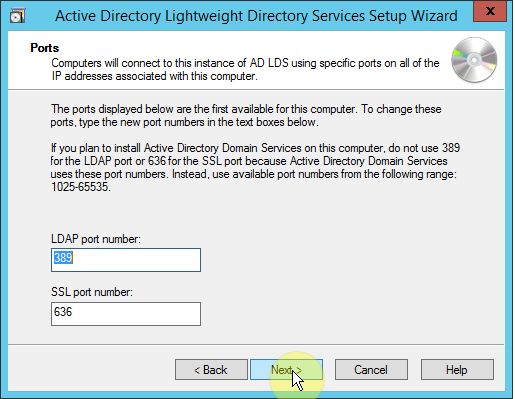
Enter the LDAP and SSL port numbers for this instance. The default port numbers for this computer are shown. In most cases, the default port numbers should be accepted.
-
Enter the Server name and LDAP port for the Configuration Set that you want to join.
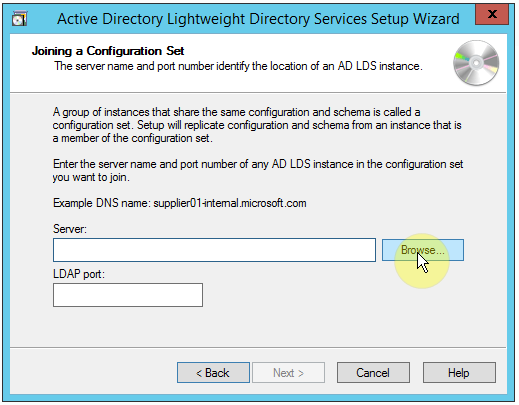
If you do not have the exact Server Name and port, click Browse to search for and select the server
You will be asked for your network credentials.
Enter the LDAP port that was used in the installation of the original DigitalPersona LDS instance.
Once the Configuration Set information has been entered, click Next to continue.
-
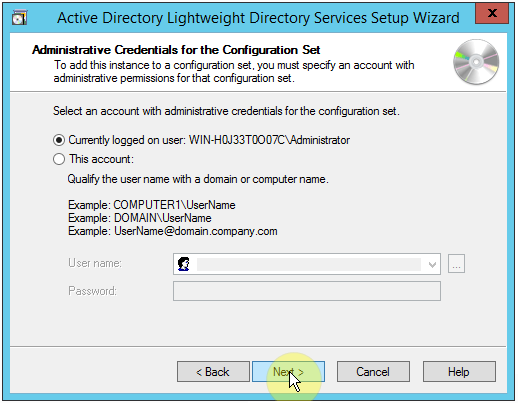
Select an account with administrative credentials for the configuration set.
-
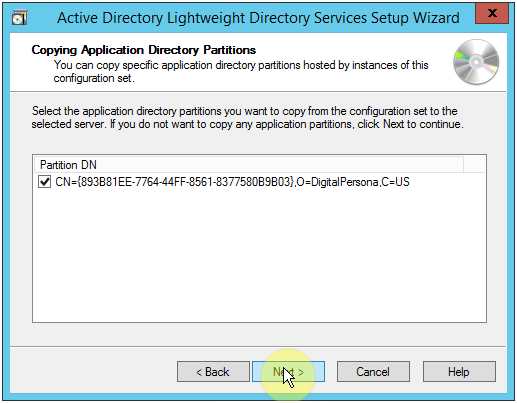
Select the Application Directory Partitions to copy from the Configuration Set to the selected server.
-
If no Application Directory Partition is shown, this may indicate that the DigitalPersona AD LDS Configuration Wizard was not run on the initial AD LDS instance. Close this wizard, return to the original instance and run the configuration wizard there before continuing.
-
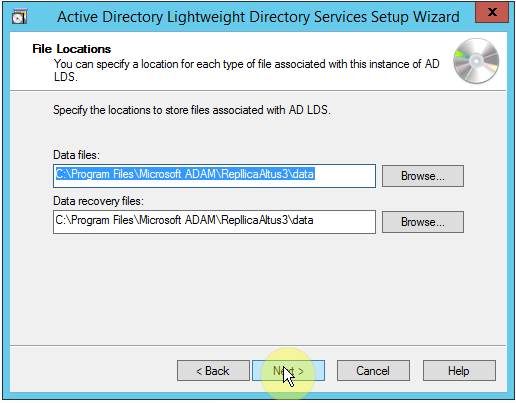
Specify a location for each type of file associated with this instance of AD LDS.
-
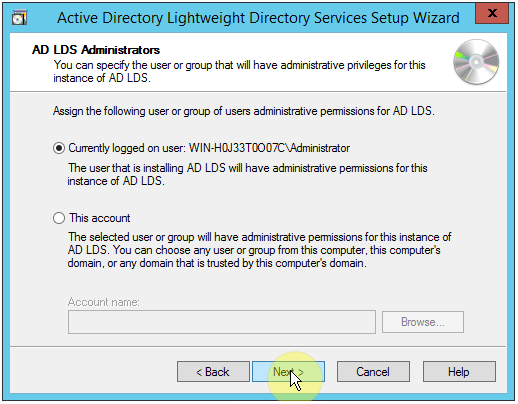
Specify the user or group that will have administrative privileges for this AD LDS instance.
-
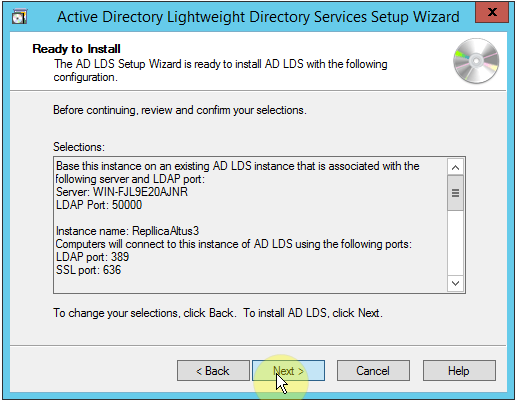
At the Ready to Install page, click Next.
-
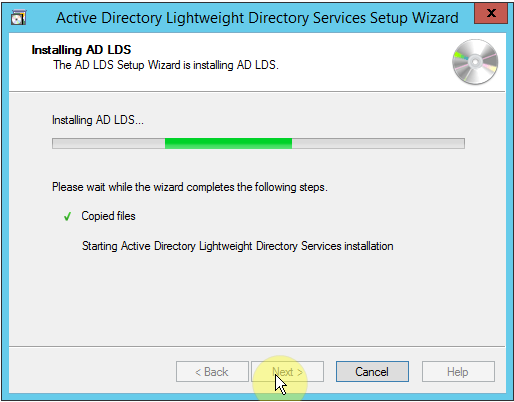
During the installation, a progress bar is shown along with details about the installation process.
-
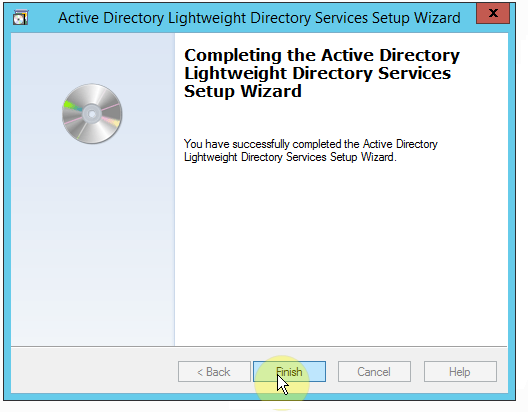
When the AD LDS Setup Wizard has finished the installation, a final dialog displays. Click Finish.
-
Closing the above dialog leaves the Add Roles and Features Wizard page on the screen. Additional tasks will be running, but you can close this page without interrupting them. You can open the page again by clicking Notifications in the command bar and then Task Details.

-
Finally, closing the Add Roles and Features page will leave the Server Manager Dashboard on the screen. There will be an error flag in the upper right of the page until the AD LDS replica setup has completed post deployment configuration.
To refresh the page, click Refresh to the left of the warning flag.
Configure the AD LDS Service
Configure Replication Frequency and Availability
By default, replication of data from one instance to another within a configuration set is set to occur every 180 minutes (3 hours). This time interval is configurable.
In addition, specified blocks of time may be designated as available or unavailable for replication in order to limit scheduled replication intervals to certain times of the day (such as after normal business hours).
For instructions on configuring replication frequency and availability, see the following article on Microsoft’s TechNet site at https://technet.microsoft.com/en-us/library/cc731862(v=ws.11).aspx
Install DigitalPersona LDS Server
-
Launch the DigitalPersona LDS Server - InstallShield Wizard by running Setup.exe, located in the ..\Server\DigitalPersona LDS Server folder in the product package.
Alternatively, you can install DigitalPersona LDS Server using the command line.
-
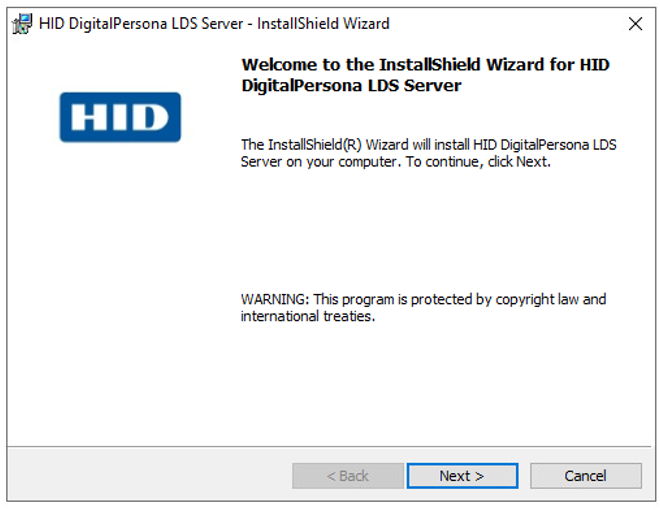
The wizard's Welcome page displays. Click Next.
-
Read the License Agreement page. If you agree with the stated terms, select I accept the license agreement. and click Next.
-
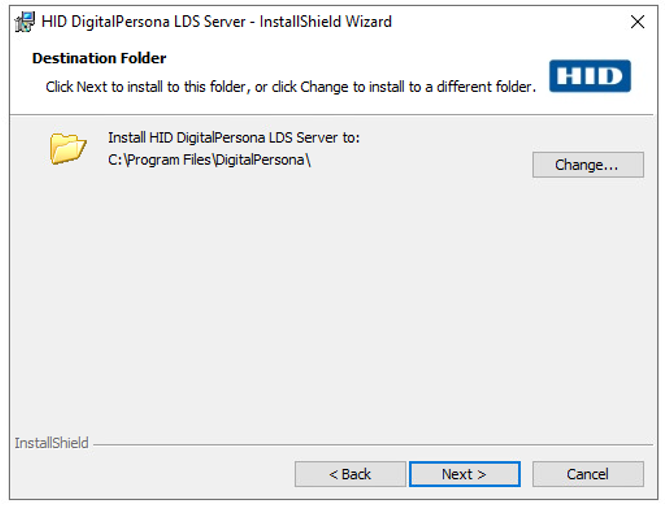
On the Destination Folder page, accept the default install destination folder, or click Change to install to a different folder. Click Next.
-
On the Ready to install page, click Install.
-
Upon completion of the wizard, the InstallShield Wizard Completed page displays.
When installing a DigitalPersona LDS Server using a replicated AD LDS instance, you do not need to separately license the additional DigitalPersona LDS Server. Licensing information from the original unique AD LDS instance is replicated for any additional DigitalPersona LDS Servers in the same configuration set.
Open the DigitalPersona Authorization Store (Optional)
In most cases, when configuring additional DigitalPersona LDS Servers for load balancing and failover, you would not need to use the Microsoft Authorization Manager or connect it to the DigitalPersona Authorization Store on the additional servers.
However, the Authorization Manager Snap-in may be added to any new or existing Microsoft Management Console on any computer that is a member of the same domain as the installed DigitalPersona LDS Servers.
The Authorization Manager can also be run directly from the command line by entering azman.mmc. A shortcut to the MMC placed on the Start screen or Windows taskbar provides immediate and convenient access to the Authorization Manager and Authorization Store.
For instructions on opening the DigitalPersona Authorization Store, see Define the Authorization Store Name.
For details on the DigitalPersona LDS-specific features and configuration provided by the DigitalPersona Authorization Store (its objects and attributes and how they are used), see Using the Authorization Manager (AzMan).


