Installing the Front-End Applications
You can install the ActivID Management Console, Self-Service Portal, and RADIUS Front End on a separate appliance using the Front-End installation option during the appliance initialization process.
When you install Front-End applications alone on an appliance, you must install them for the same set or a subset of the domains installed on the back-end appliance.
You can deploy the back-end appliance with an HSM, but Front-End applications can be installed on an appliance with software cryptography as they do not use the HSM.
Install the Front-End Applications
The ActivID Authentication Services have already been installed on the back-end appliance(s) using the Full installation option (see Initializing the ActivID Appliance)
You know passwords for the ftinit accounts associated to the security domains(s) that the front-end installation will join
Download the Appliance Root CA certificate for the back-end appliance (or the CA certificate if you customized the back-end TLS server certificate) and make sure that it is accessible from the system where you will install the front-end appliance
You have configured the appliance network using the ActivID UNIX Terminal as described in Configuring the Initial Appliance Settings
If the back-end appliance is not in the DNS, add the back-end's IP/hostname in the /etc/hosts file of the front-end appliance
-
From any browser, access the ActivID Console using the following URL:
https://<appliance-hostname>:1005
The first time you access the ActivID Console, you are prompted to trust the connection to the site.
-
Click Proceed to <appliance site>.
-
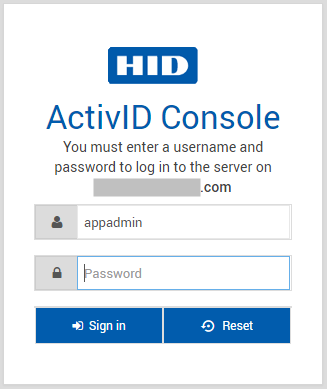
Enter the credentials for the Appliance Administrator account (appadmin and the password you set during the initial configuration using the UNIX terminal).
-
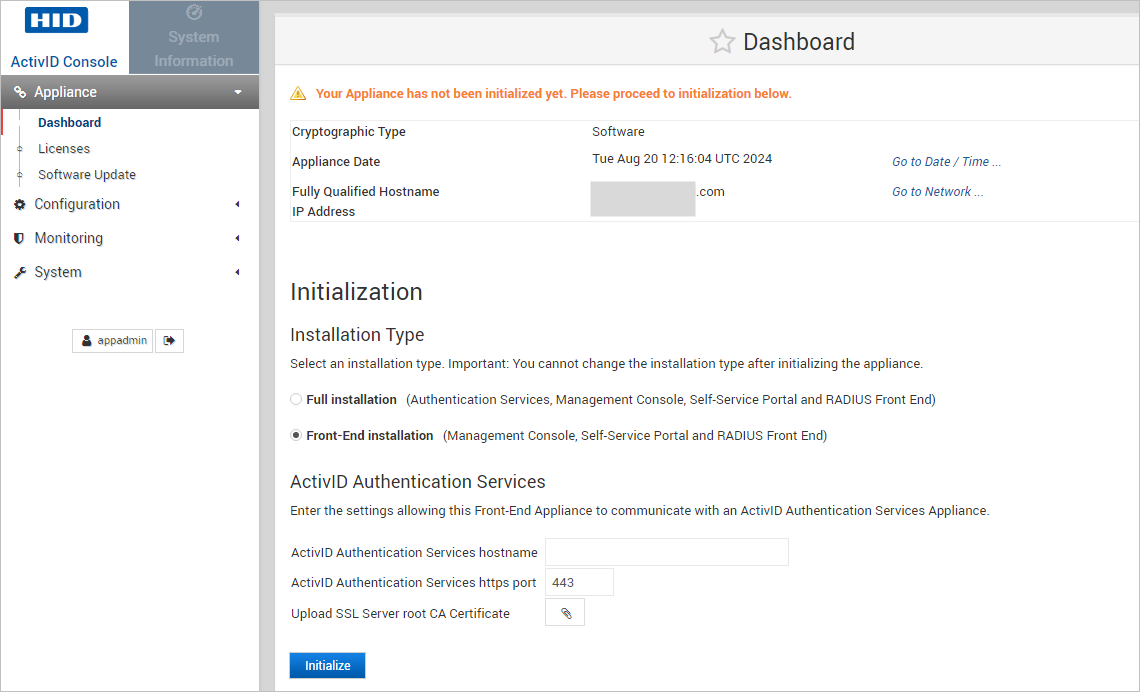
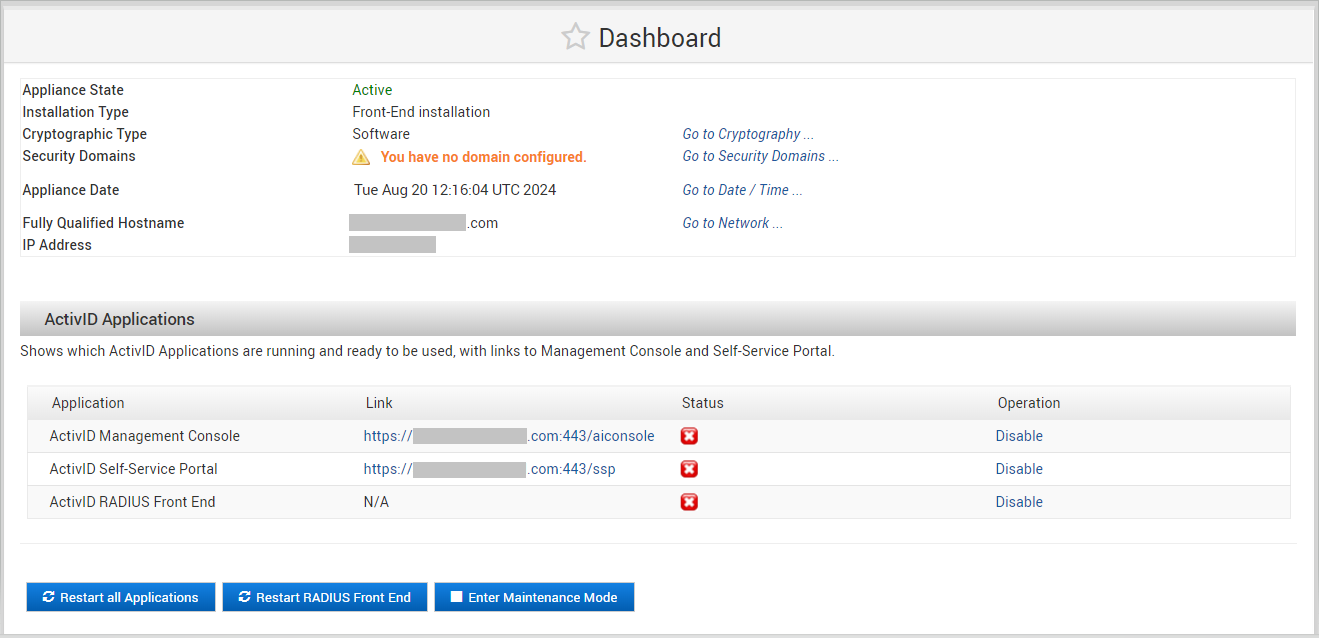
Under Appliance in the left-hand menu, select Dashboard.
-
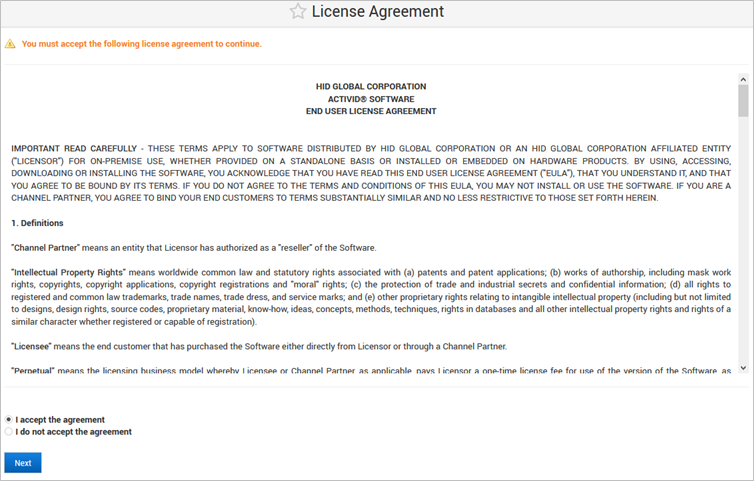
Select I accept the agreement and click Next.
-
In the Initialization section of the appliance dashboard, select Front-End installation.
Important: Once an installation type is applied, the only way to change it is to revert the appliance to the Initial State.Important: After successfully setting the appliance installation type (Full or Front End), you cannot change it unless you revert the appliance to the Initial State: -
Enter the hostname and https port for the back-end appliance where you installed the ActivID Authentication Services.
-
Upload the SSL Server Root CA Certificate for the back-end appliance (the Appliance Root CA certificate or the customized CA certificate that you downloaded before starting the installation).
-
Click Initialize.
-
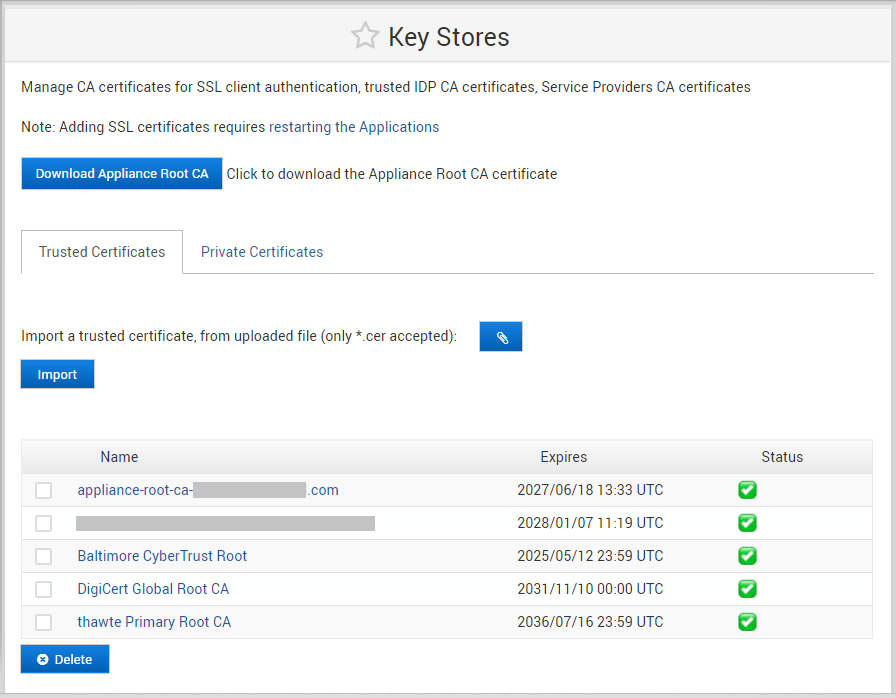
Under Configuration in the left-side menu, select Key Stores.
-
Download the Appliance Root CA Certificate for the front-end appliance that you will need to upload to the back-end appliance.
-
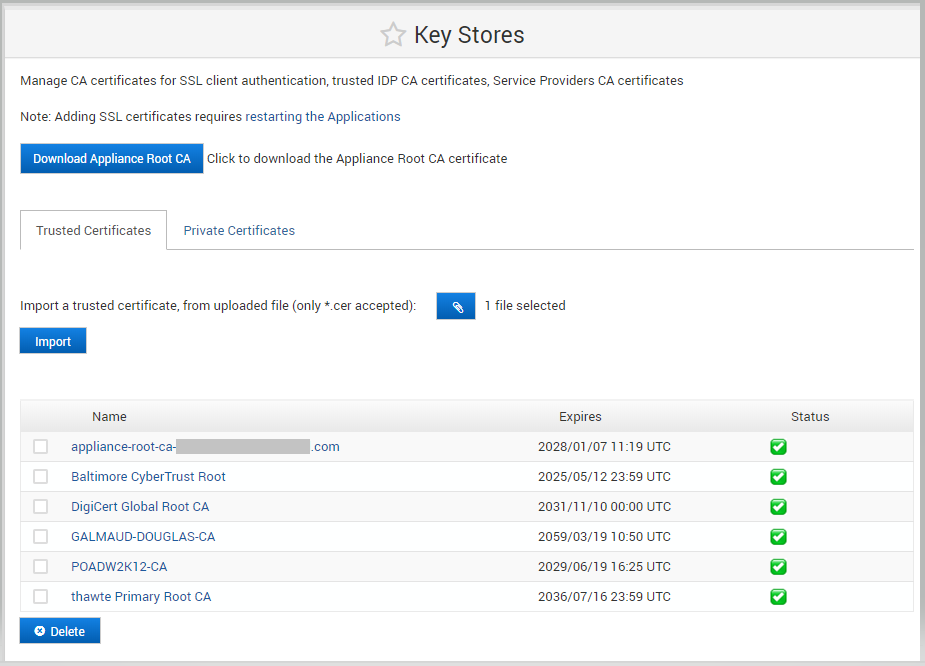
Log on to the ActivID Console for the back-end appliance and, under Configuration in the left-side menu, select Key Stores.
-
Browse to the Appliance Root CA Certificate for the front-end appliance and click Import.
-
Under Configuration in the left-side menu, click Applications, and then click Restart all Applications to establish the trusted connection to the front-end appliance.
-
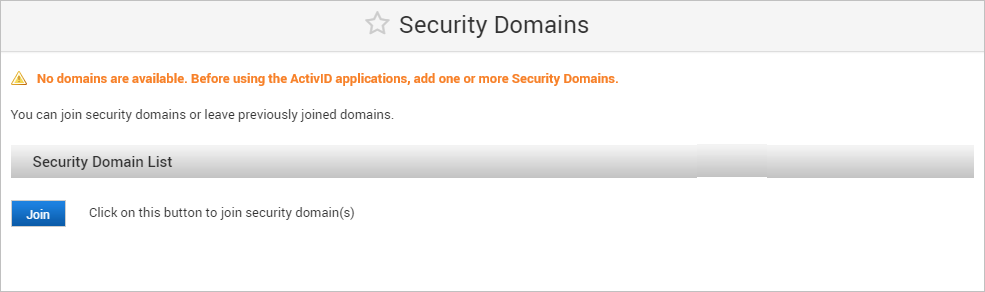
Return to the ActivID Console for the front-end appliance and, under Configuration in the left-side menu, click Security Domains.
-
Click Join.
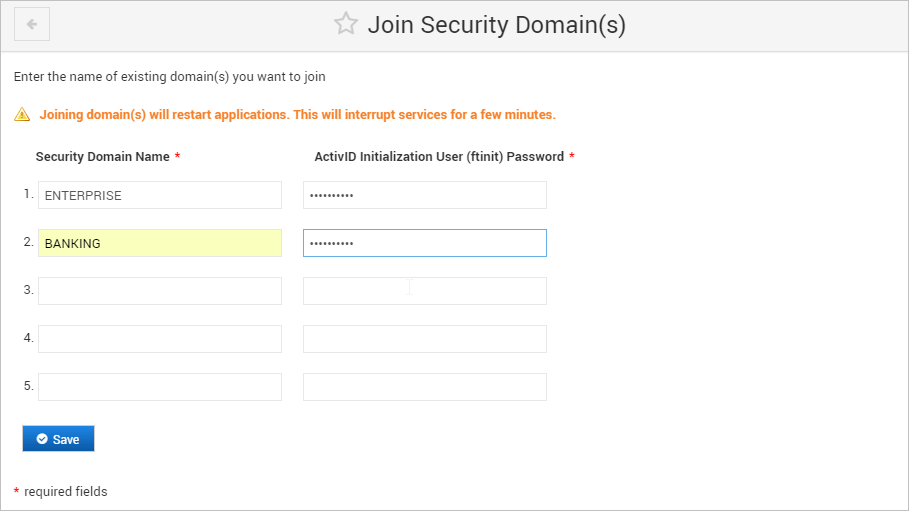
-
Enter the name(s) of the Security Domains and the Password(s) for the corresponding ftinit users that the front-end installation should join.
You can join all or only a subset of the security domains.
Important: The names of the security domains must be exactly as defined in the back-end appliance (including upper or lower case).
Enable the RADIUS Front End (Optional)
For ActivID RADIUS applications installed on a front-end appliance, you need to activate the service on all or a subset of the security domains and configure the application instance for the node hosting the client application on the back-end appliance.
-
To deploy the ActivID RADIUS Front End on one or more security domains, under Configuration in the left-side menu, select RADIUS Front End.
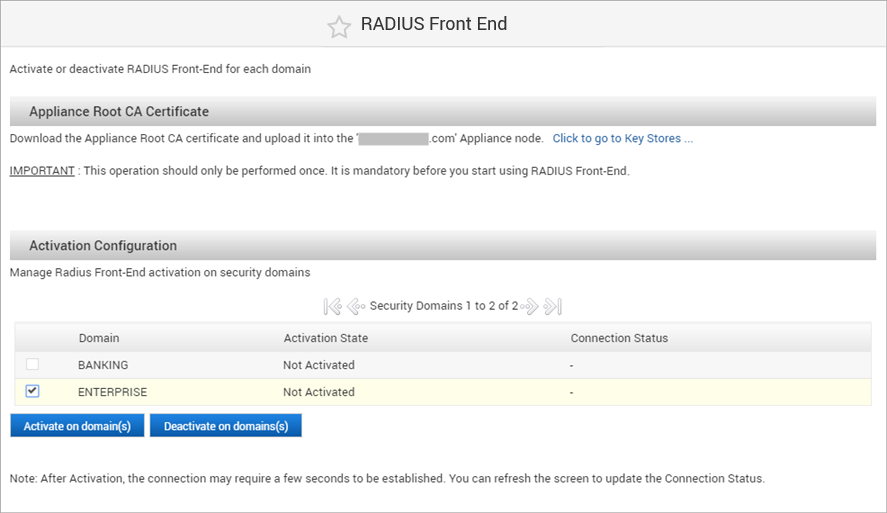
-
Select the domain(s) on which you want to activate the RADIUS Front End services, and click Activate on domain(s) and then OK to confirm the operation.
-
Under Configuration in the left menu, select Applications.
-
Click Restart RADIUS Front End to restart the RADIUS service to update the RADIUS configuration.
-
Under Configuration in the left menu, select Key Stores.
-
Select Private Certificates.
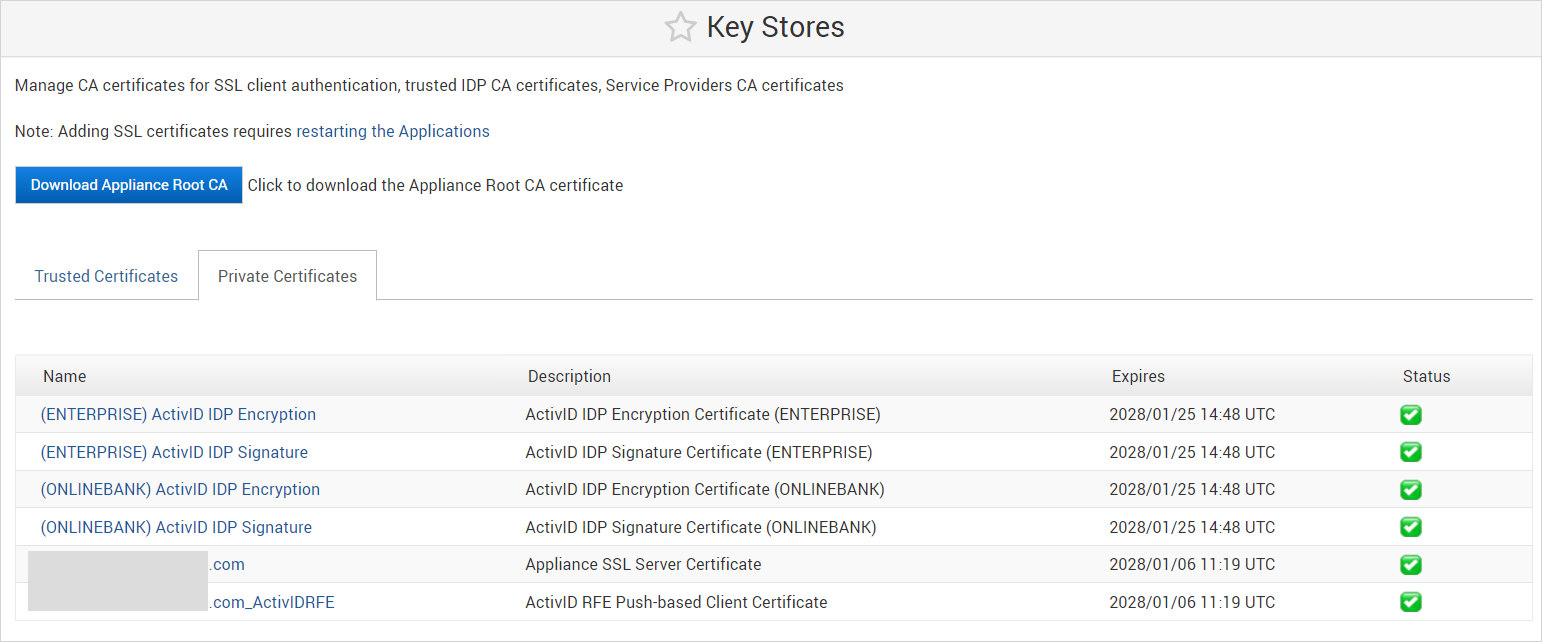
-
Download the ActivID RFE Push-based Client Certificate (TLS).
-
Log on to the ActivID Console for the back-end appliance and, under Configuration in the left menu, select Push-based Authentication.
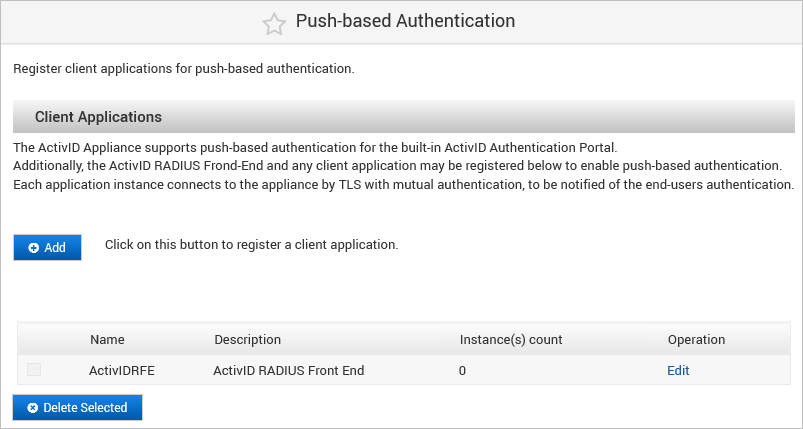
-
Click Edit to configure the default ActivIDRFE client application.
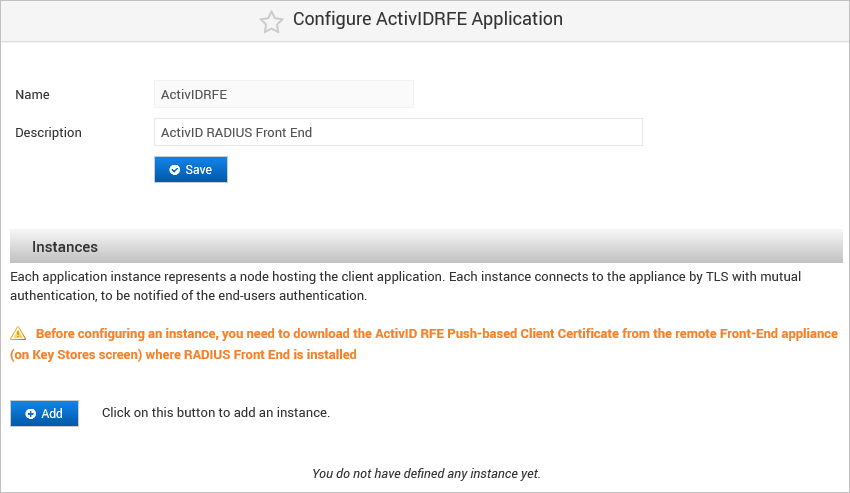
-
Click Add to add an instance for the front-end client application.
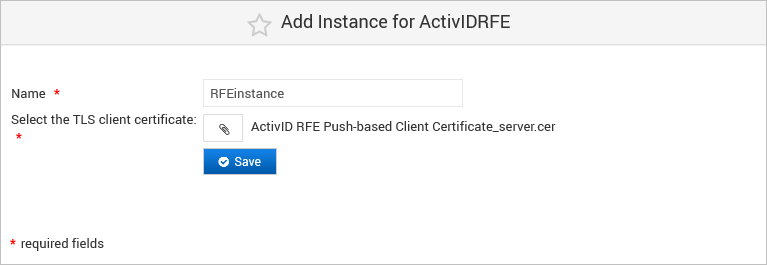
-
Enter a Name for the instance and then upload the TLS client certificate (the ActivID RFE Push-based Client Certificate) for the front-end client application and click Save.
-
If required, configure the ActivID RADIUS Front End for the push-based solution.
Important: For push-based authentication, the RADIUS client application (NAS) must be configured to use the PAP mode RADIUS protocol -
Once the configuration is complete, log on to the ActivID Management Console and Self-Service Portal to perform RADIUS-based authentications.
Installing the Front Ends in Dual Mode
To deploy several appliances as front ends in a dual mode deployment, you should proceed in a certain order to minimize some reconfiguration requirements.
Sample high availability deployment:
-
Appliance A – Back-End appliance (that is, ActivID Authentication Services deployed)
-
Appliance B – Back-End appliance (that is, ActivID Authentication Services deployed)
-
Appliance C – Front-End appliance – linked to Appliance A
-
Appliance D – Front-End appliance – linked to Appliance B
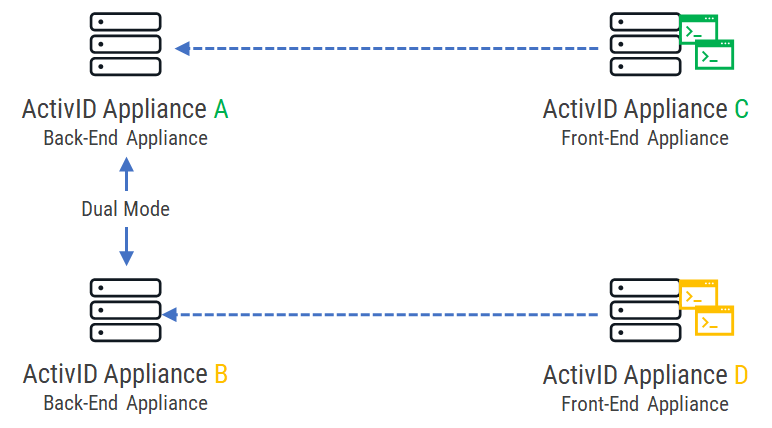
Recommended order:
-
Set Appliances A and B to dual mode.
-
Initialize Appliance C so that it is linked to Appliance A.
-
Initialize Appliance D so that it is linked to Appliance B.
However, if you do NOT follow the recommended, for example:
-
Initialize Appliance D so that it is linked to Appliance B.
-
Set Appliances A and B to dual mode (‘source’ node is A and ‘target’ node is B).
-
Initialize Appliance C so that it is linked to Appliance A.
Then the front-end Appliance D should be reconfigured as the ‘target’ Appliance B was overwritten during the dual mode configuration.
In this case, you have to repair the domains configured on the front-end Appliance D:
-
Log on to the ActivID Console and, under Configuration, select Security Domains.
-
For each of the defined security domains:
-
Click Repair.
-
Enter the password of the ActivID Initialization User (ftinit) user.
-
Click Recover.
-


