Provisioning FIDO Devices
Based on your provisioning requirements, you can select one of the following provisioning modes:
-
Manual - an operator follows FIDO Provisioning application prompts to manually provision a device to each user in the request
-
Automatic - the devices are loaded into a supported printer and the FIDO Provisioning application automatically provisions a device to each user in the request
A valid license for the FIDO Provisioning service
The Administrator or Device Service Administrator role
Alternatively, you can use a custom role with the Create Request privilege.
To purchase new licenses or renew existing ones, contact your HID Account Manager.
Install the FIDO Provisioning Application
You have:
The Administrator, Device Service Administrator, or View Only role
Alternatively, you can use a custom role with the Downloads privilege.
Administrator privileges to install the application on the workstation
If required, restrict access to the FIDO Provisioning service on the workstation to a specific local group by adding the following registry key:
Location - HKEY_LOCAL_MACHINE\SOFTWARE\HID Global\FIDO Provisioning
(Default):
Type - REG_SZ
Data - leave empty
NamedPipeGroupSID:
Type - REG_SZ
Data - the security identifier (SID) of the local group (see Security identifiers | Microsoft Learn)
-
Select Downloads
 in the left menu.
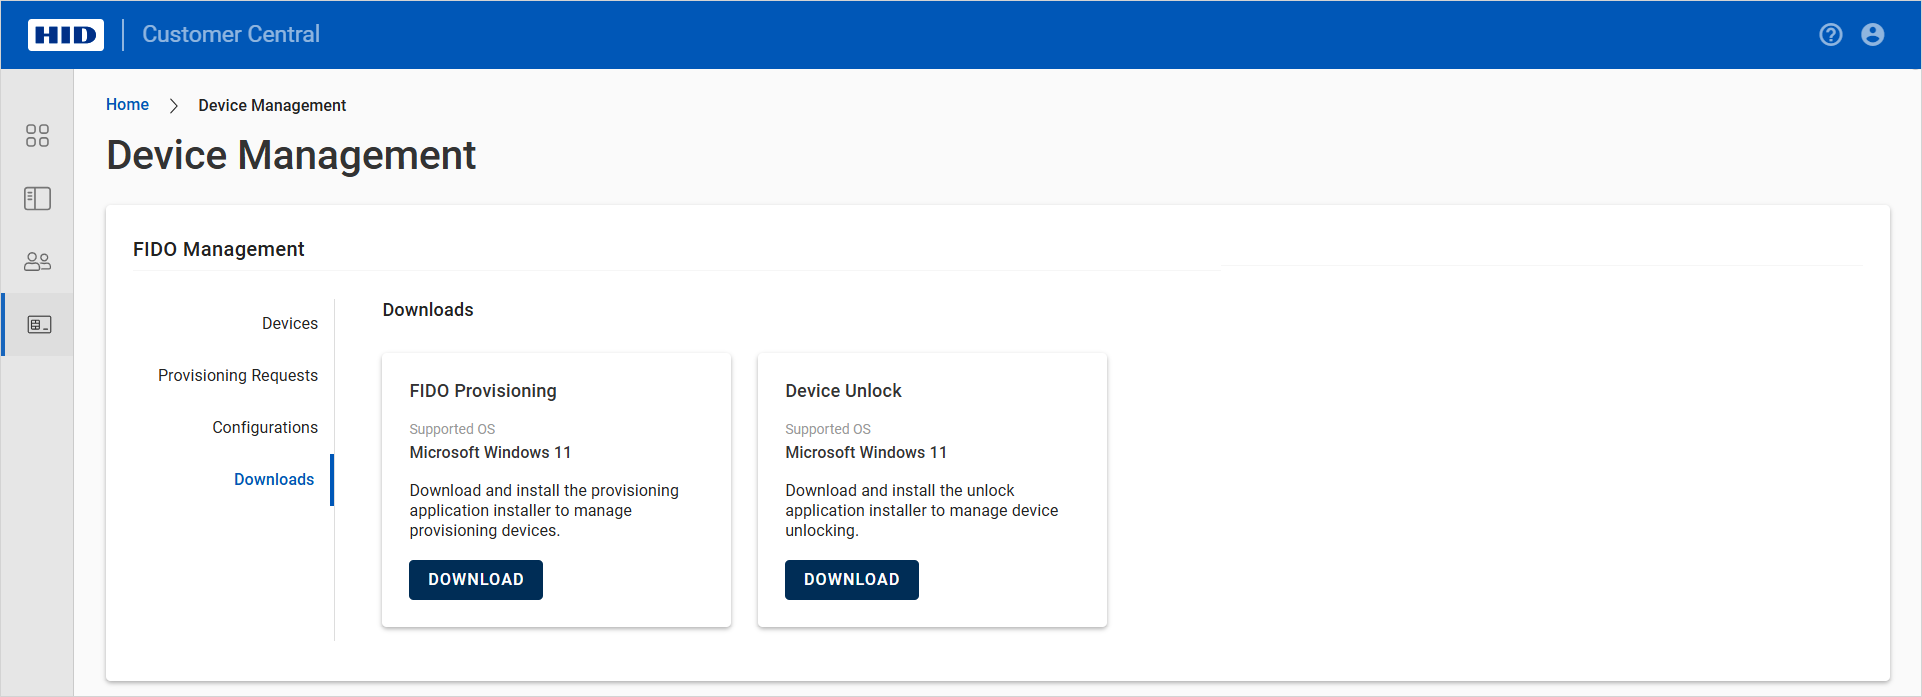
-
Click DOWNLOAD for the FIDO Provisioning application.
-
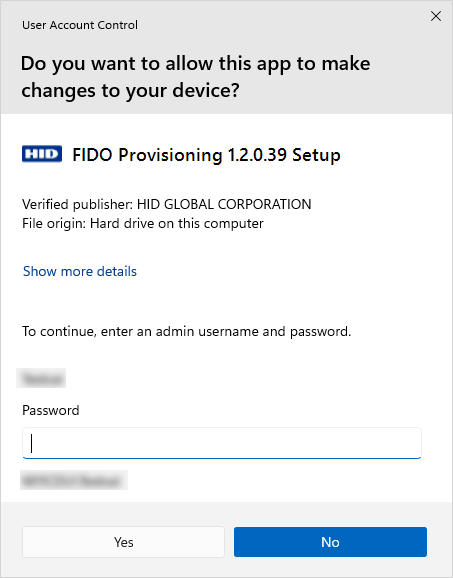
Double-click the .exe file to launch the setup.
-
If prompted, enter your administrator username and password and allow the setup to make changes on the workstation.
-
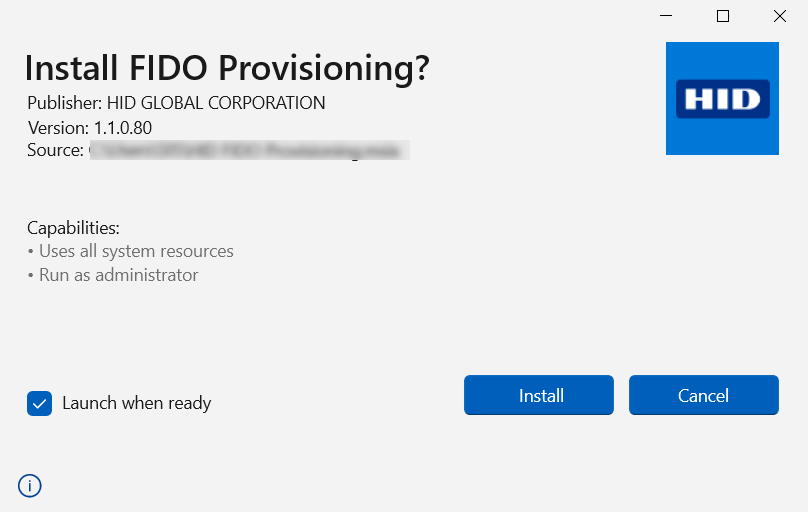
Click Install.
Alternatively, if the setup detects an older version of the application is already installed, click either Upgrade to replace it with the new version, or Uninstall to remove the existing version.
 Note: The application is installed / upgraded for all the workstation's users, including non-administrators.
 -
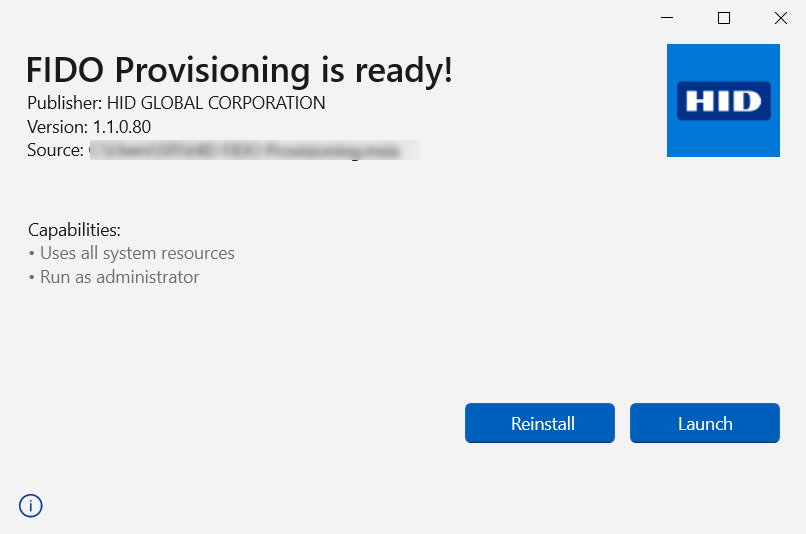
Launch the application to test it is installed correctly.
The following message is displayed.
 Note: On first launch, the application might require several seconds to complete the initial setup.
 -
Close the application.
Use one of the following methods according to your requirements:
-
Uninstall the application for the user currently logged on to the workstation:
-
Launch the application and right-click on the app icon.
-
Click Uninstall.
Or
-
Go to the workstation's Settings, select Apps and then Installed apps.
-
Locate FIDO Provisioning and click Uninstall from the app menu.
-
-
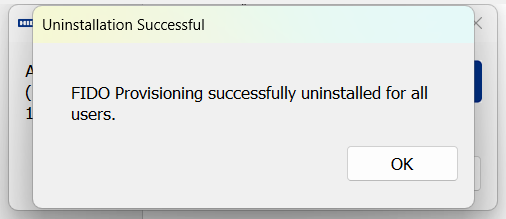
Uninstall the application and its service for all the workstation's users:
-
Double-click the .exe file to launch the setup.
-
Click Uninstall.
-
Provision the FIDO Devices for Your Users
Create the Provisioning Request
Configure the connection to your user directory
Have the Administrator or Device Service Administrator role
Alternatively, you can use a custom role with the Create Request privilege.
Install the FIDO Provisioning application if you intend to enroll the FIDO devices for your users immediately after creating the request
For manual provisioning, you have:
The devices available for provisioning
Connected a smart card reader to the workstation
For automatic provisioning, you have:
Set up the printer
Loaded the cards into the printer's hopper, making sure there are enough cards to provision all the users in the request
Note: Depending on the printer's capacity, you might need to reload the hopper during the provisioning process.
If these conditions are not met, you cannot create a request and provision devices.
-
Expand Passkey Management
 in the left menu and select Provisioning.
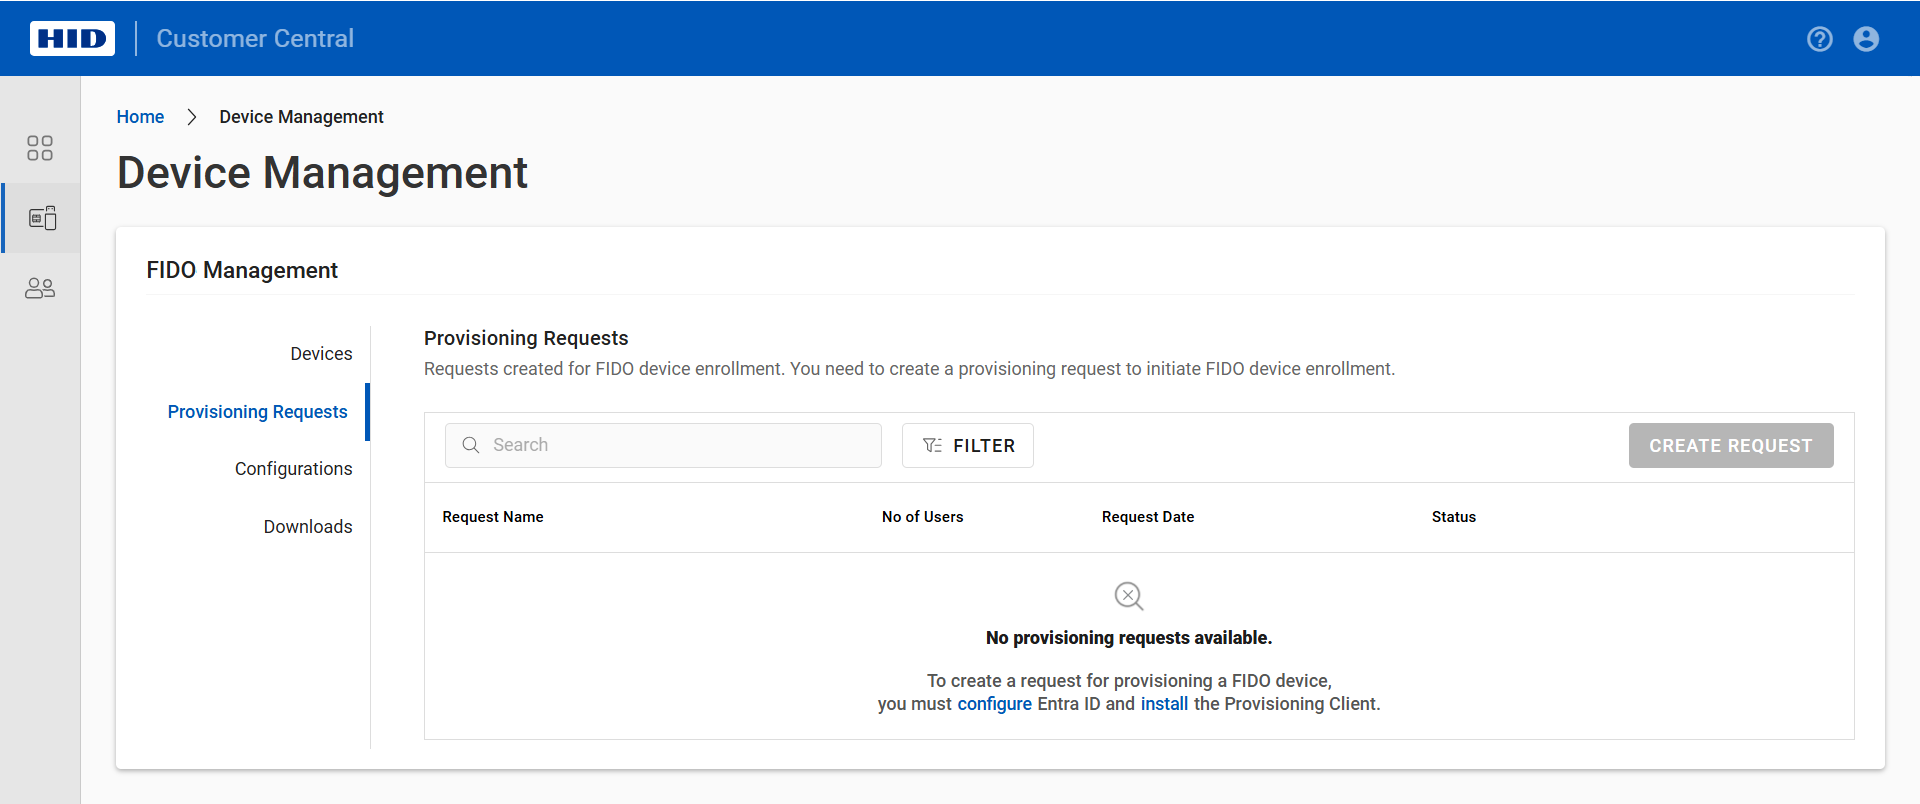
-
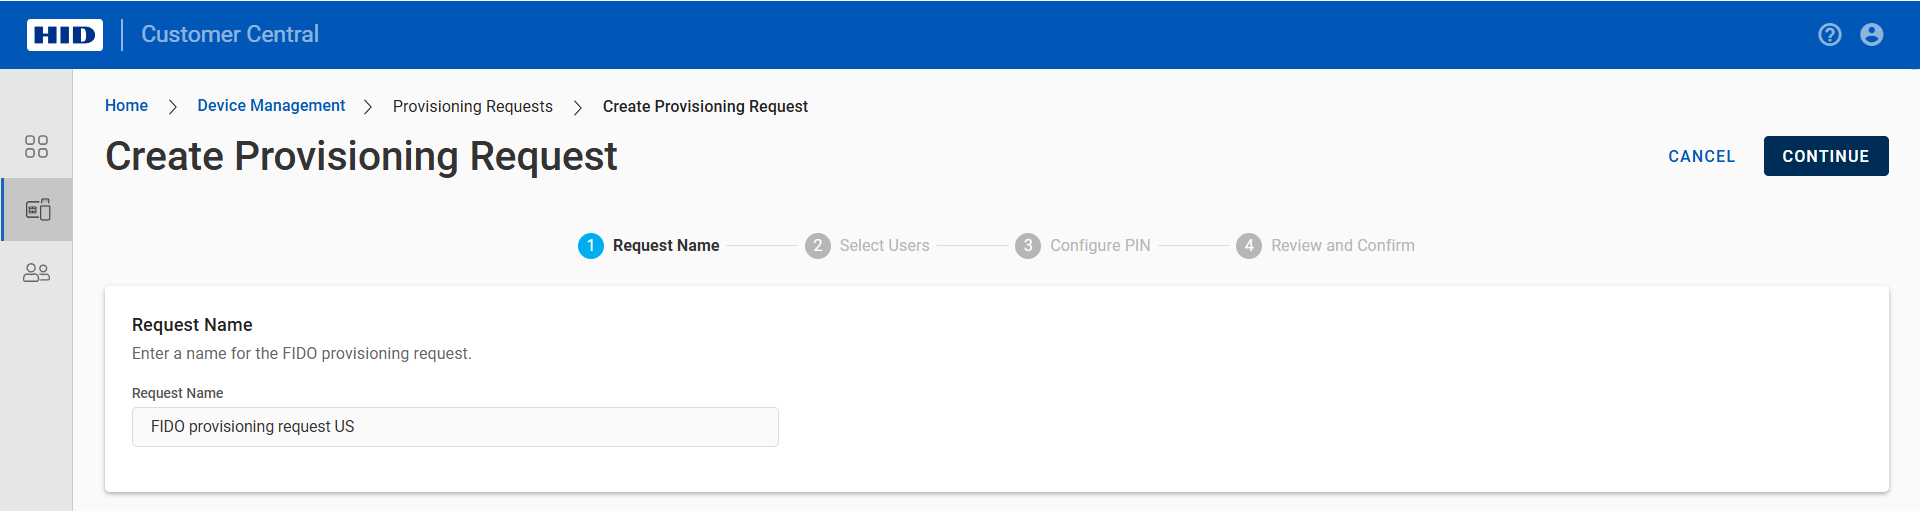
Click NEW REQUEST.
-
Enter a name for the request.
-
Select the Directory configuration from the drop-down list.
This list is populated with your configured directories.

-
For PingOne directories only, select the required authentication policy.
-
Click CONTINUE.

-
Select the users for the request from either the Users or Groups tab.
You can filter the list by searching for users by name.
In the Groups tab, you can select all or individual users in a group, and show only users already provisioned with a device.
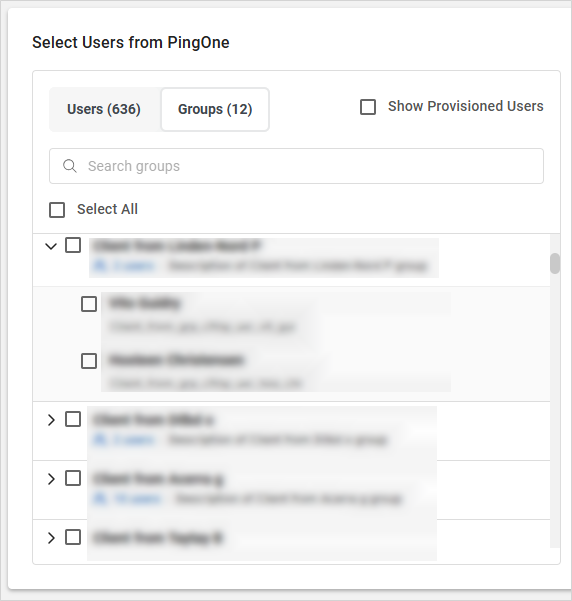
The users are automatically added to the Selected Users list with a label specifying the source (via Users or Groups).
Note:You can select up to 100 users per request
The Groups tab is not available for Ory directories
-
Click CONTINUE.
-
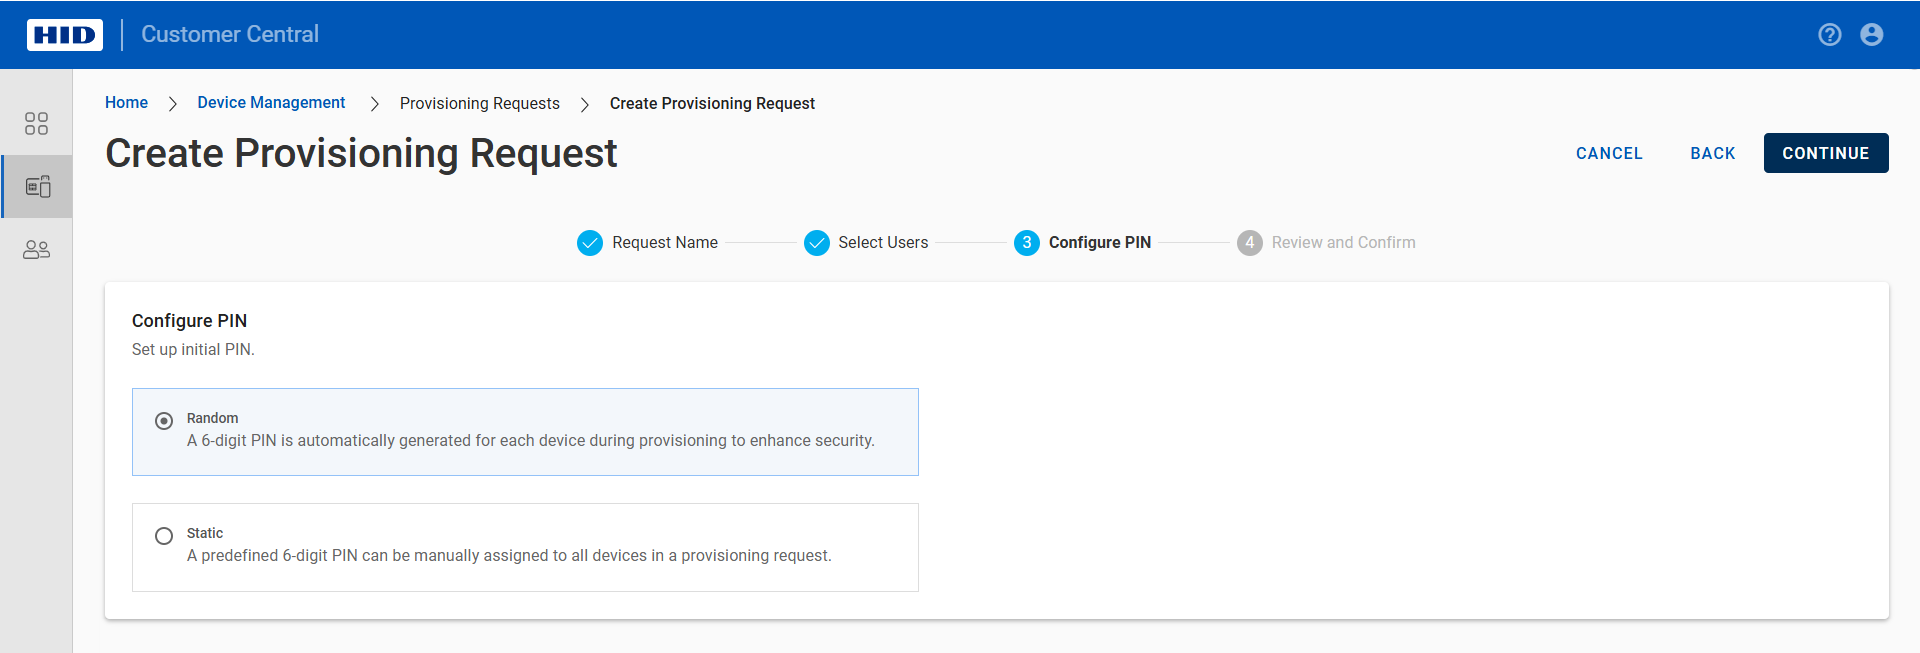
Select the PIN configuration and click CONTINUE:
-
Random - a random 6-digit PIN will be generated for each device
-
Static - enter a PIN that will be assigned to all the devices
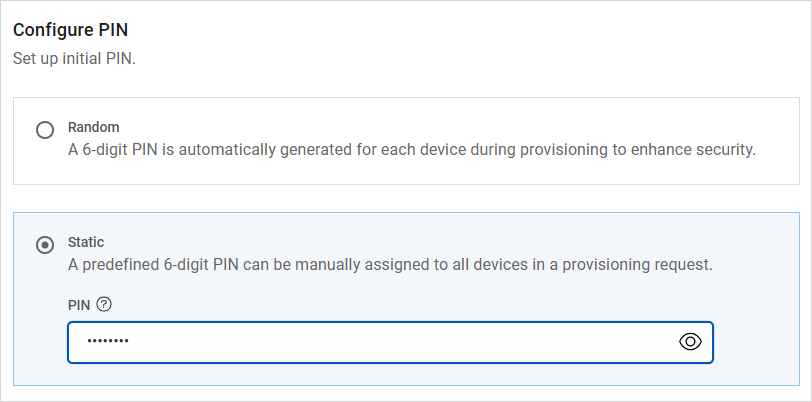
The PIN must meet the following conditions:
-
Minimum length - 6 alphanumeric characters
-
Maximum length - 63 alphanumeric characters
-
-
-
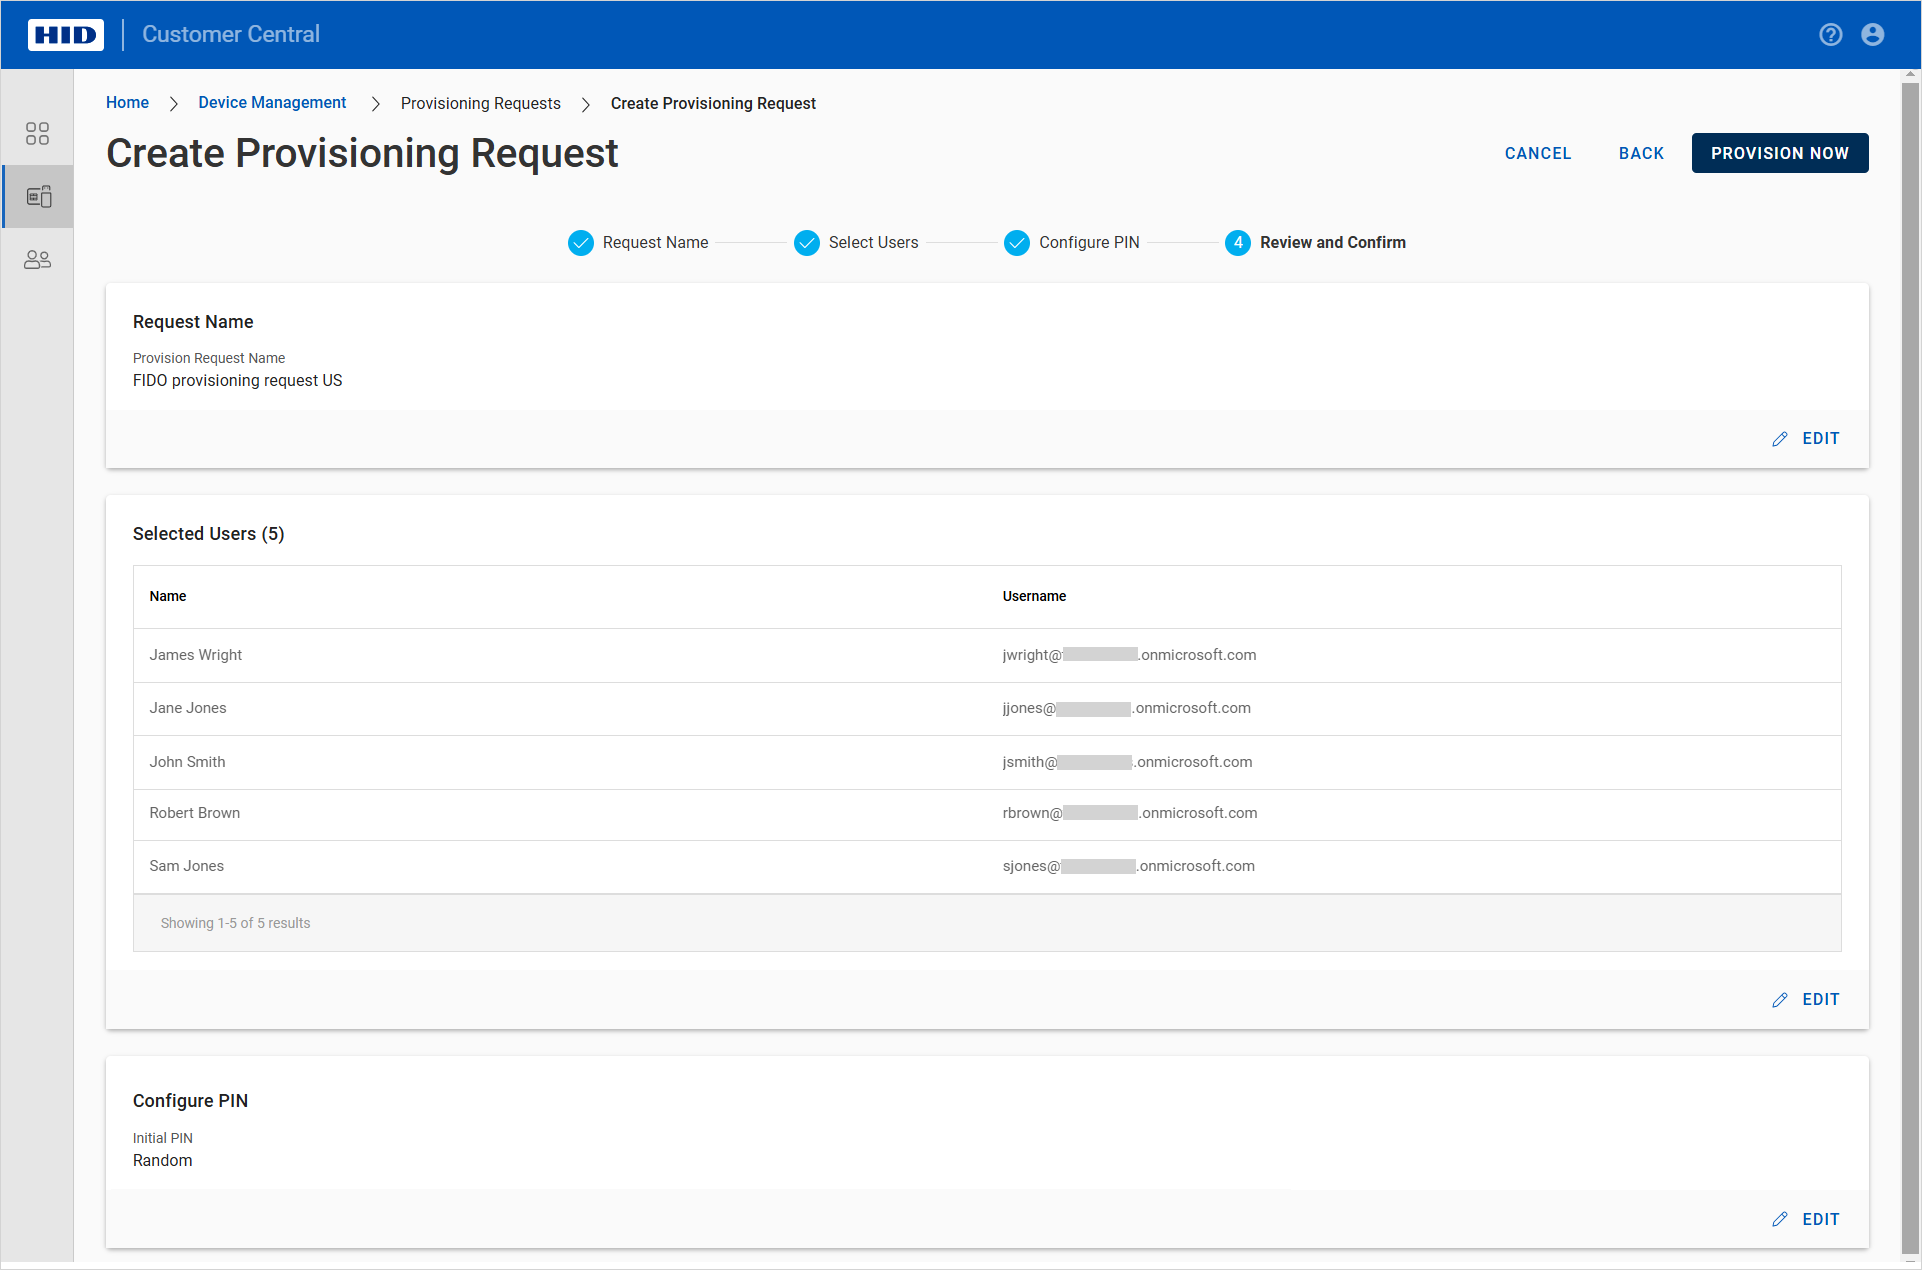
Review the request details and click Edit to modify the section settings if necessary.
-
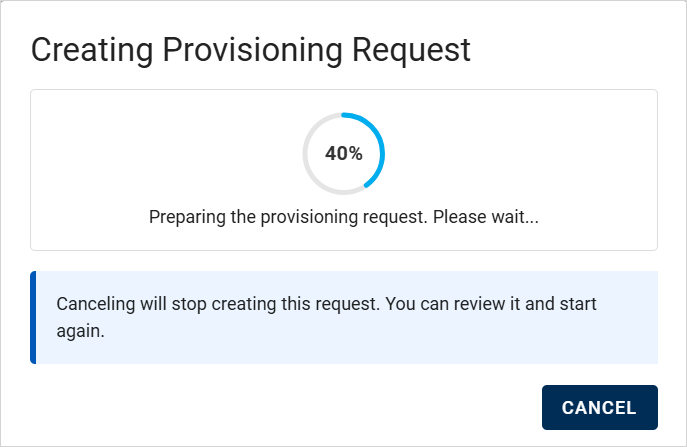
Click Provision Now to create the request.
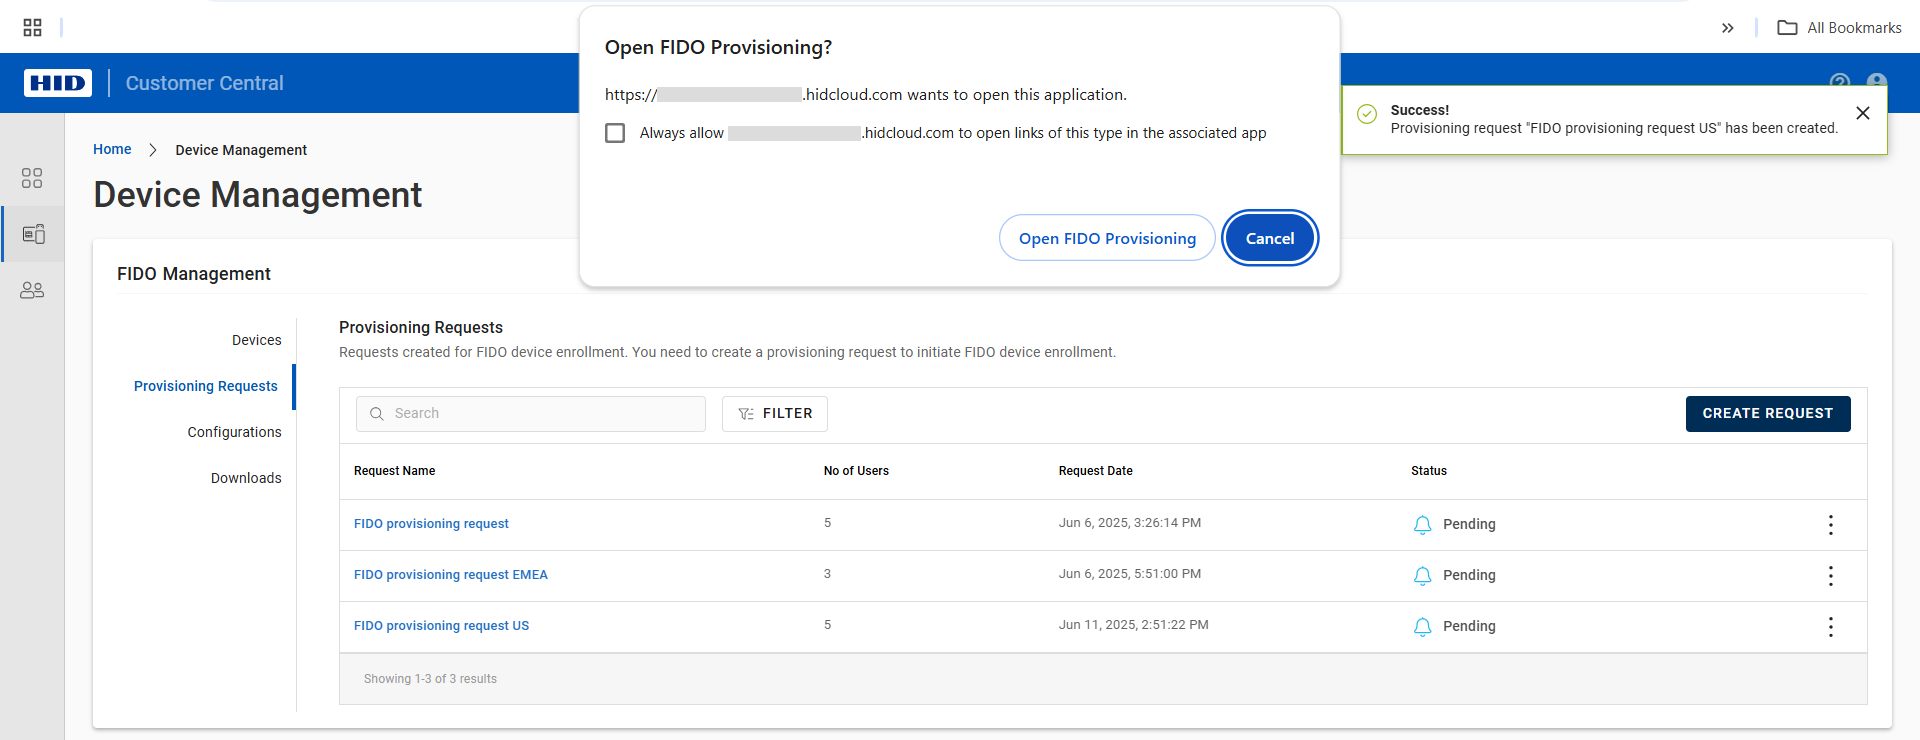
-
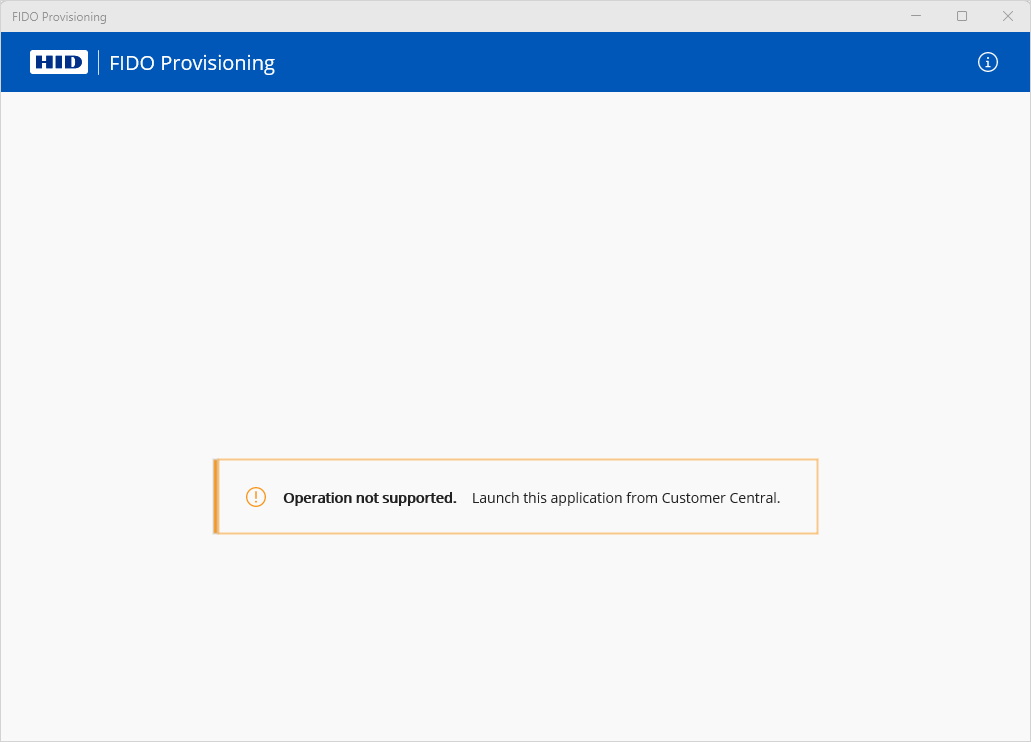
When prompted, click Open FIDO Provisioning to launch the application and enroll devices for your users.
Note: If the prompt does not display, verify that the application is correctly installed and then Provision a Pending Request.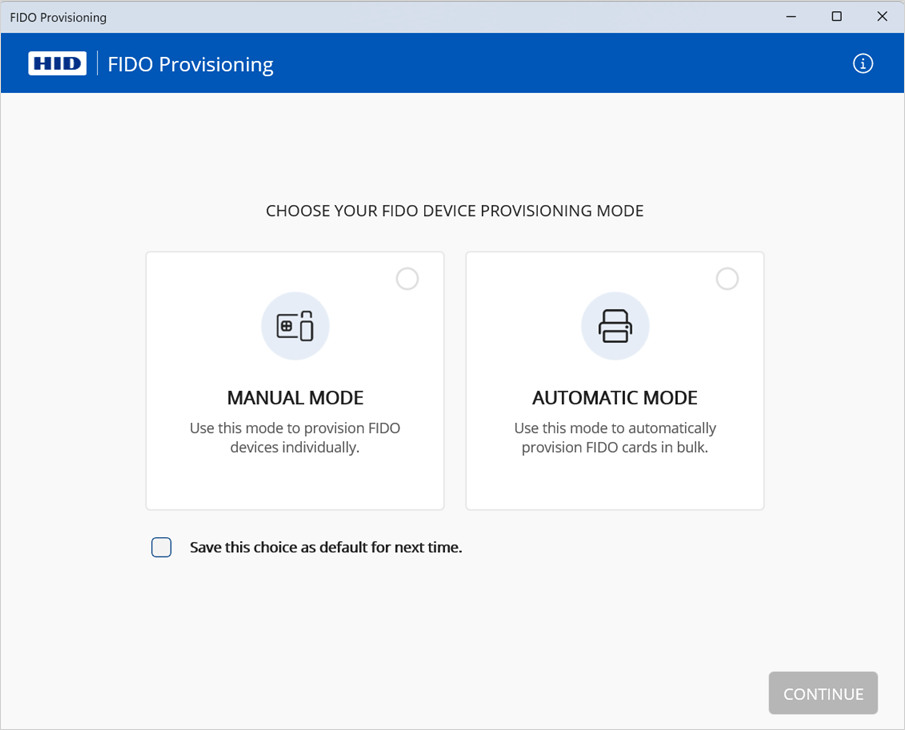
-
Select the mode and click CONTINUE:
-
Manual:
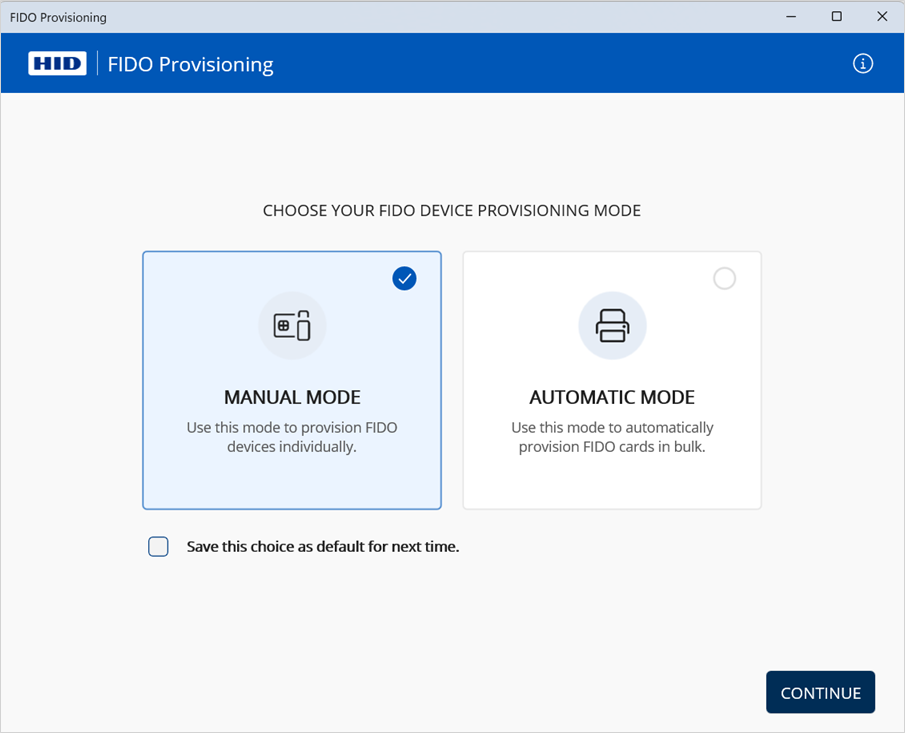
Proceed to manual provisioning.
-
Automatic:
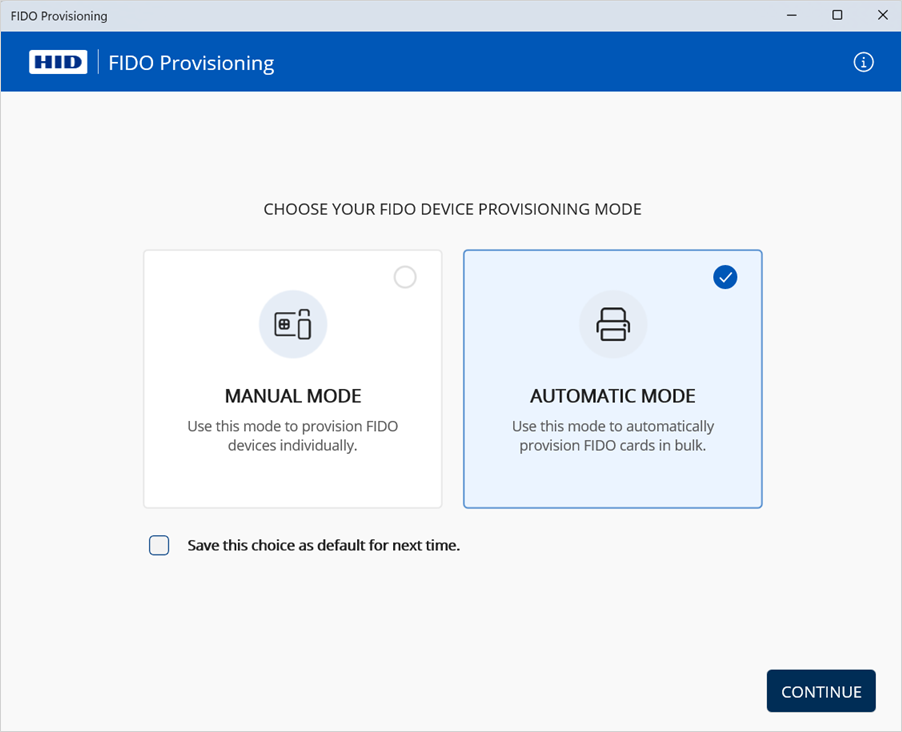
Proceed to automatic provisioning.
-
Provision Devices Manually
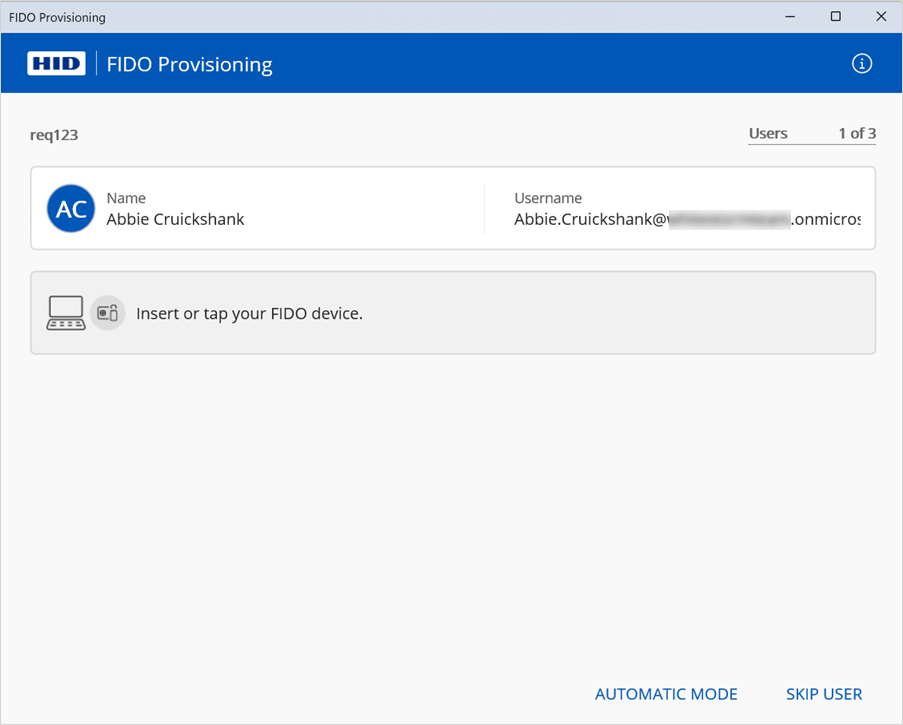
The application loads the required user information and displays the details of the first user detected in the request.
-
Insert the FIDO device into the workstation's USB port or place/insert the FIDO smart card into the reader.
The application detects the device and displays the information.
Note:The application only manages one device at a time (the last device detected) even if multiple devices are connected.
The Device ID is not available for non-HID devices

-
Verify that the provisioning information is correct for the user and device.
If necessary, you can also:
-
Click SKIP USER to proceed to the next user in the provisioning request
-
Remove the device from the reader or USB port and select another device for the currently selected user
-
-
Click PROVISION.
 Note: If you are provisioning a Crescendo Key in USB mode, press the button to validate the operation.
-
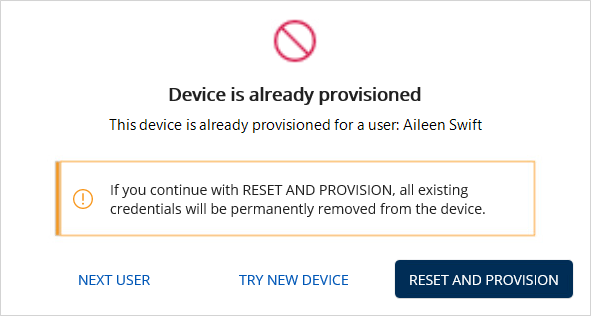
If the application detects that the device is already provisioned, click one of the following options:
-
NEXT USER - proceed to the next user in the provisioning request
-
TRY NEW DEVICE - select another device to provision to the currently selected user
-
RESET AND PROVISION - reset the device and provision it to the currently selected user
Important:Before resetting the device, confirm that any stored credentials are no longer needed, as they will be permanently deleted
You cannot reset a FIDO device if its PIN is locked
If the reset does not work, remove device from the reader and then re-insert or tap again
You can only reset a Crescendo Key in USB mode and you must press the button (flashing orange) to validate the reset and provisioning operations
Reset is not supported in contactless mode.
-
-
If you are provisioning a non-HID device, remove and reinsert the device when prompted:

-
-
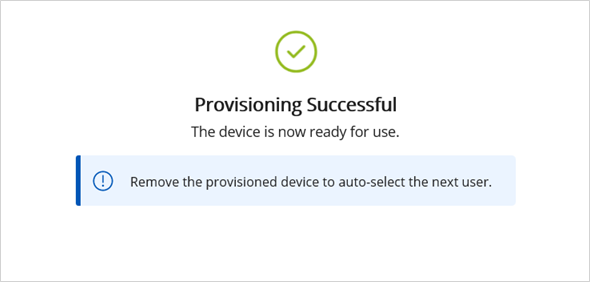
After the success message is displayed, remove the device from the reader or USB port.
The application proceeds to the provisioning for the next user in the request.
-
Repeat the above steps for all the users.
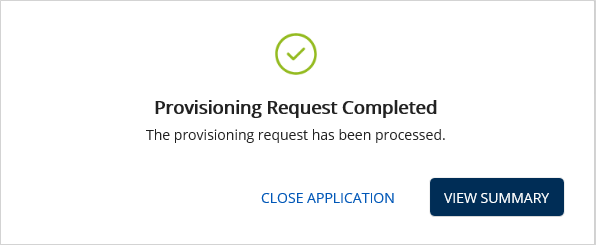
When the final user is provisioned, the completed message is displayed.
-
Click VIEW SUMMARY to review the request details.
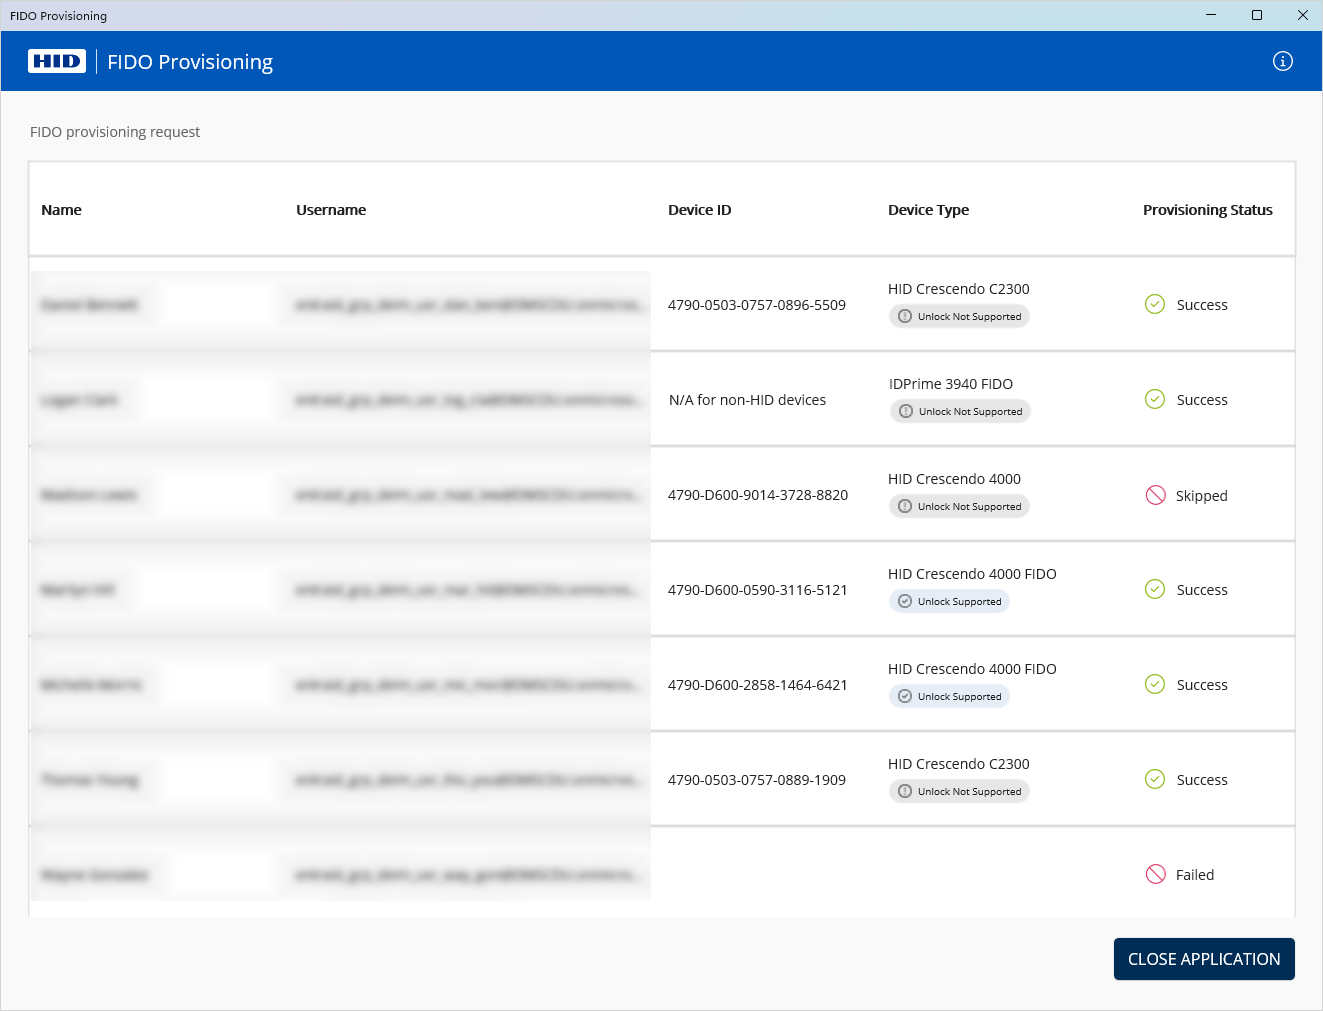
Category Description Failed
The provisioning attempt failed due to an error during this session
-
Download the report for the provisioning request and review the reason for the failure.
-
If required, create a new provisioning request for the pending users.
Skipped
The provisioning attempt was not made as the user was skipped
Run the provisioning request again.
-
-
Then click CLOSE APPLICATION.
Provision Devices Automatically
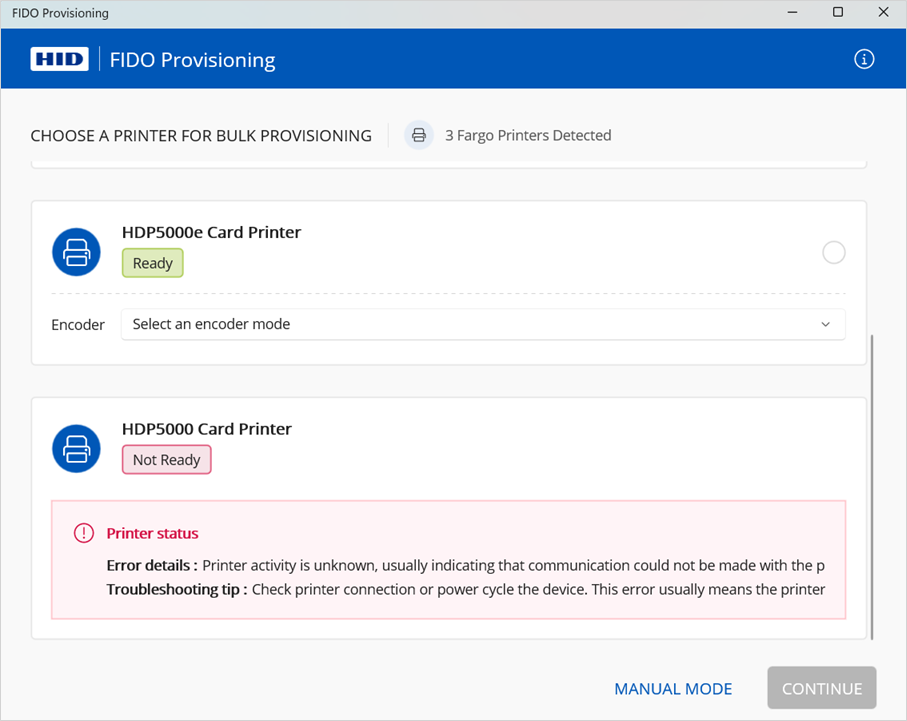
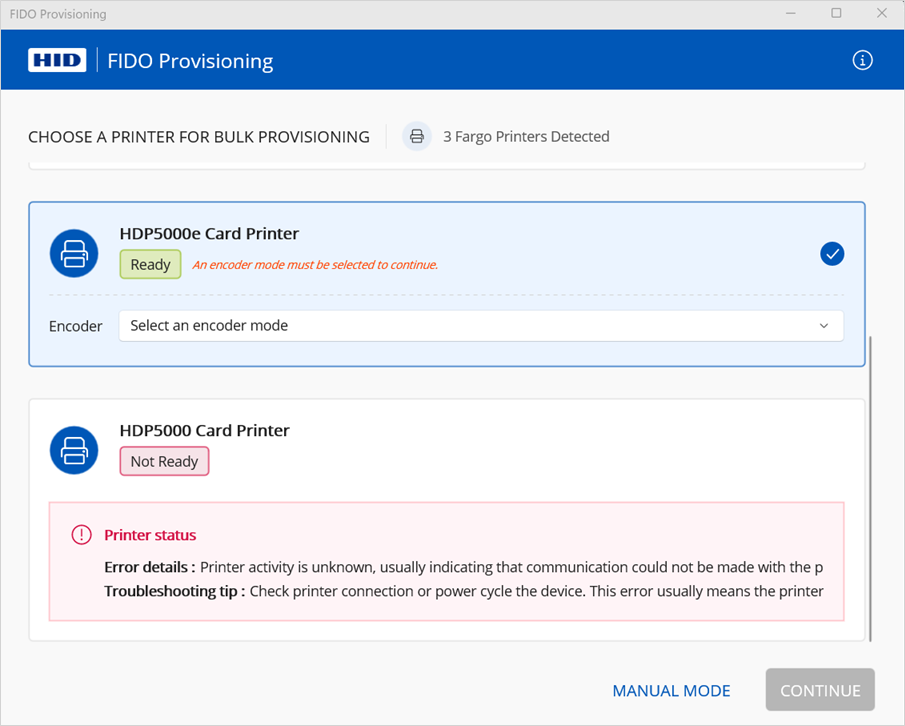
The application displays the details of the detected printers:
-
Select the required printer.
-
Select the Encoder mode:
-
Contact
-
Contactless
Note: The available encoder options depend on the configuration of the detected printer. If you are unsure which mode to use, select Contact.For further information, refer to the corresponding user guide for the printer available from the HID Document Library.

-
-
Click CONTINUE.
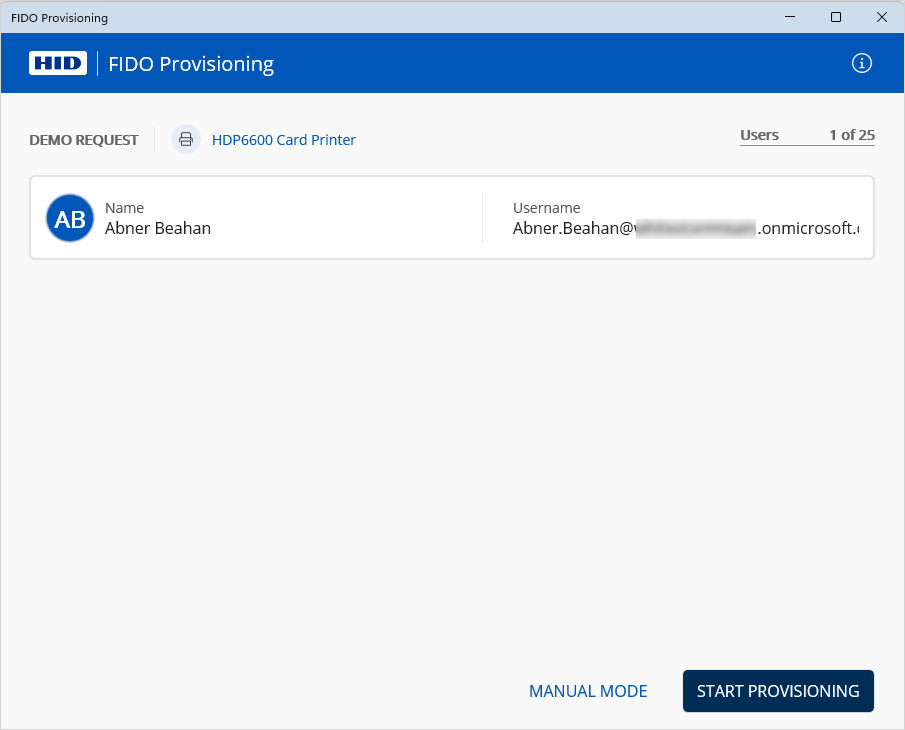
The application loads the required user information and displays the details of the first user detected in the request.
-
Verify that the provisioning information is correct for the user.
-
Click START PROVISIONING.
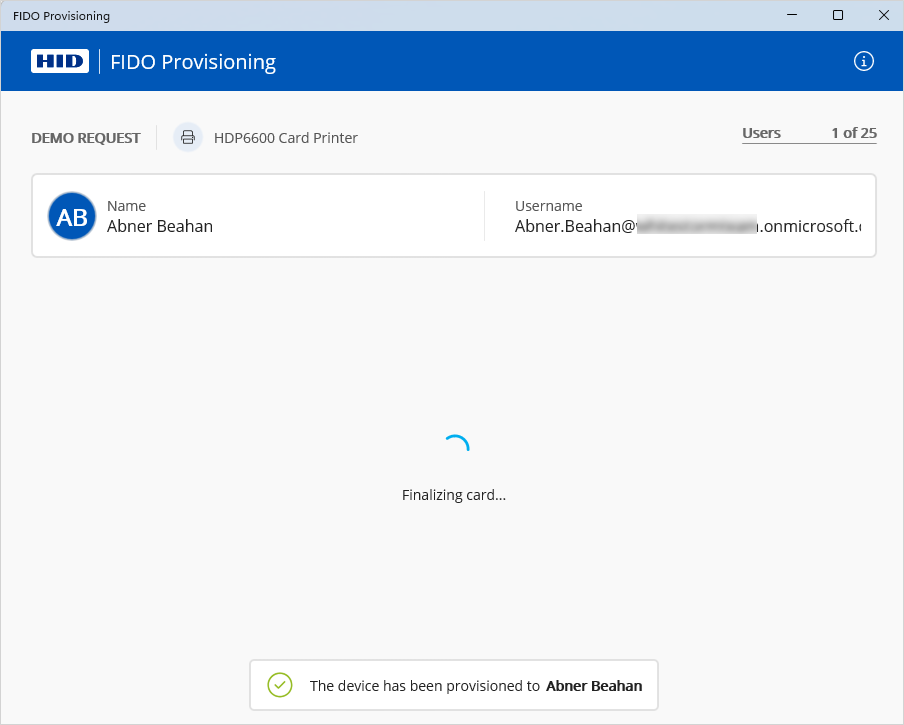
Important: Do not connect any other devices to your workstation during the provisioning to avoid process interruptions or failures.The application displays the status of the device provisioning for the user before proceeding to the next user in the request.
 Note: If an error occurs, a notification is displayed. For example:
For further details and resolution suggestions, see Troubleshooting.
When the final user is provisioned, the completed message is displayed.
The provisioned card is ejected by the printer.
-
Click VIEW SUMMARY to review the request details.
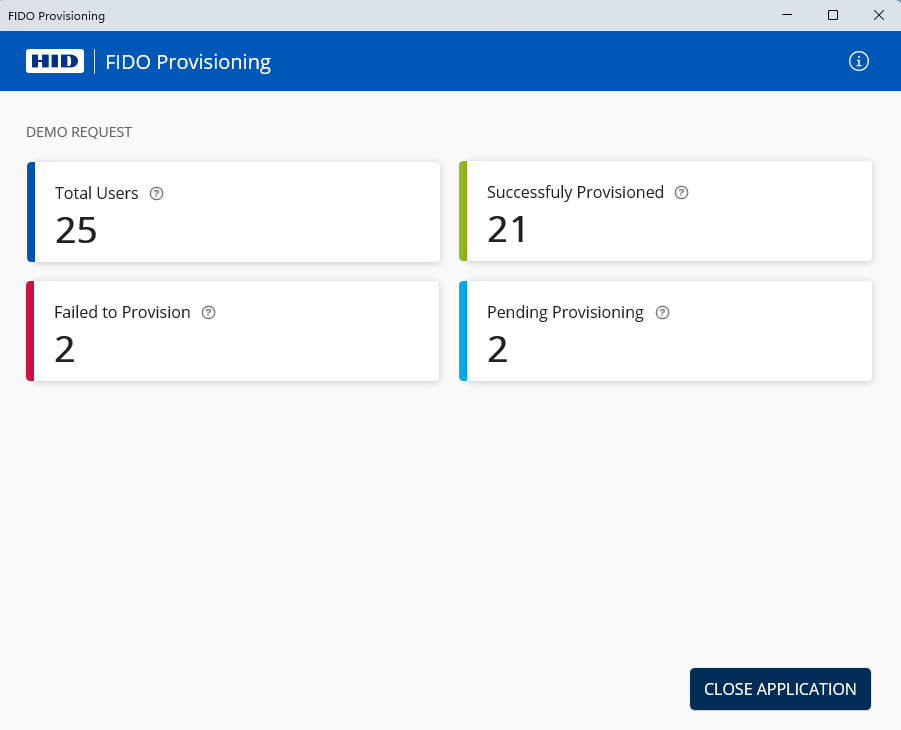
Category Description Total Users The total number of users from the Provisioning Request Successfully Provisioned The number of users successfully provisioned during this session Failed
The number of users that were attempted but failed to provision due to an error during this session
-
Download the report for the provisioning request and review the reason for the failure.
-
If required, create a new provisioning request for the remaining users.
Pending
The total number of users not yet provisioned because the job was halted due to an error
Unlike failed provisioning, these user accounts have not been attempted
Run the provisioning request again. If the error persists, contact HID Technical Support.
-
-
Then click CLOSE APPLICATION.
Verify the Device Enrollment
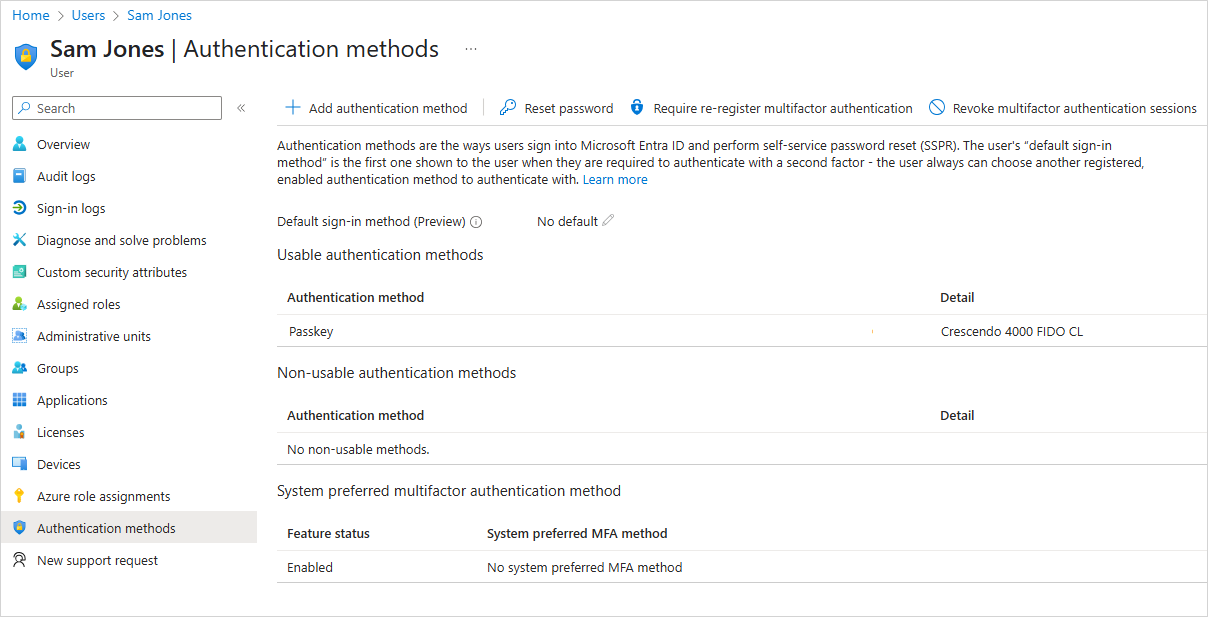
Microsoft Entra ID Users
-
Log on to the Microsoft Entra admin center (https://entra.microsoft.com/#home) and, if necessary, switch to the required directory.
-
Expand Identity in the left menu and select Applications.
-
Select Enterprise applications and then your Passkey Management application.
-
Under Manage, select Users and groups.
-
Search for the users or groups for which you provisioned the devices.
-
Select a user and go to the list of Authentication methods.
-
Verify that the FIDO device is correctly registered as a credential.
For example:
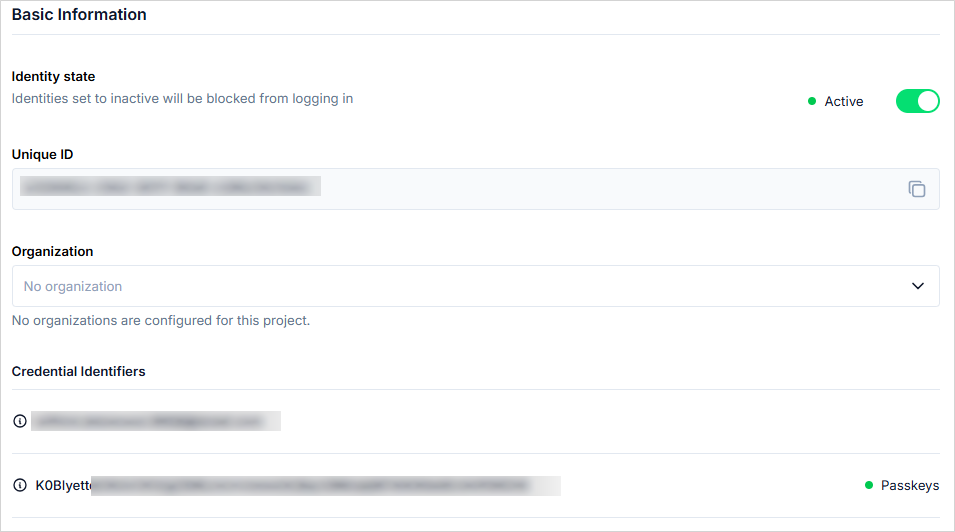
Ory Users
-
Log on to the Ory Console (https://console.ory.sh/) as an administrator for your Ory workspace and select the required project.
-
Select User management in the top menu and then select Users & identities in the left menu.
-
Search for the users for which you provisioned the devices.
-
Select a user and, in the Basic Information section of the user's profile, go to the list of Credential Identifiers.
-
Verify that the FIDO device (as Passkeys) is correctly registered as a credential.
For example:
PingOne Users
-
Log on to the PingIdentity console as an administrator for your PingOne environment.
-
Expand Directory in the left menu and select Users.
-
Search for the users or groups for which you provisioned the devices.
-
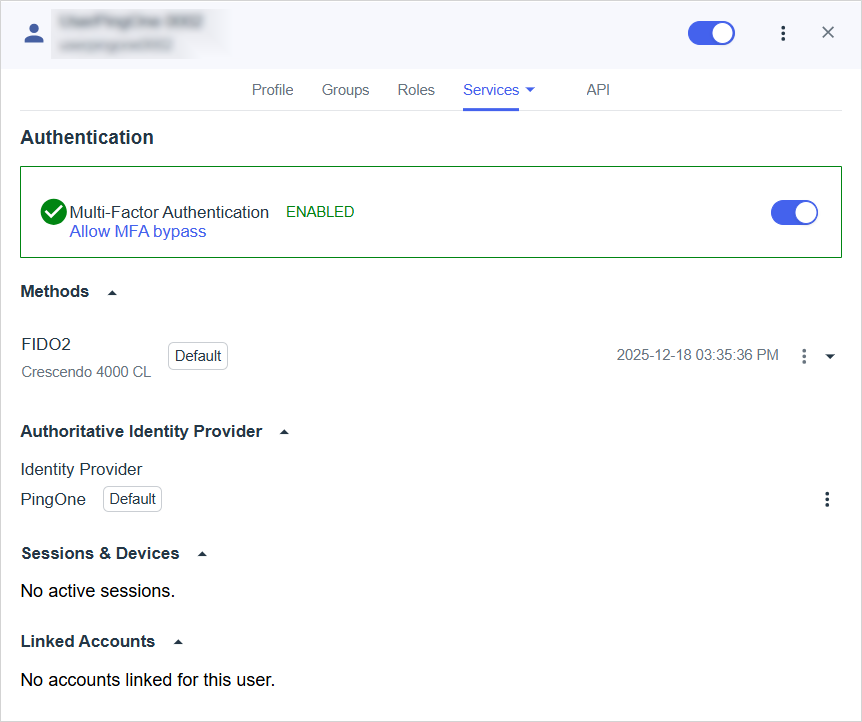
Select a user and, from the Services drop-down menu, select Authentication.
-
Verify that the FIDO device is correctly registered as a credential.
For example: